|
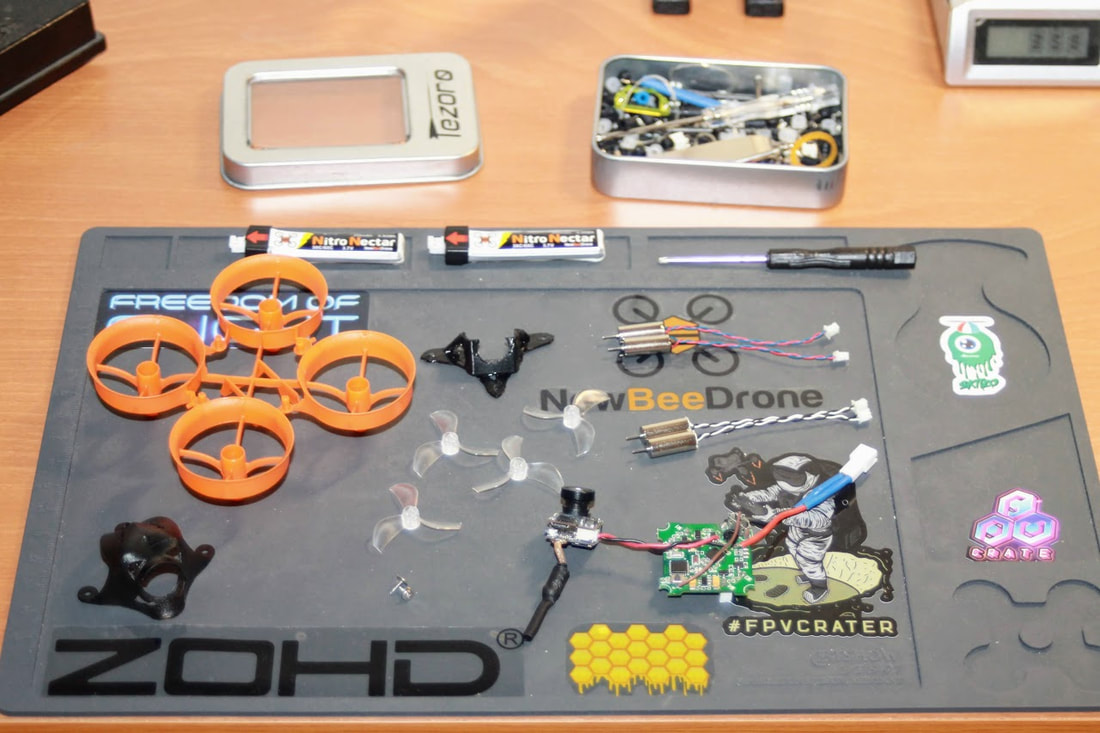
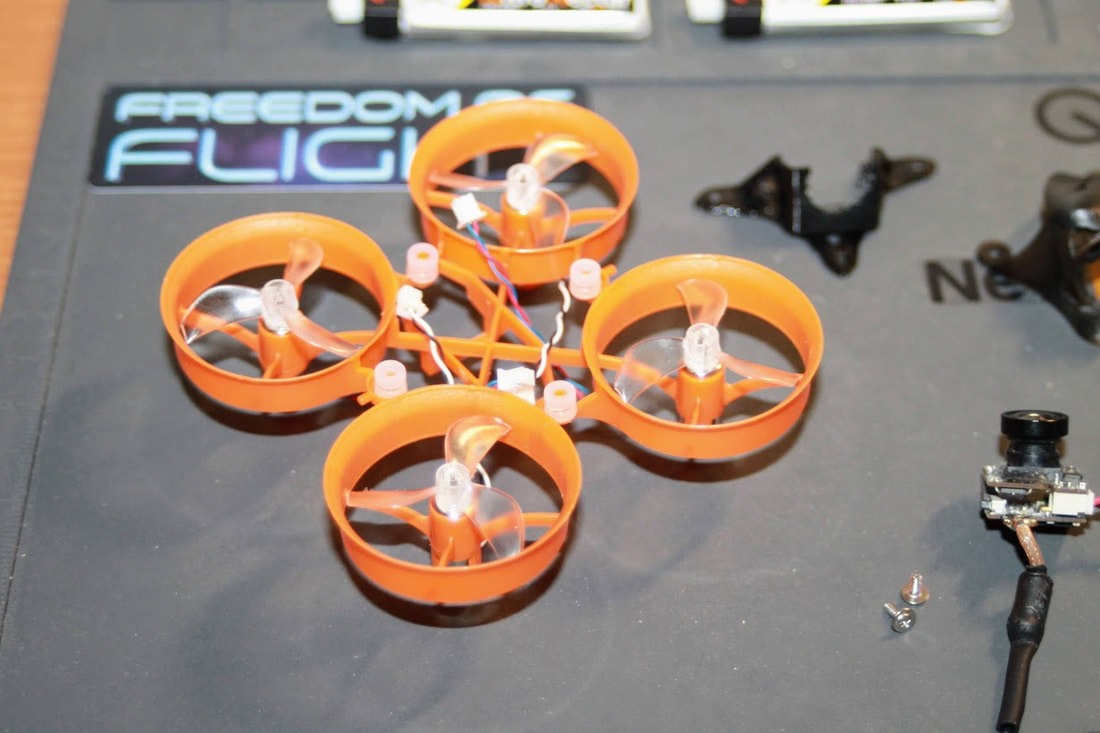
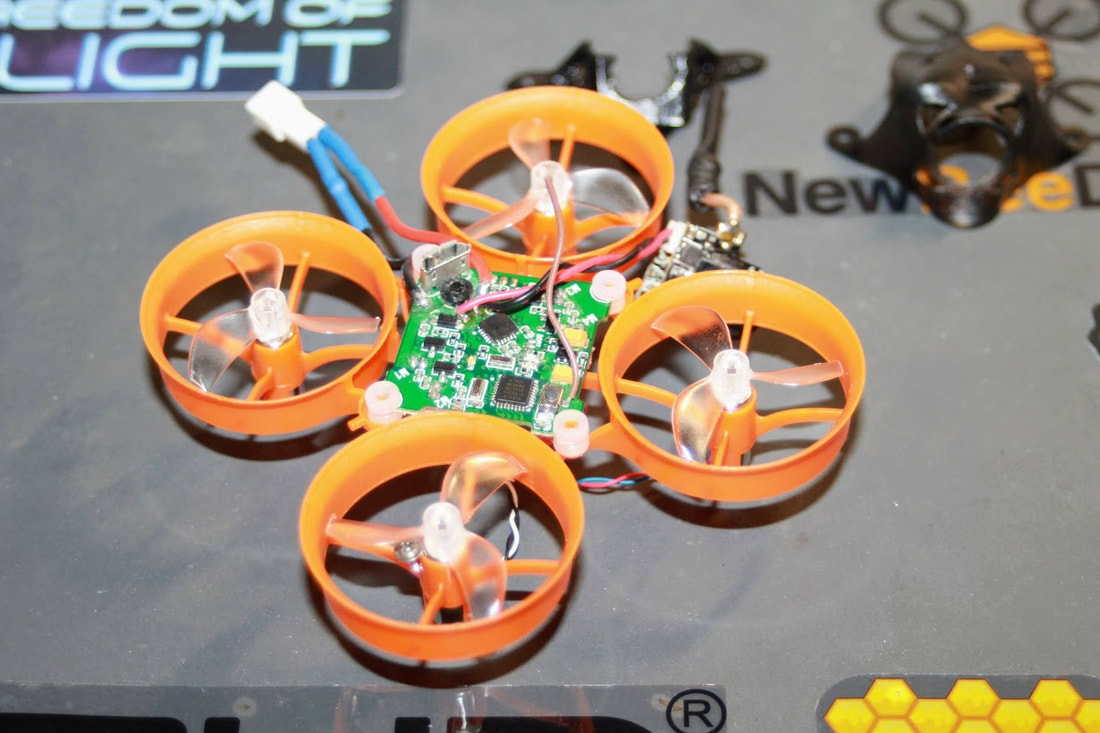
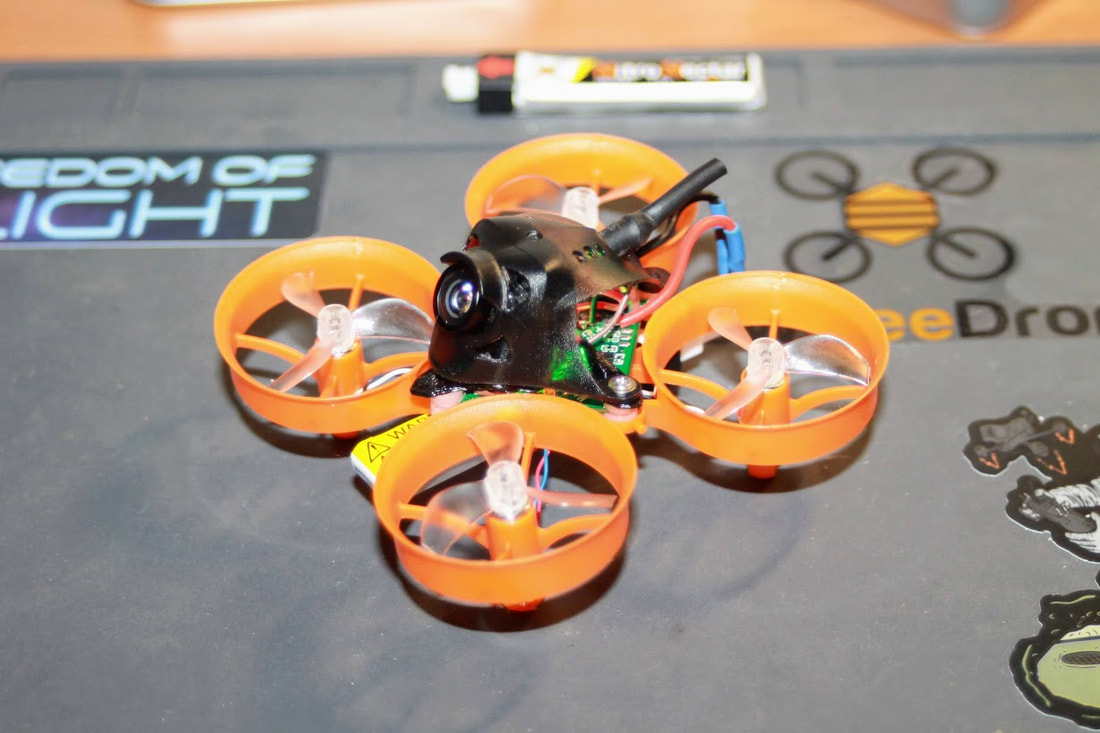
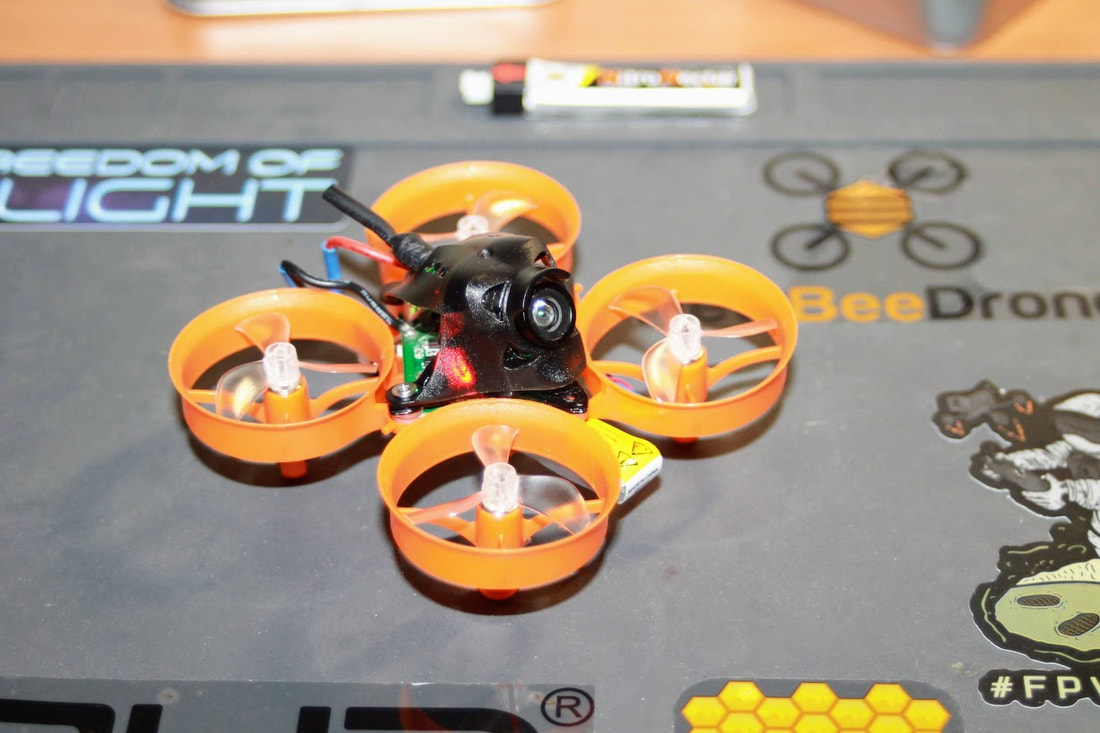
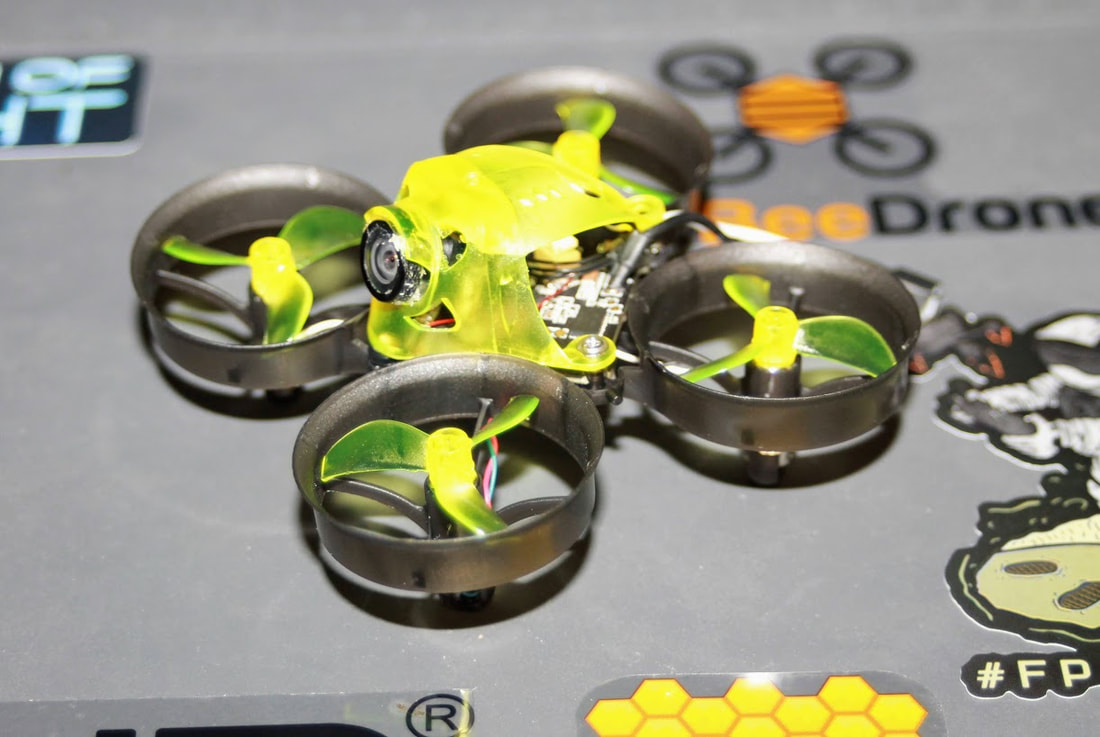
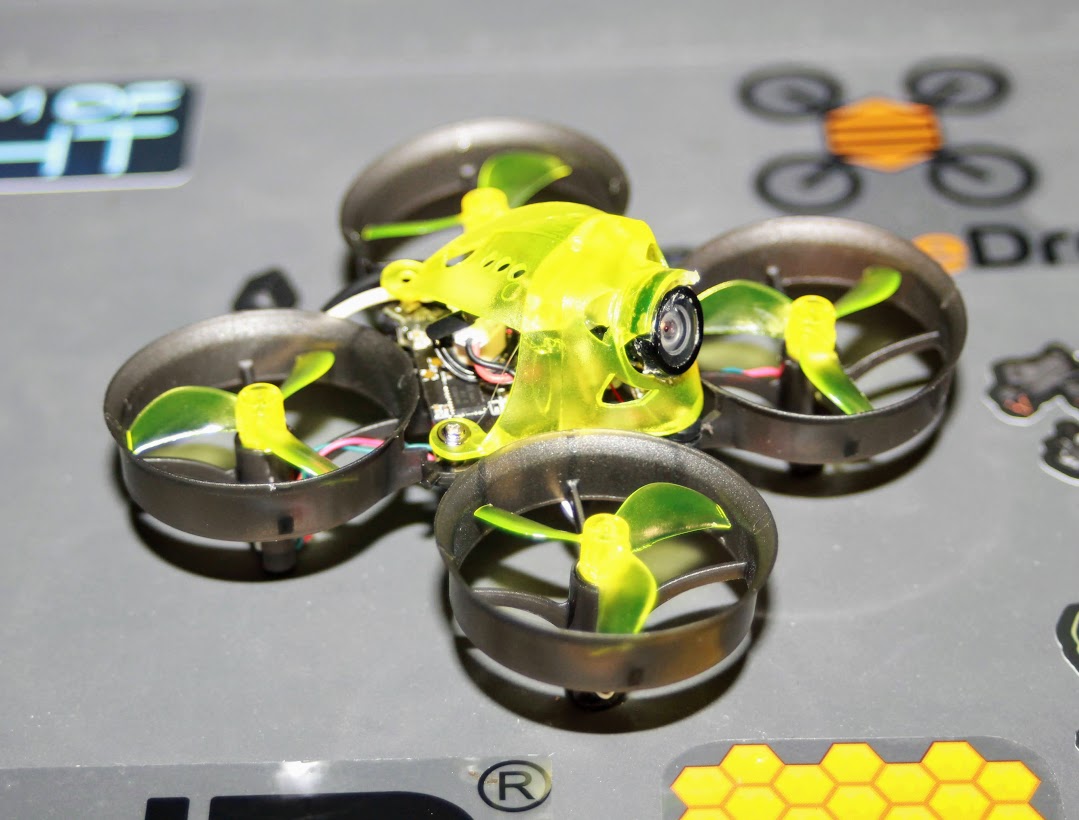
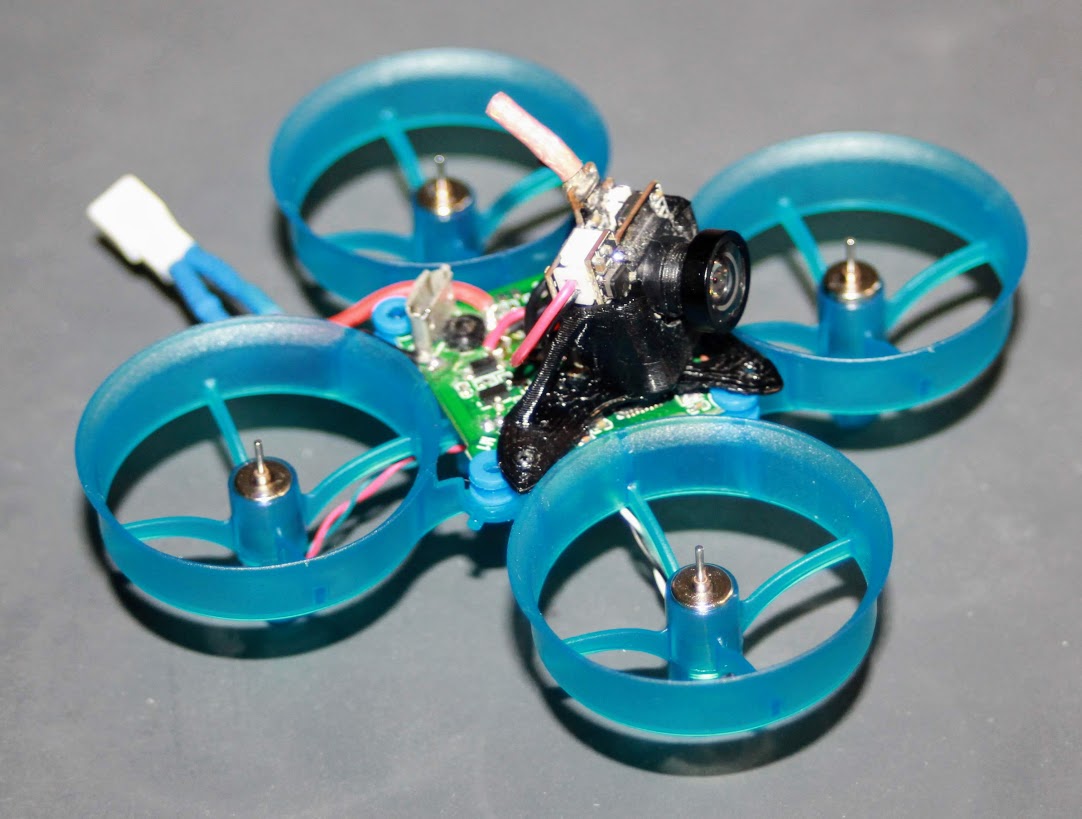
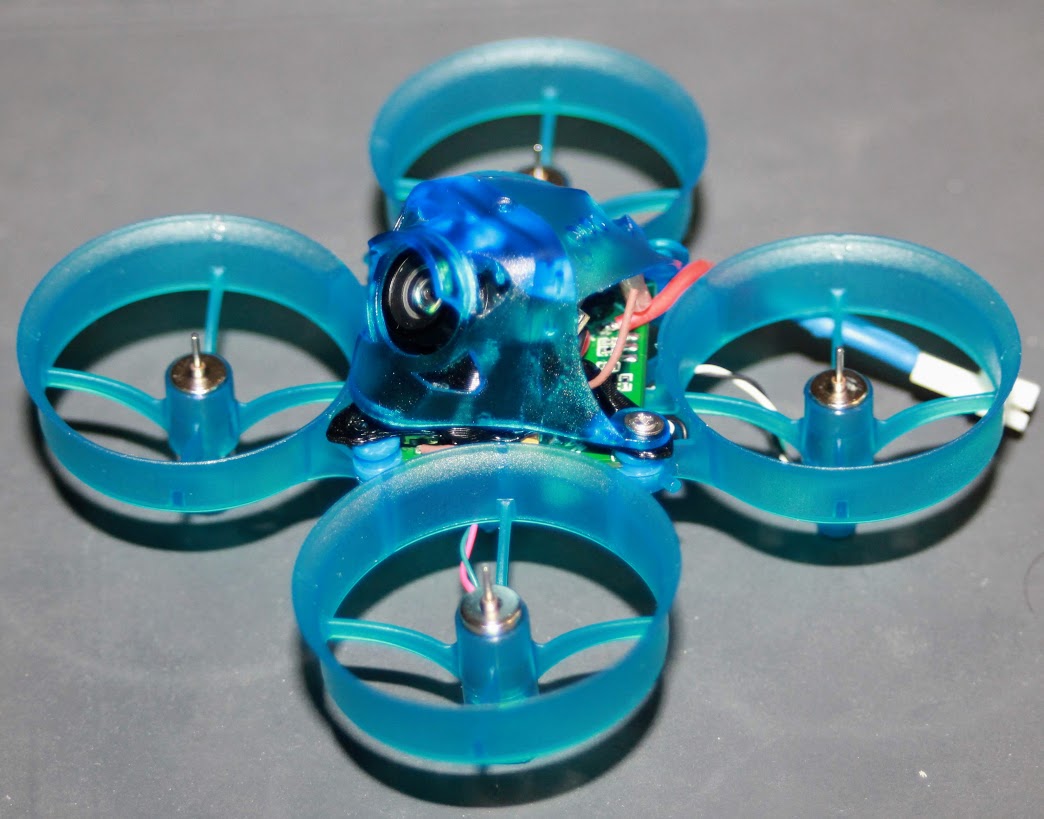
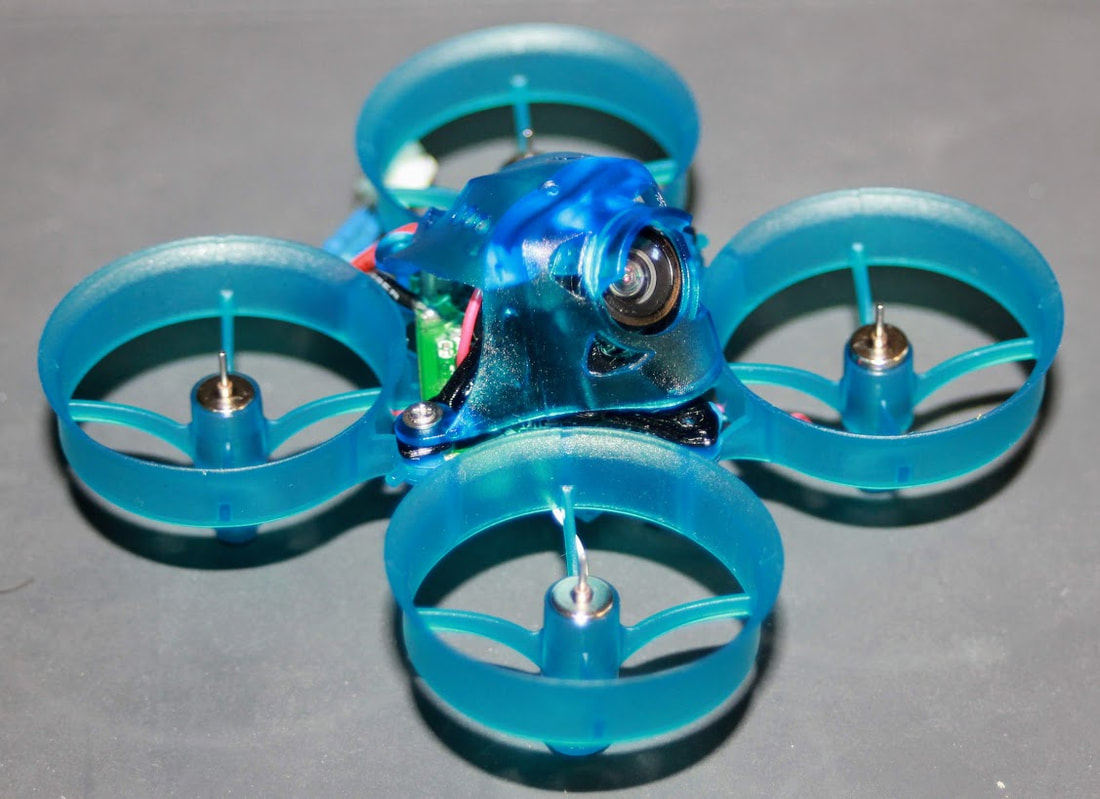
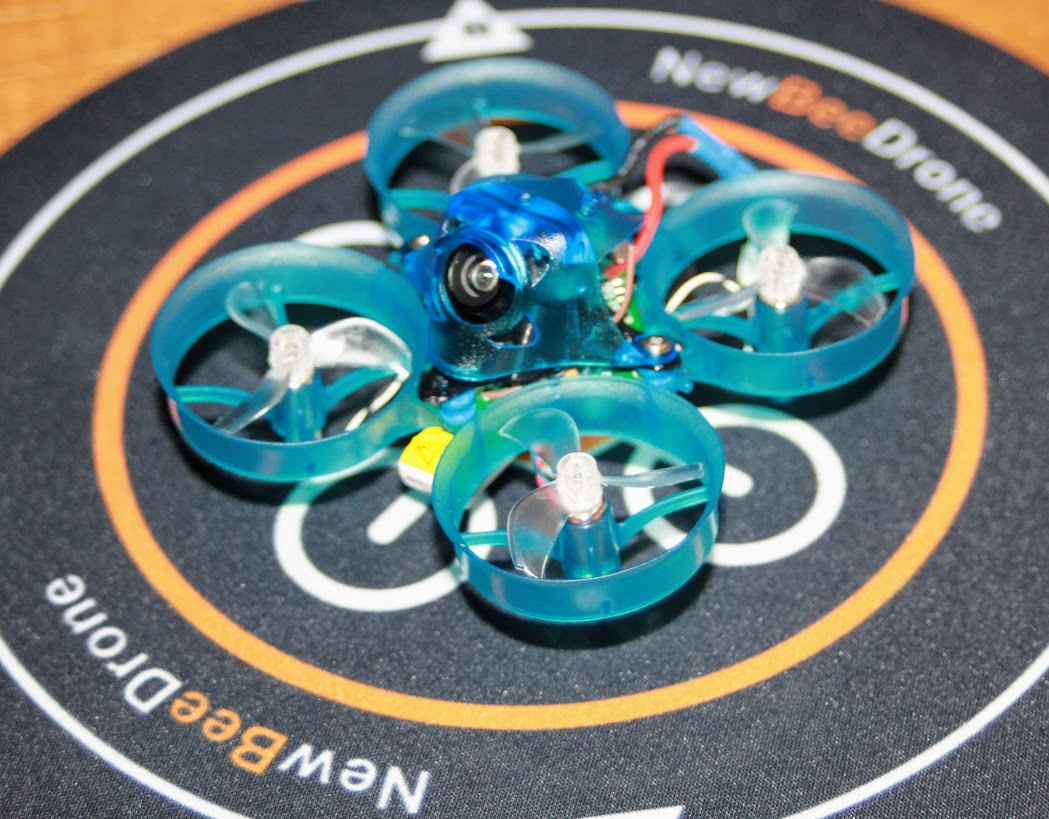
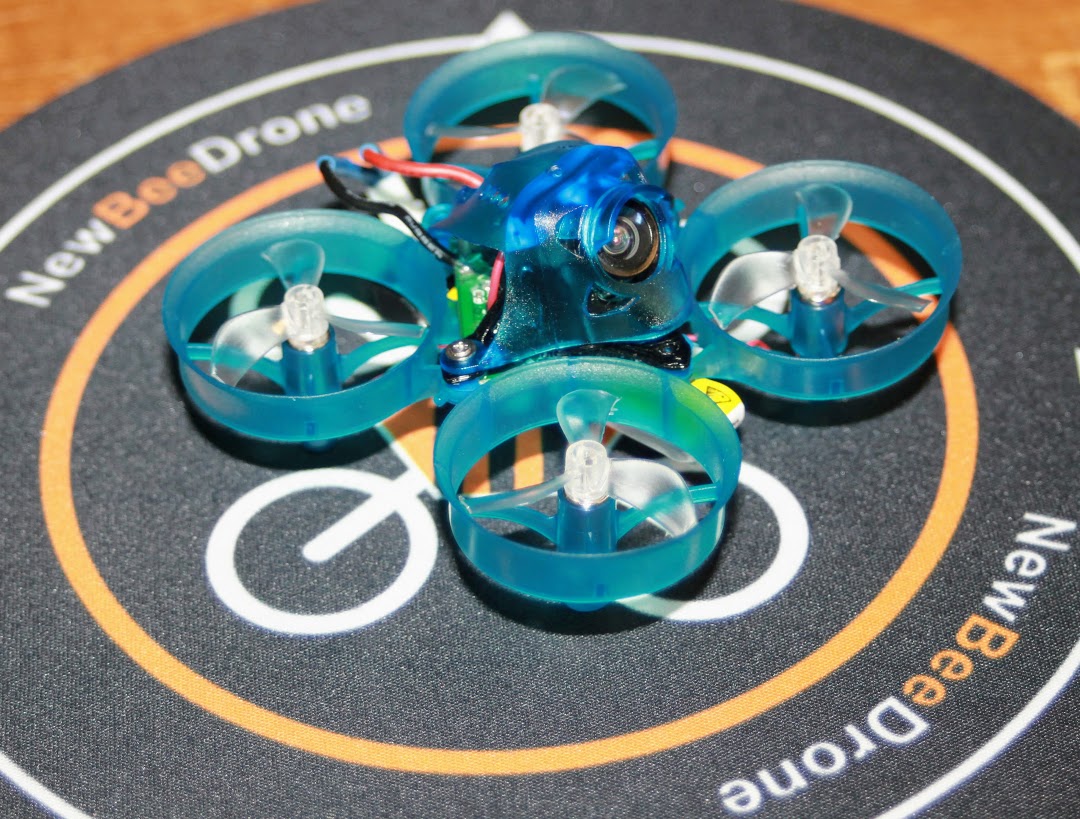
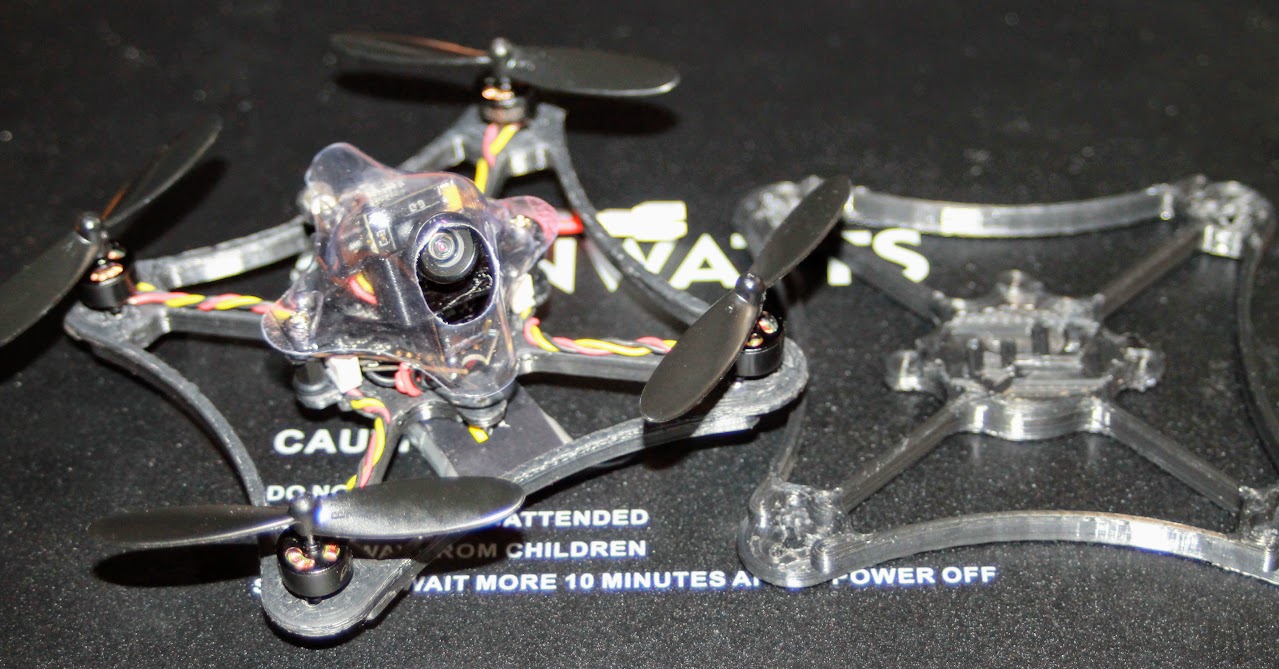
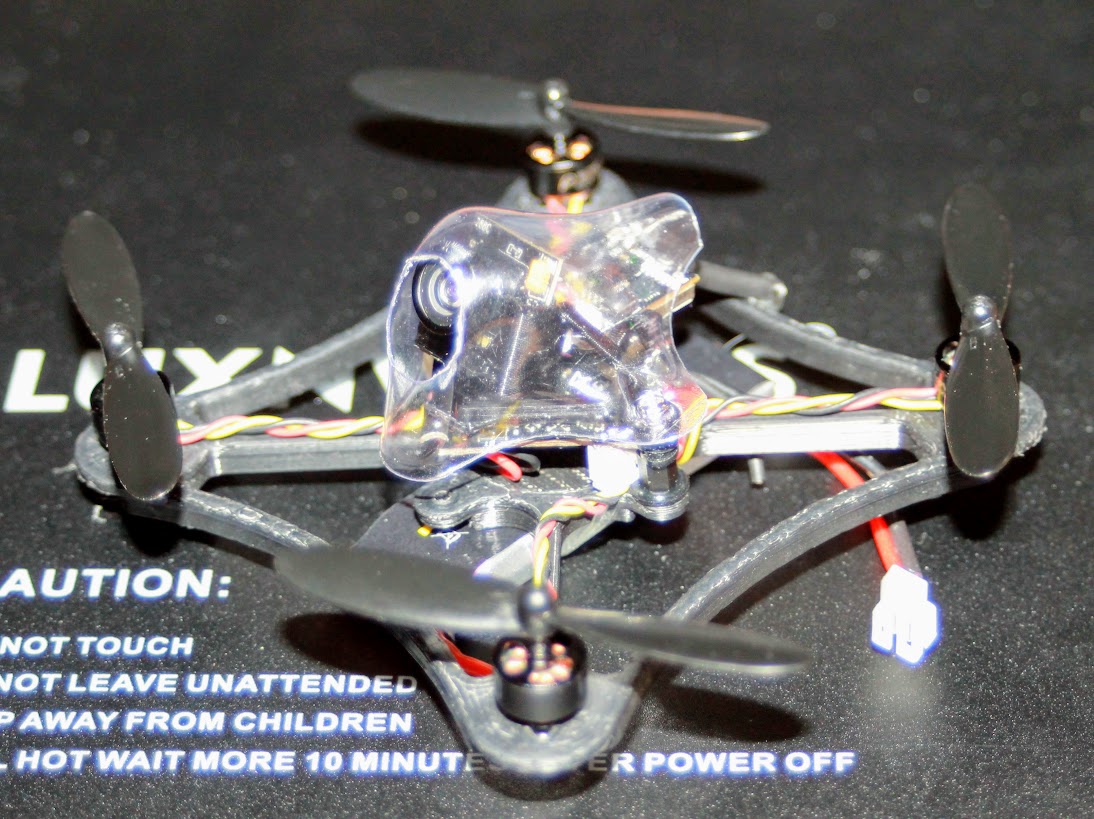
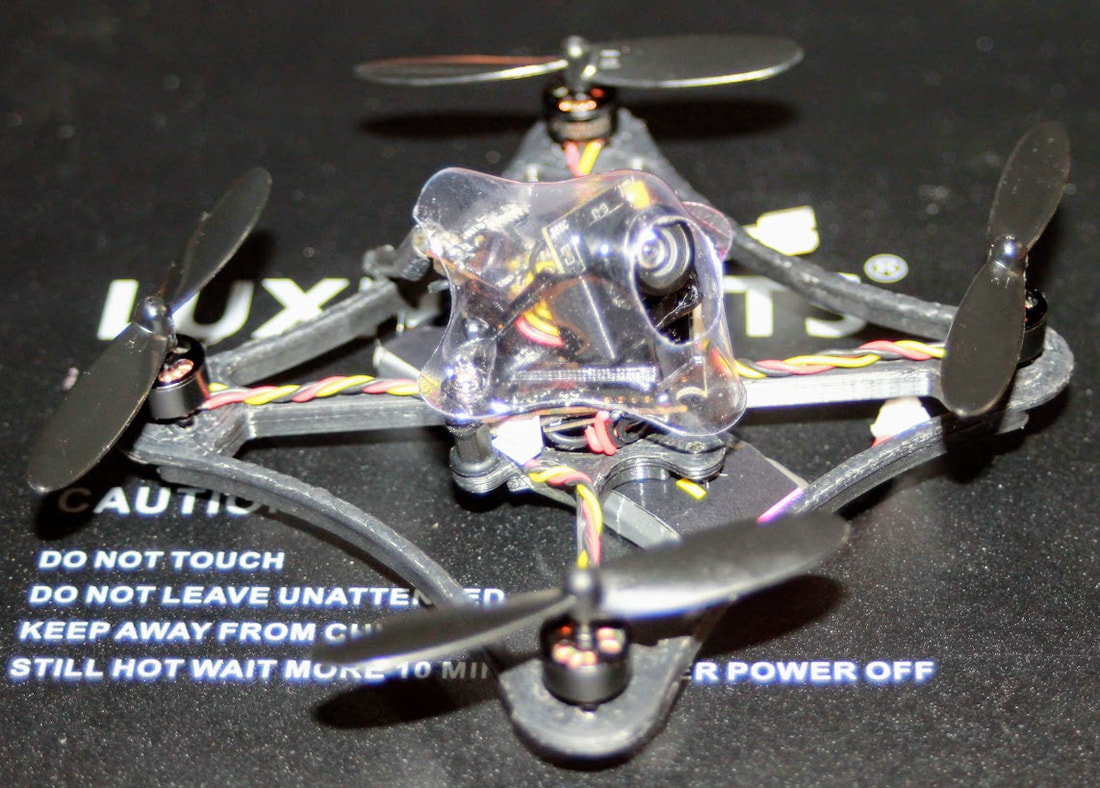
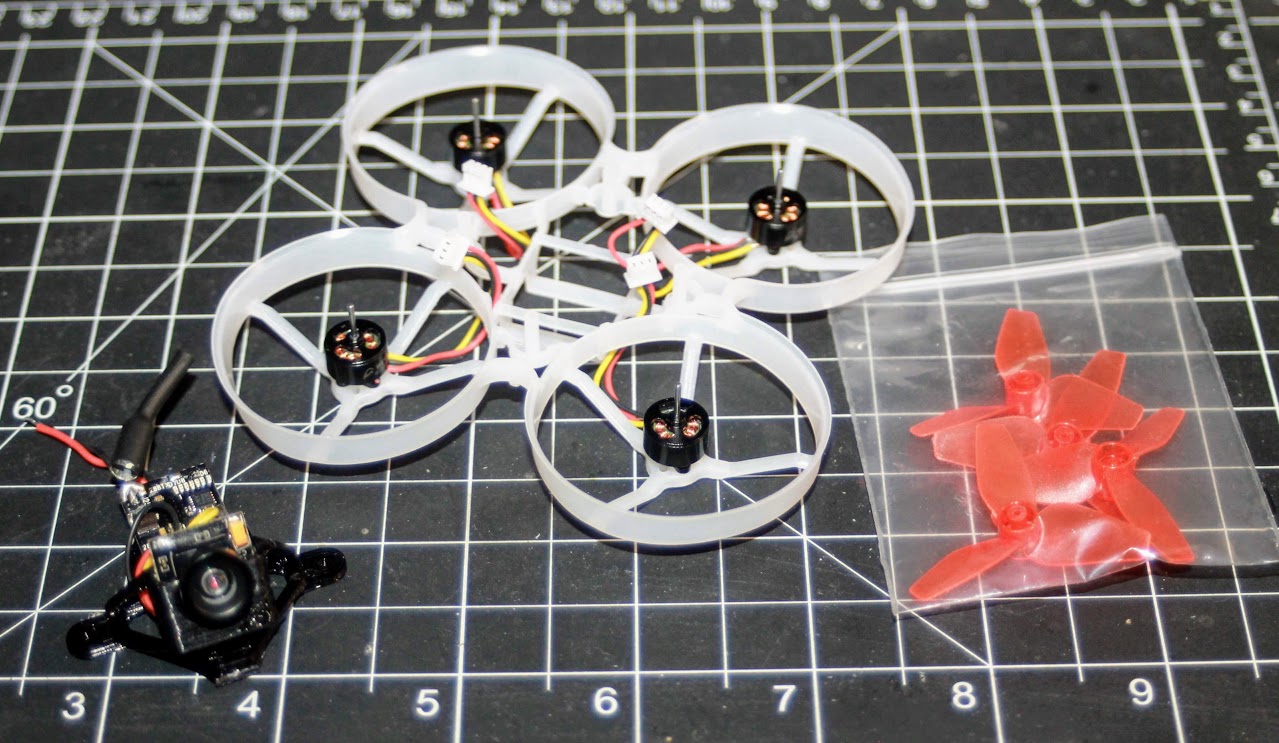
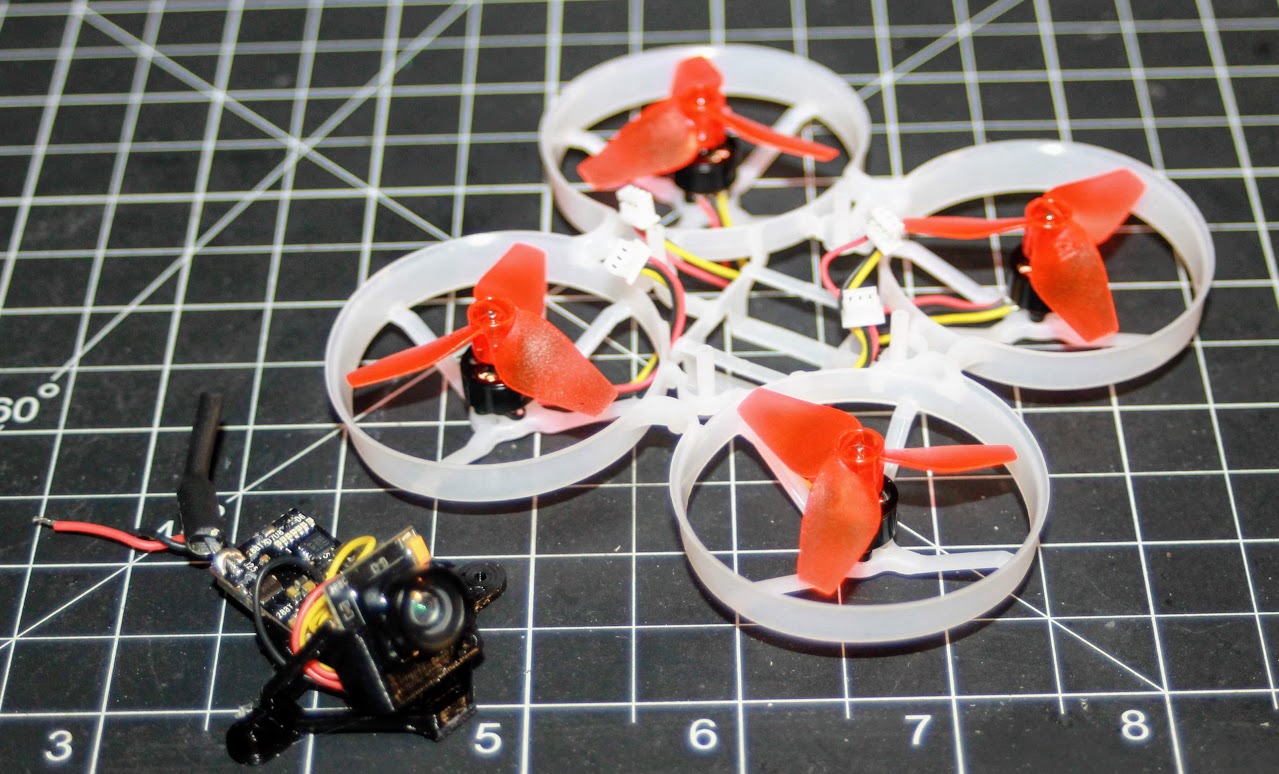
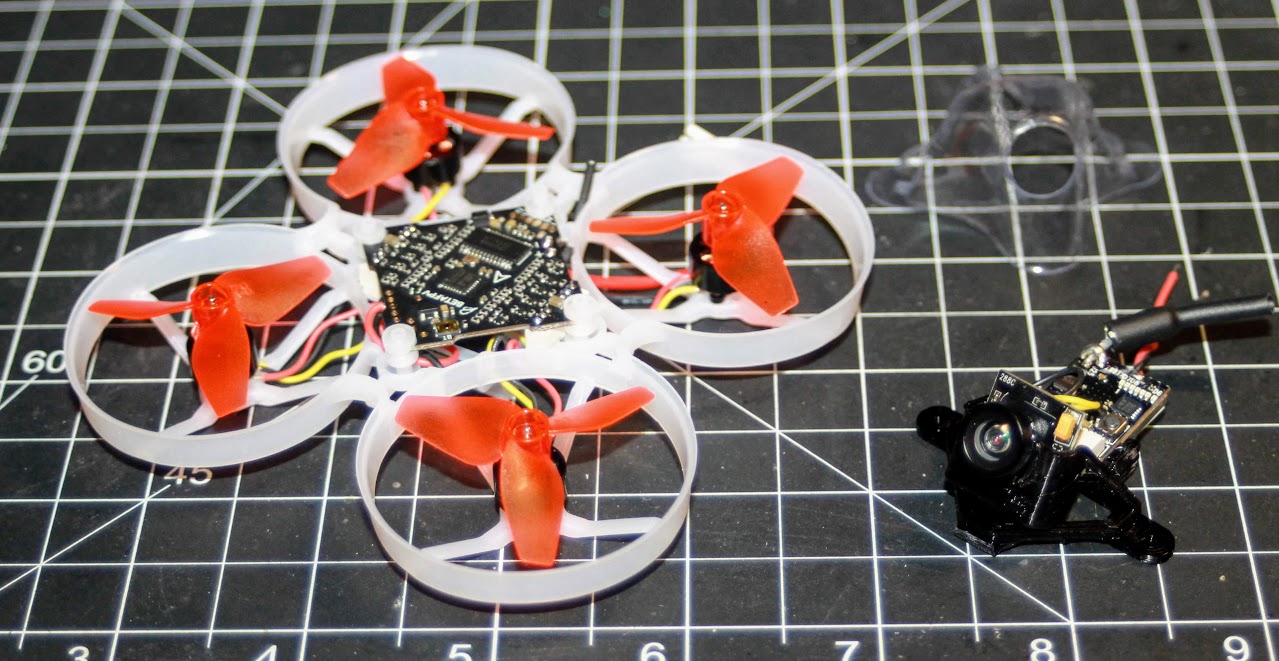
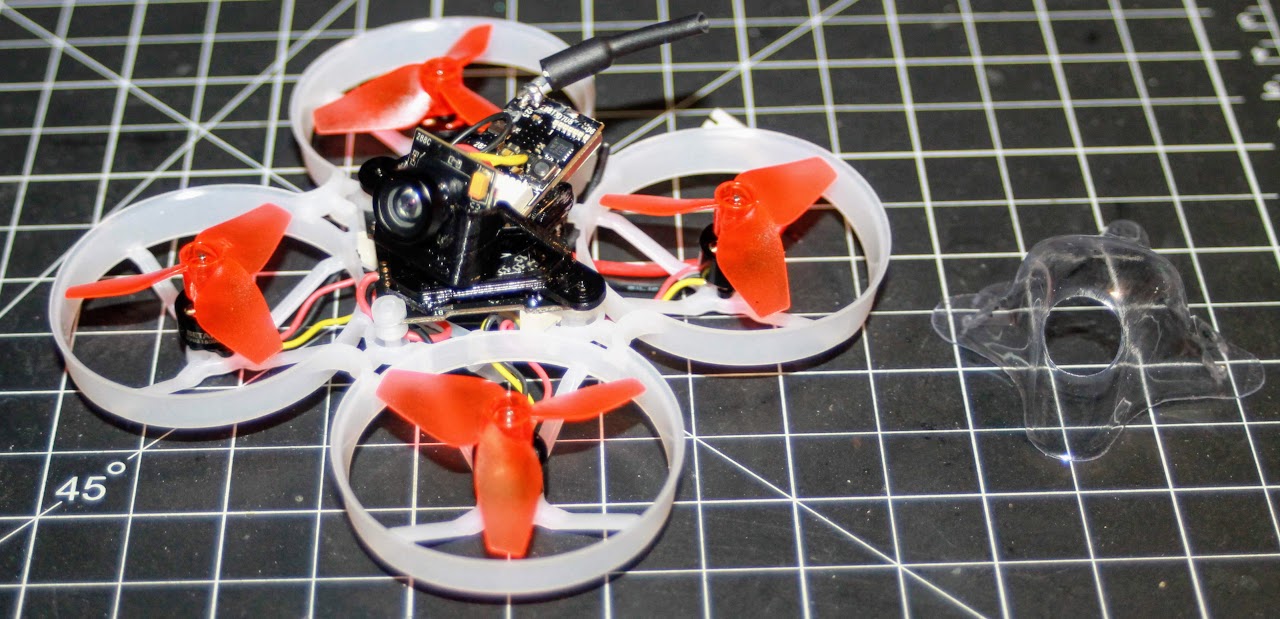
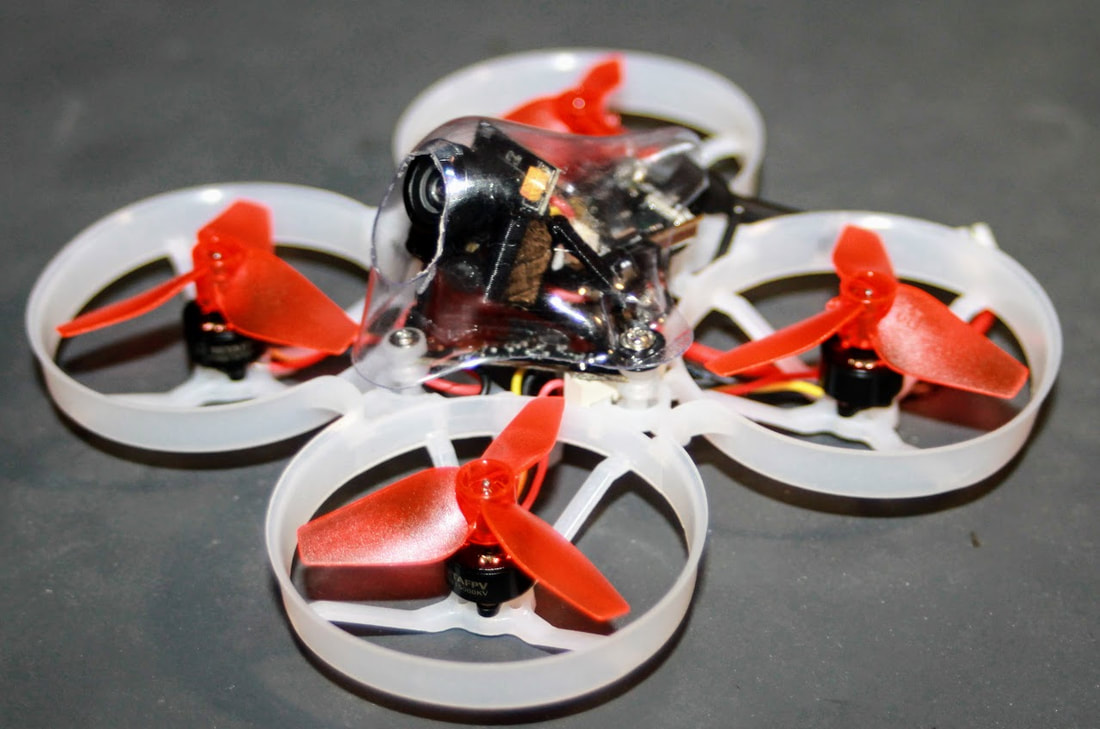
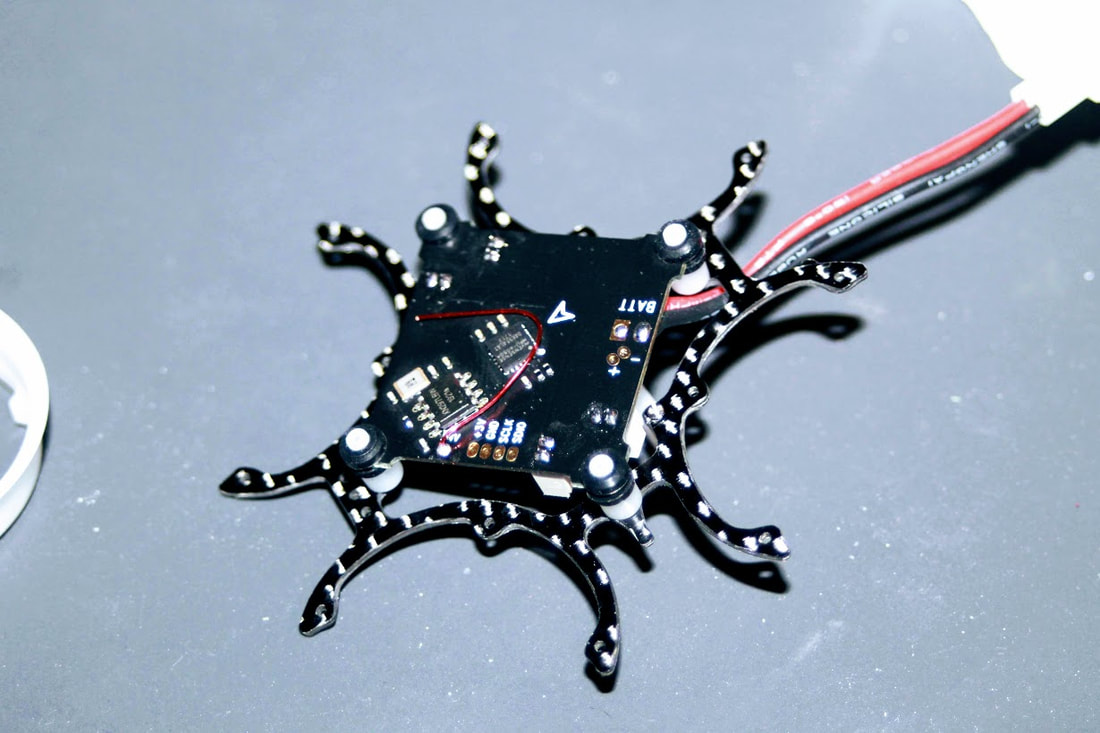
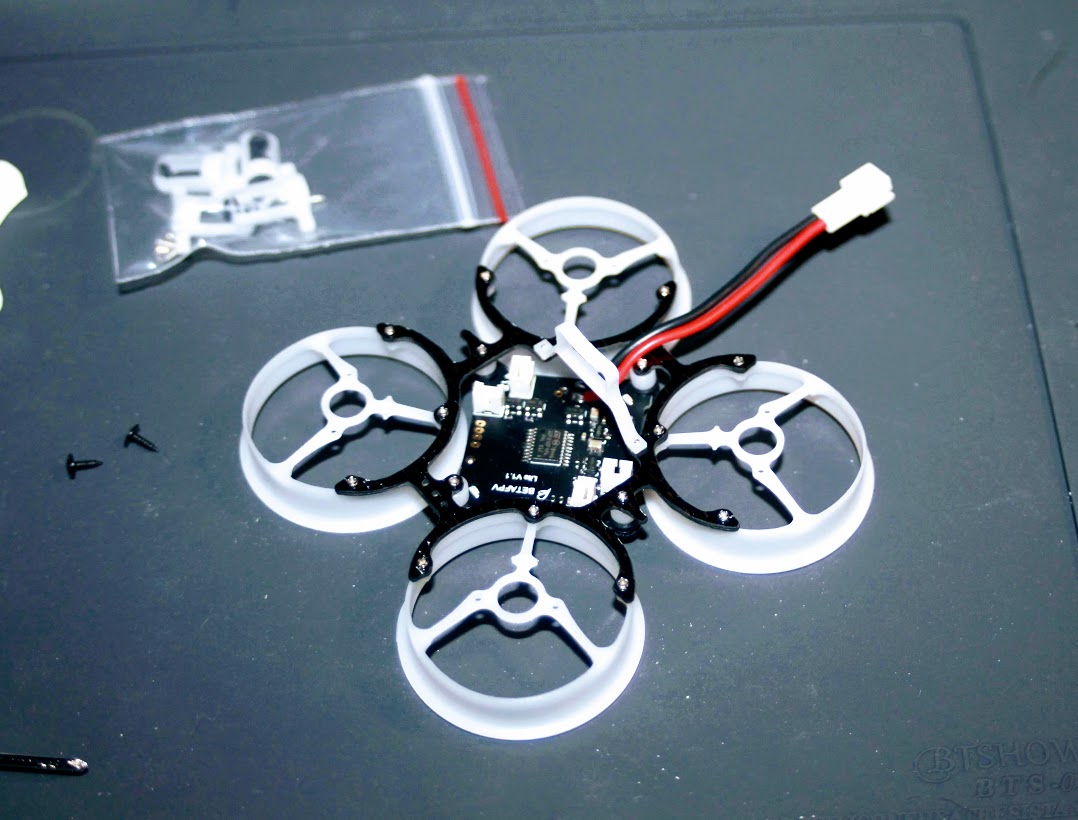
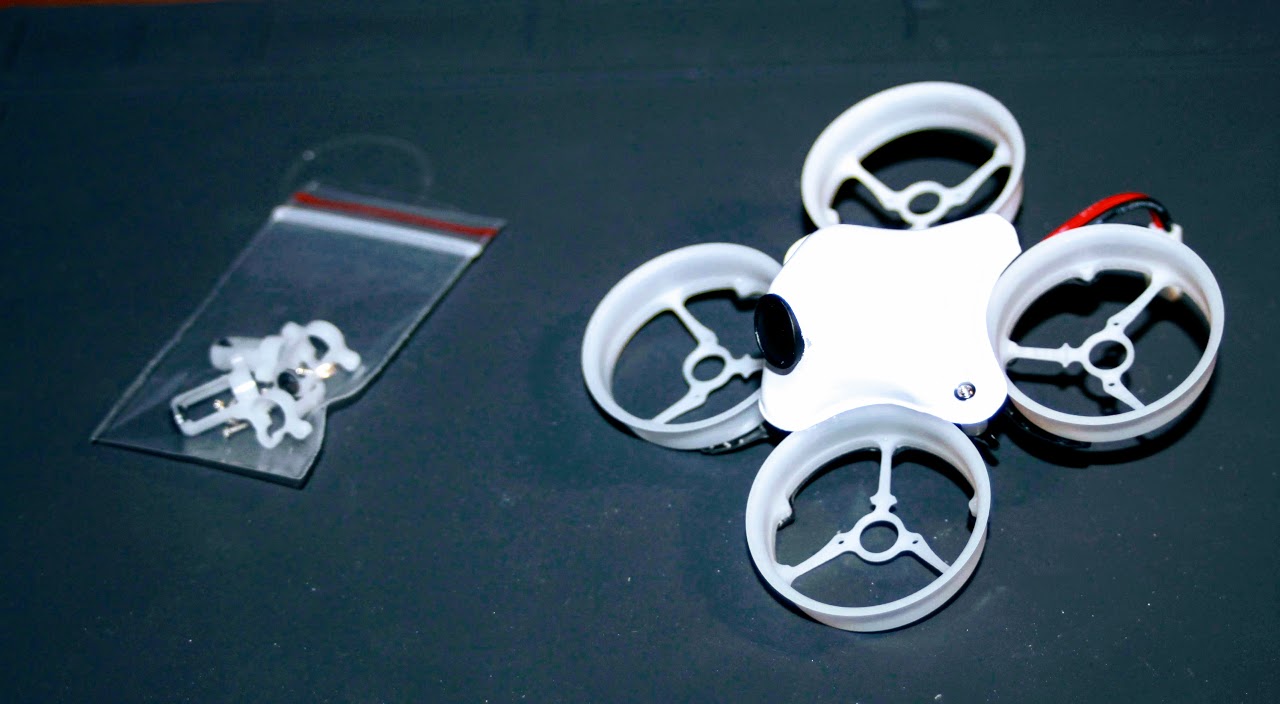
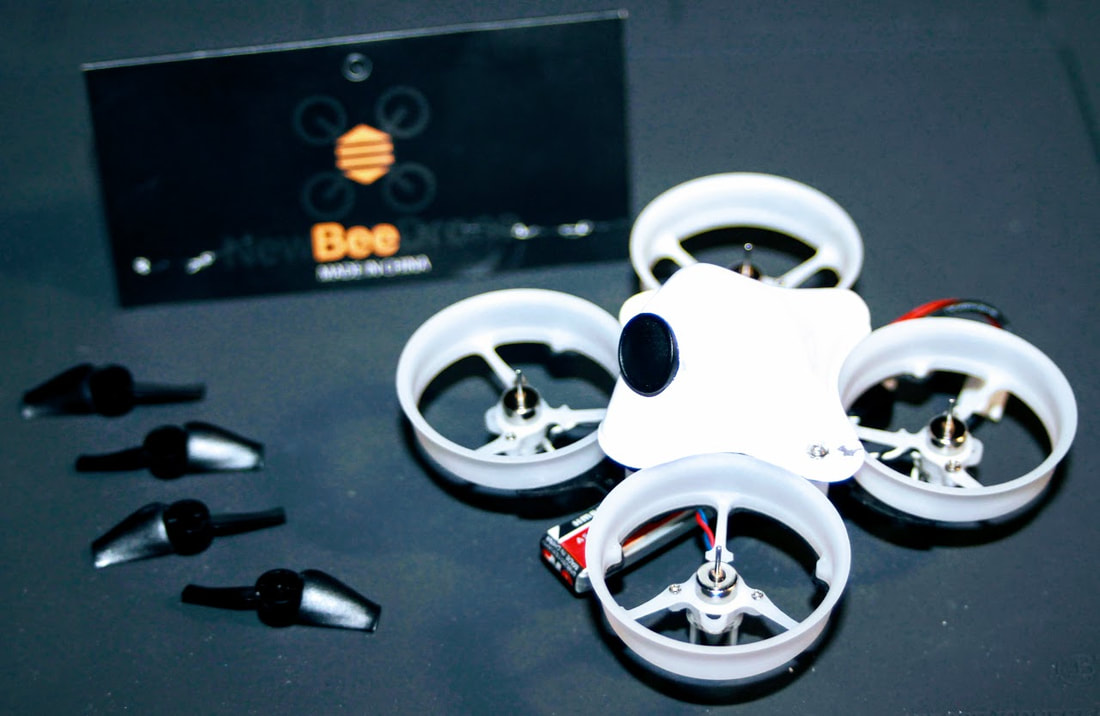
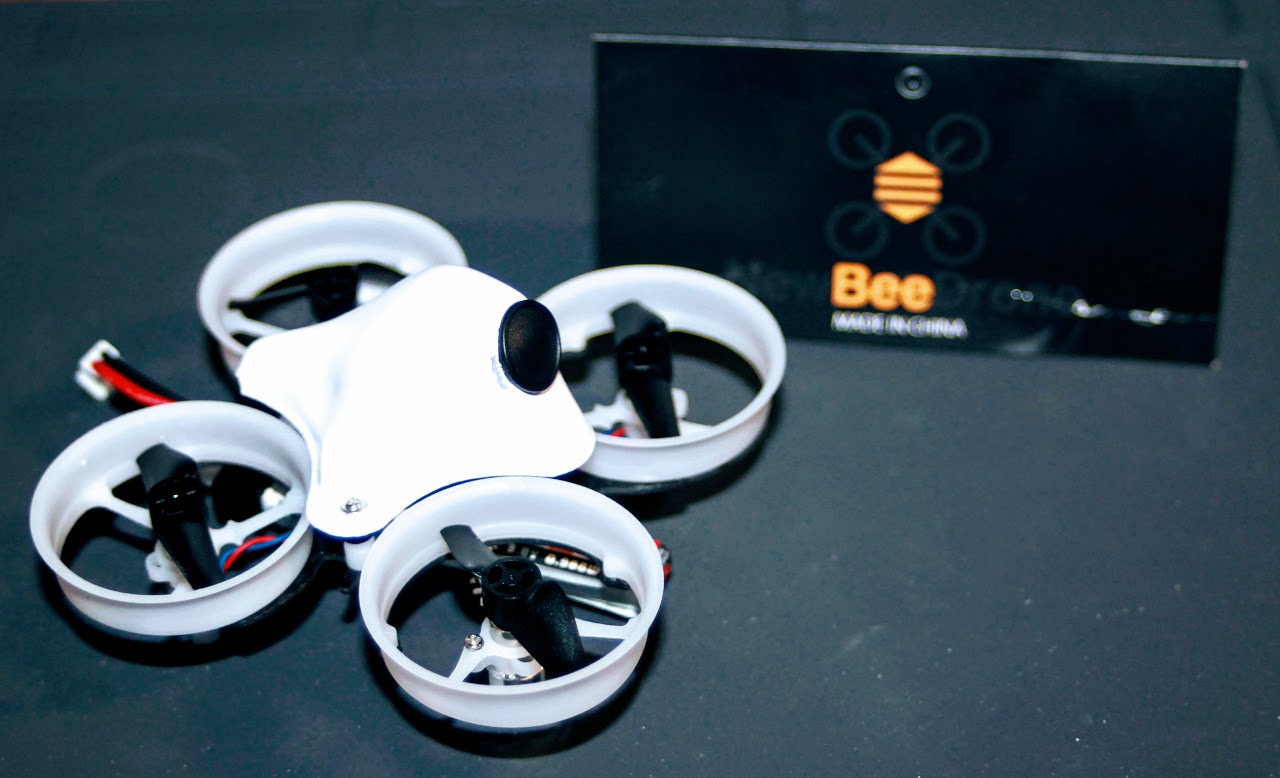
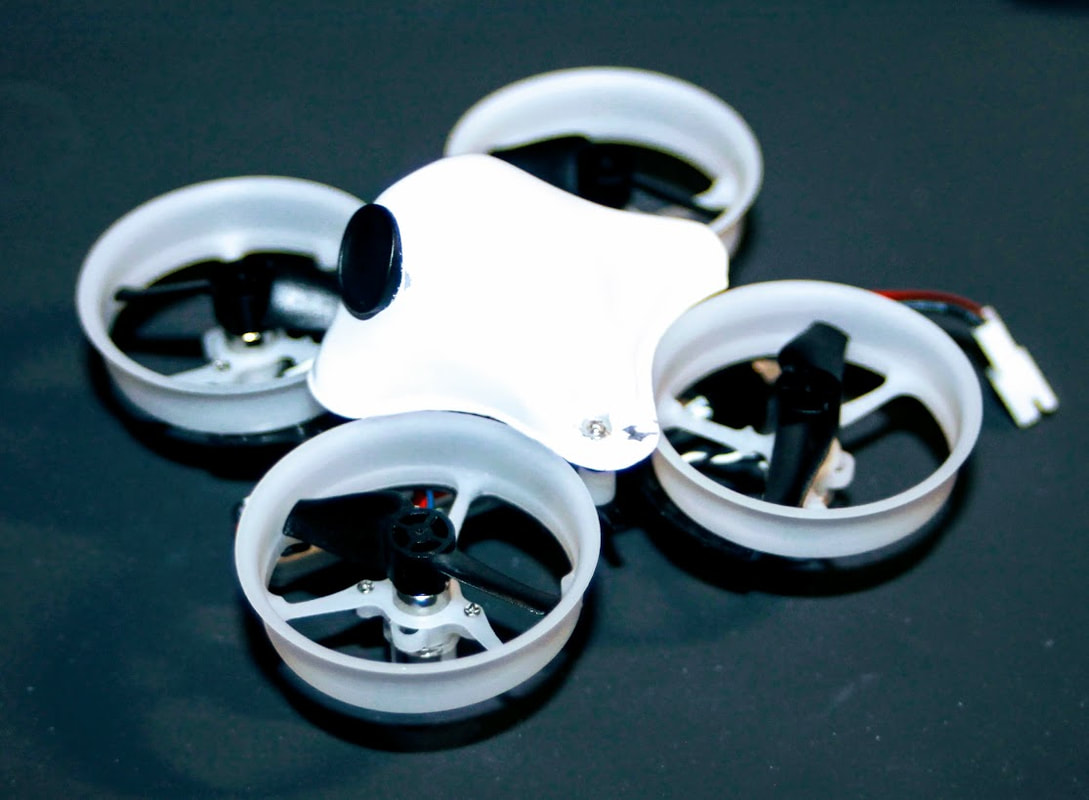
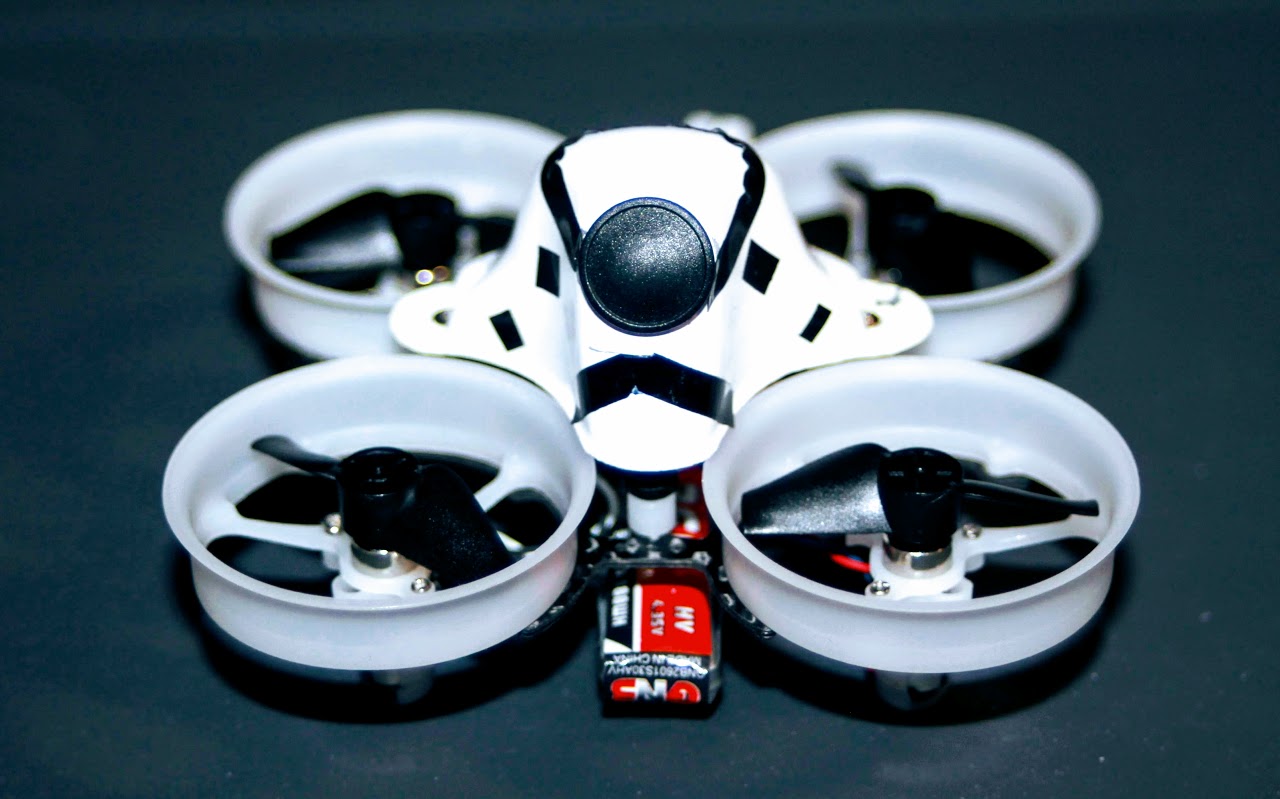
It seems the Whoop builds never end for me I'm starting to think I'm going to want every color combination available. This build is very similar to another build I did about a month ago. Again we are using a NewBeeDrone Cockroach frame, Goober canopy, and Azi props. The flight controller is a BeeCore F3 V2 with OSD, motors are Tiny Whoop Ultra Sauce, and the FPV duties are handled by a Micro AIO 25mw unit from Amazon. The camera is a perfect fit in this mount on Thingiverse. You can cut the back of the mount off and lighten the mount since the camera isn't separate from the VTX. Here are a few pics. DVR footage coming soon.
0 Comments
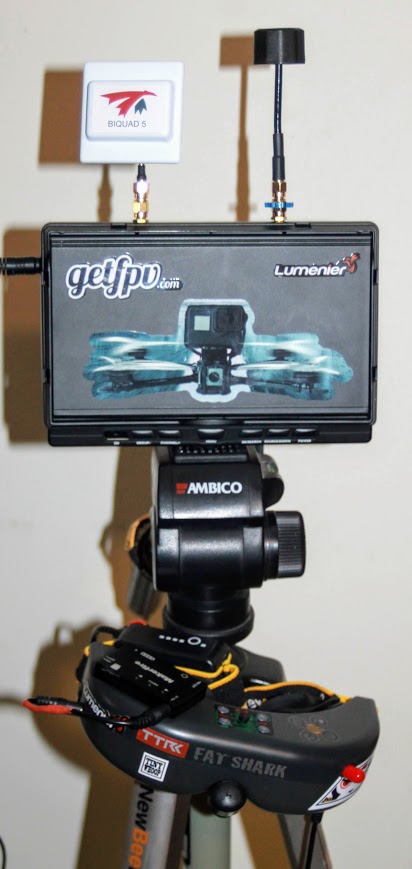
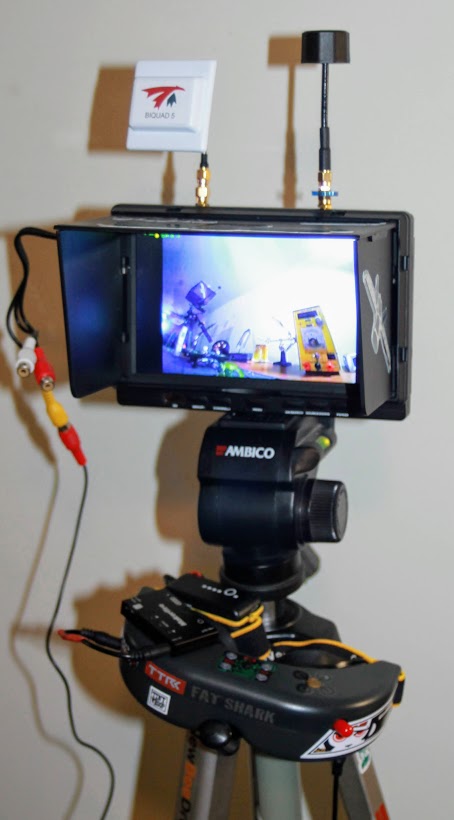
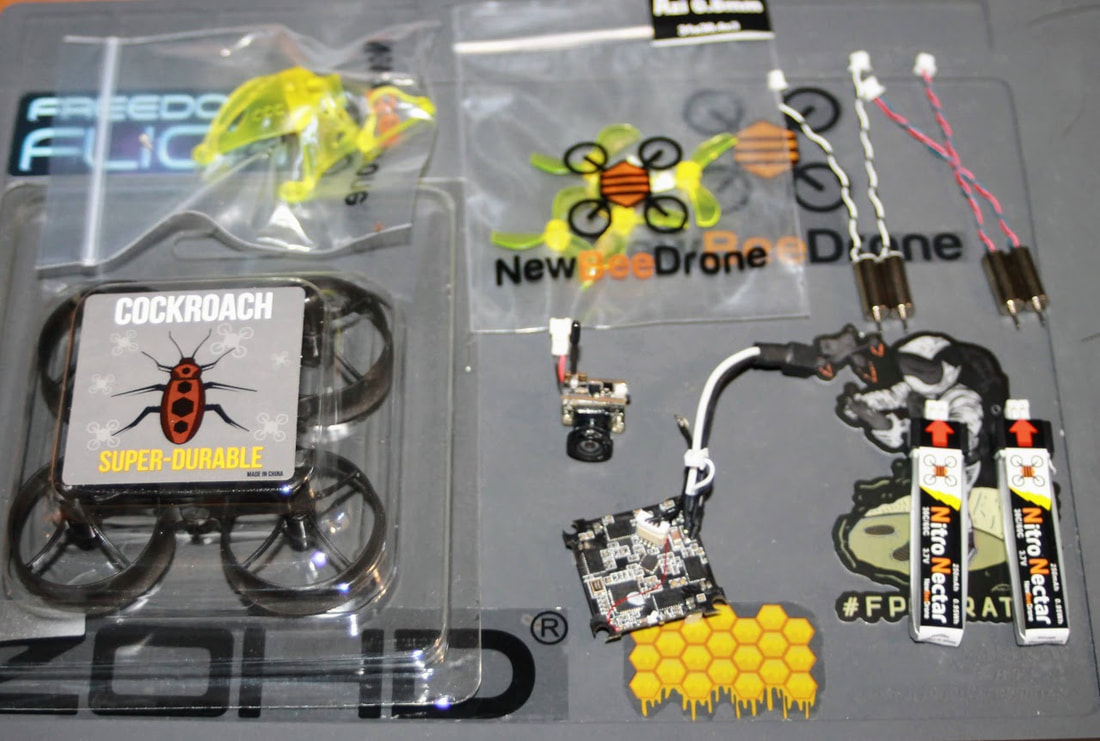
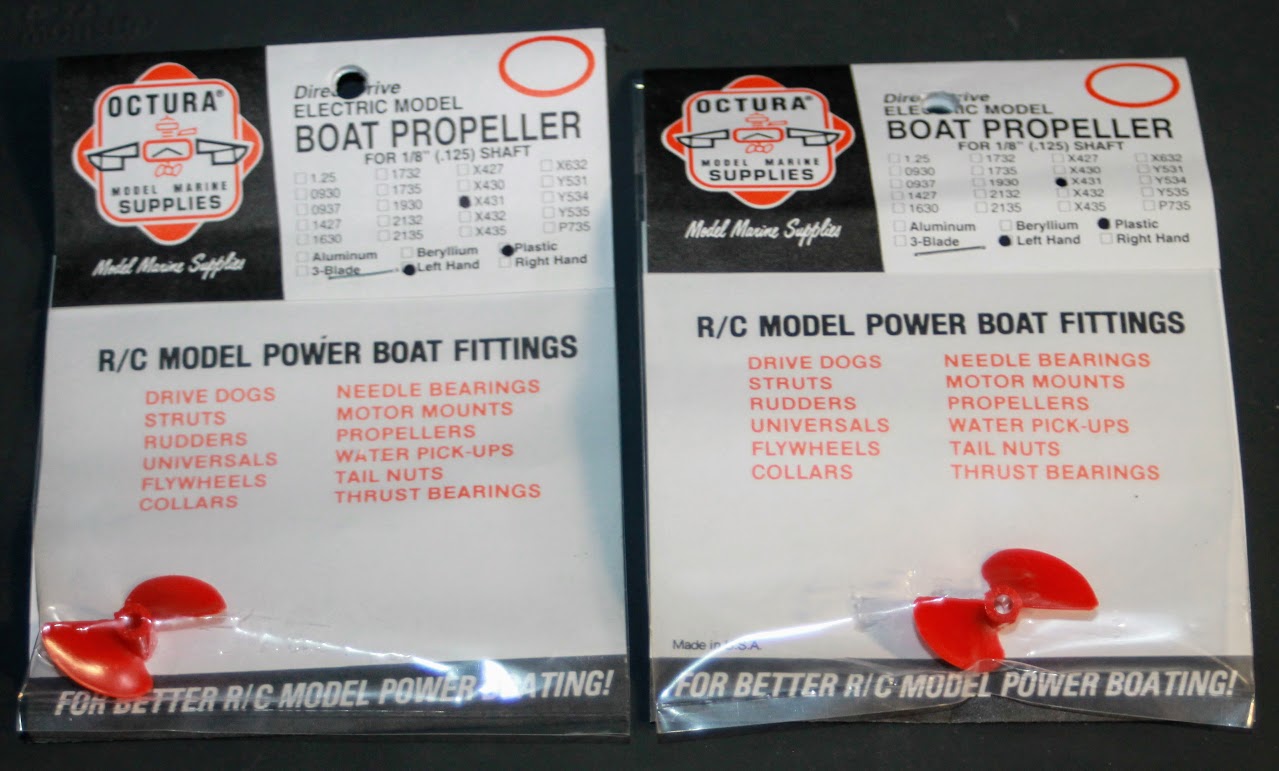
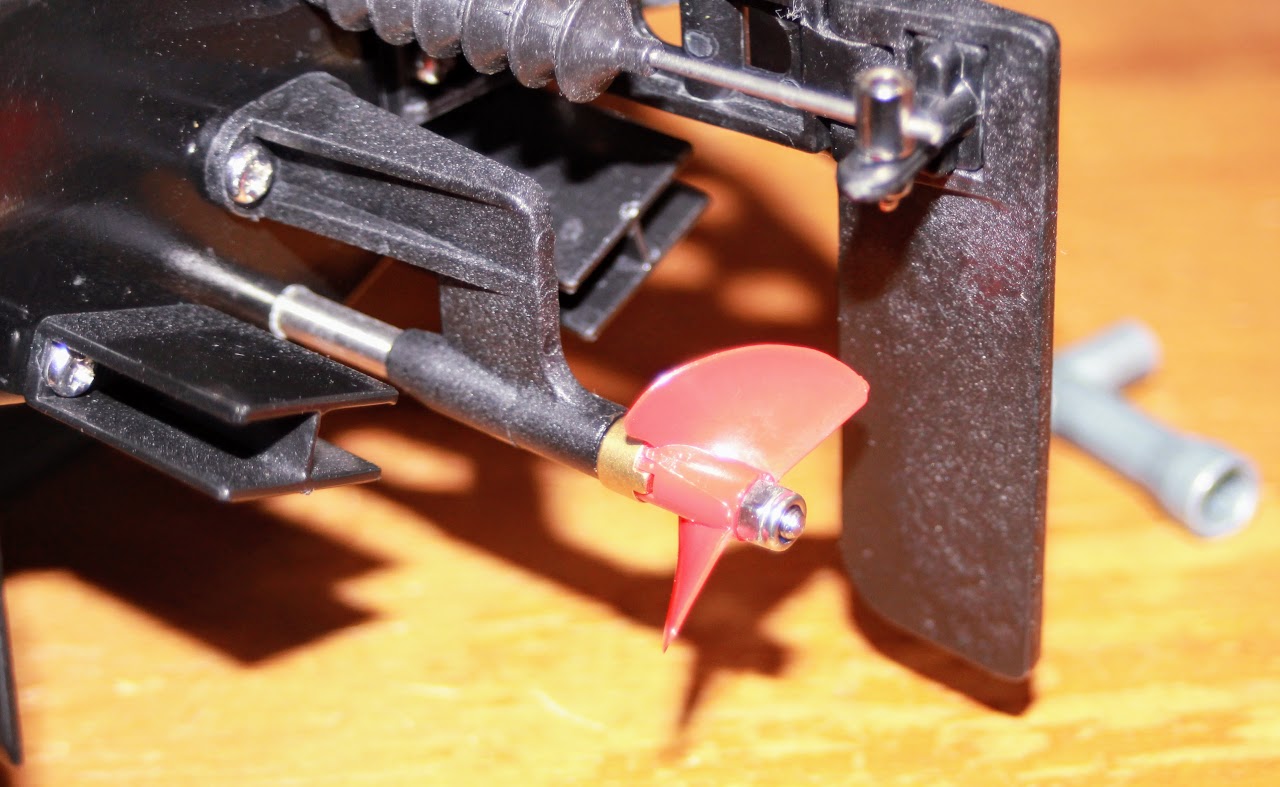
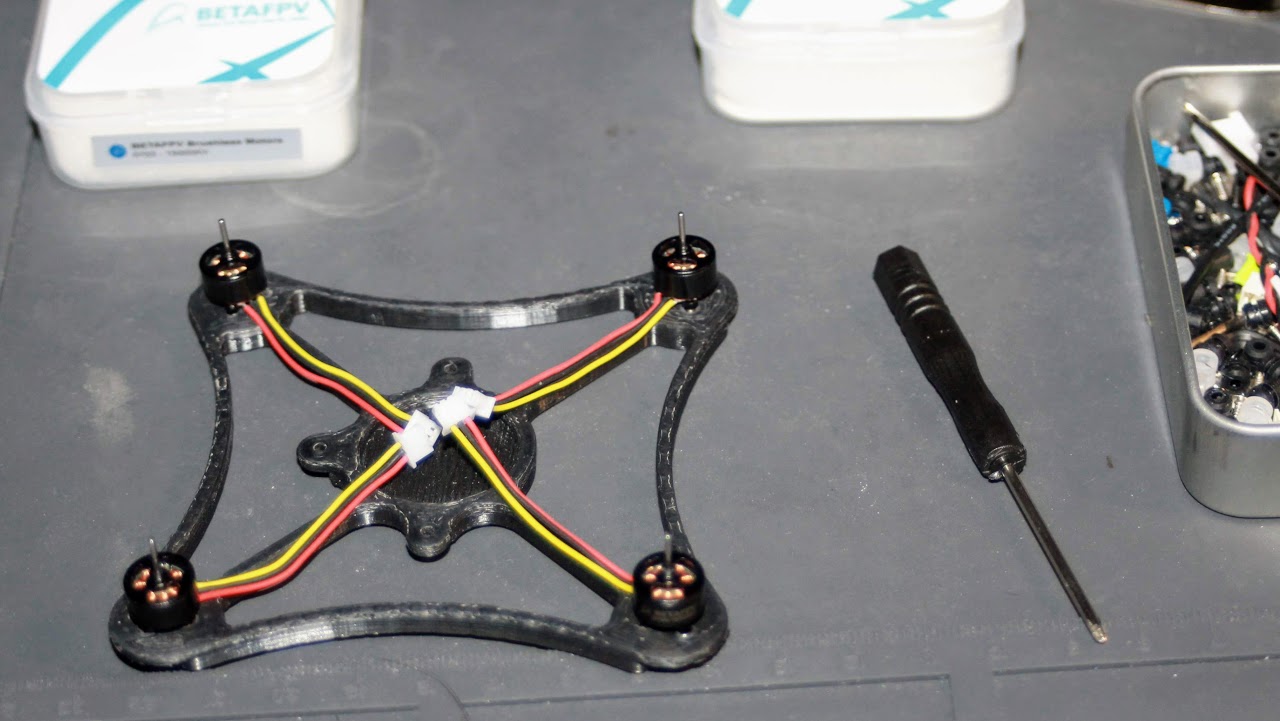
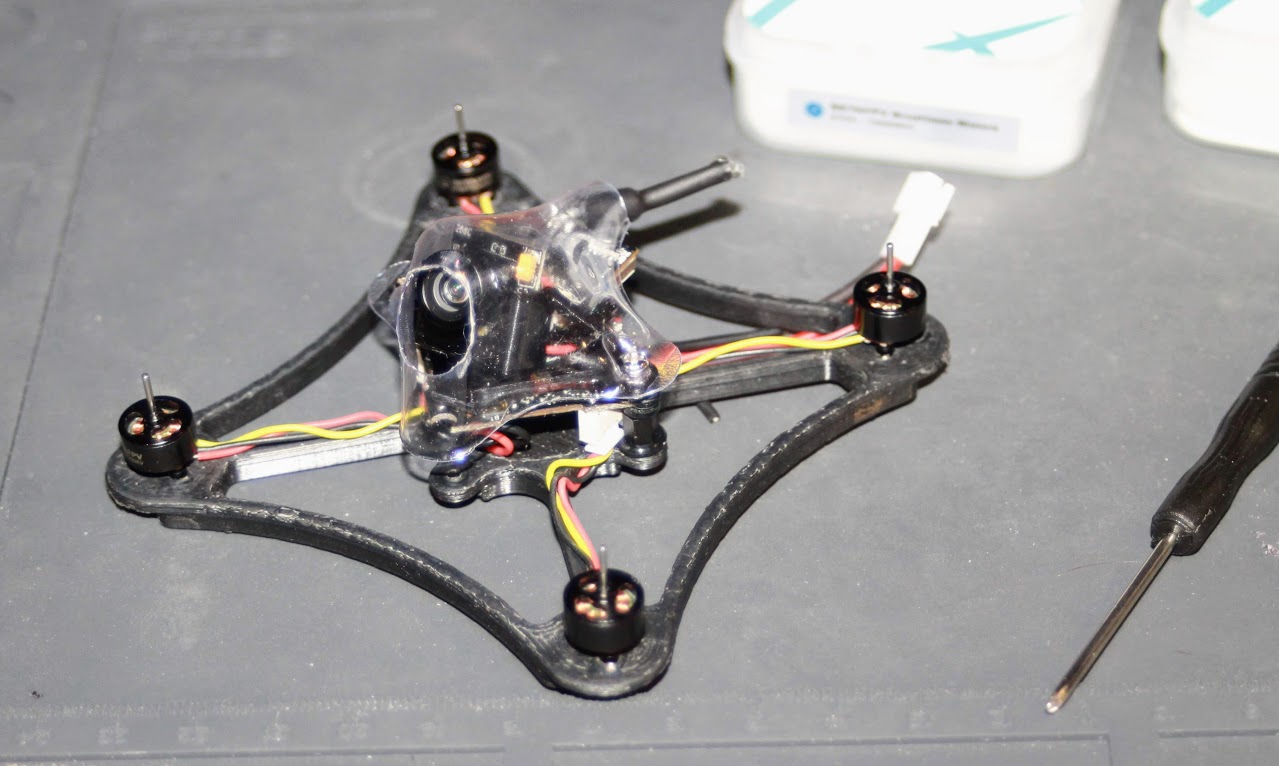
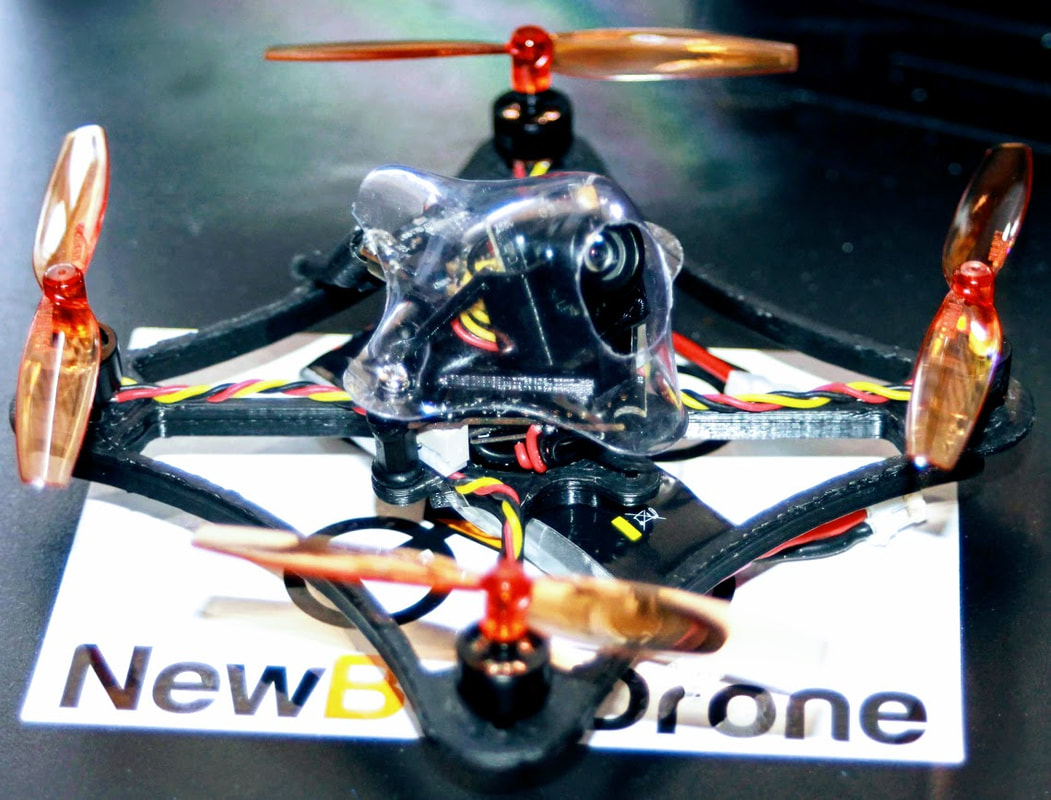
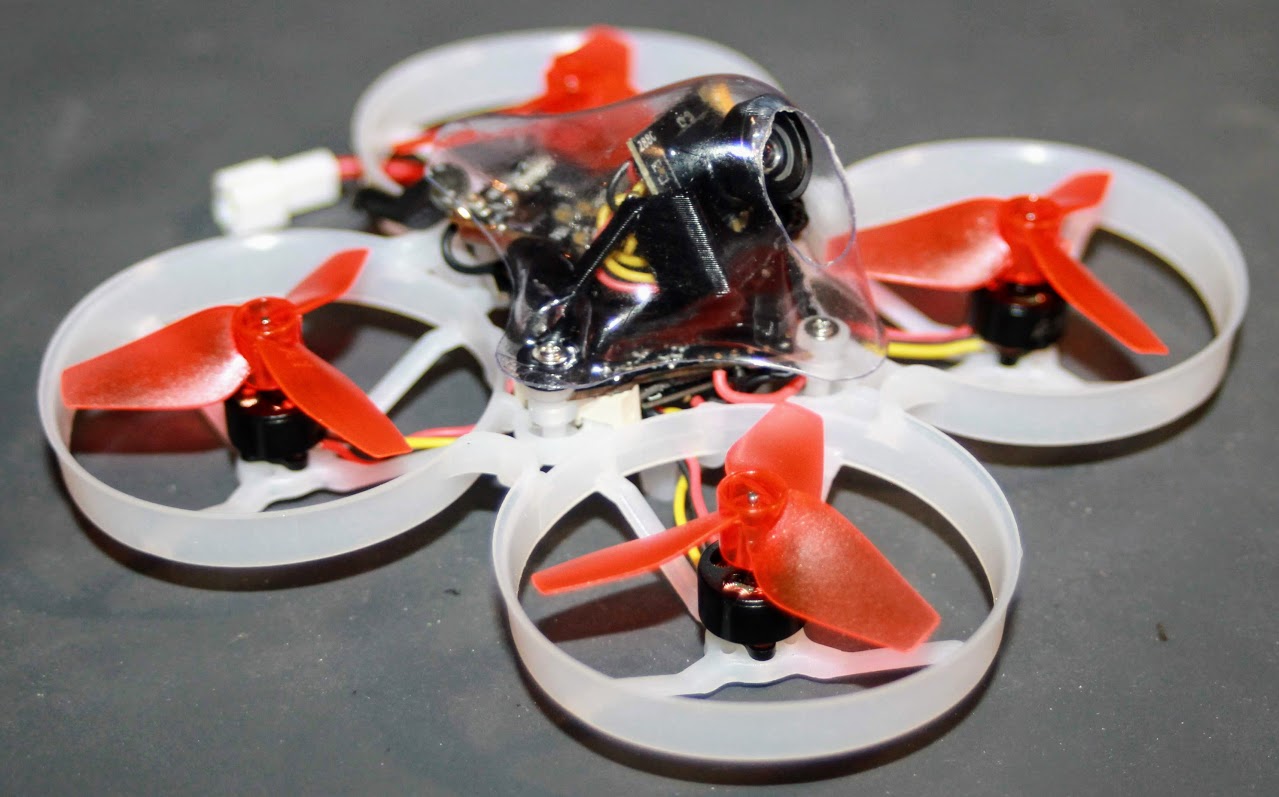
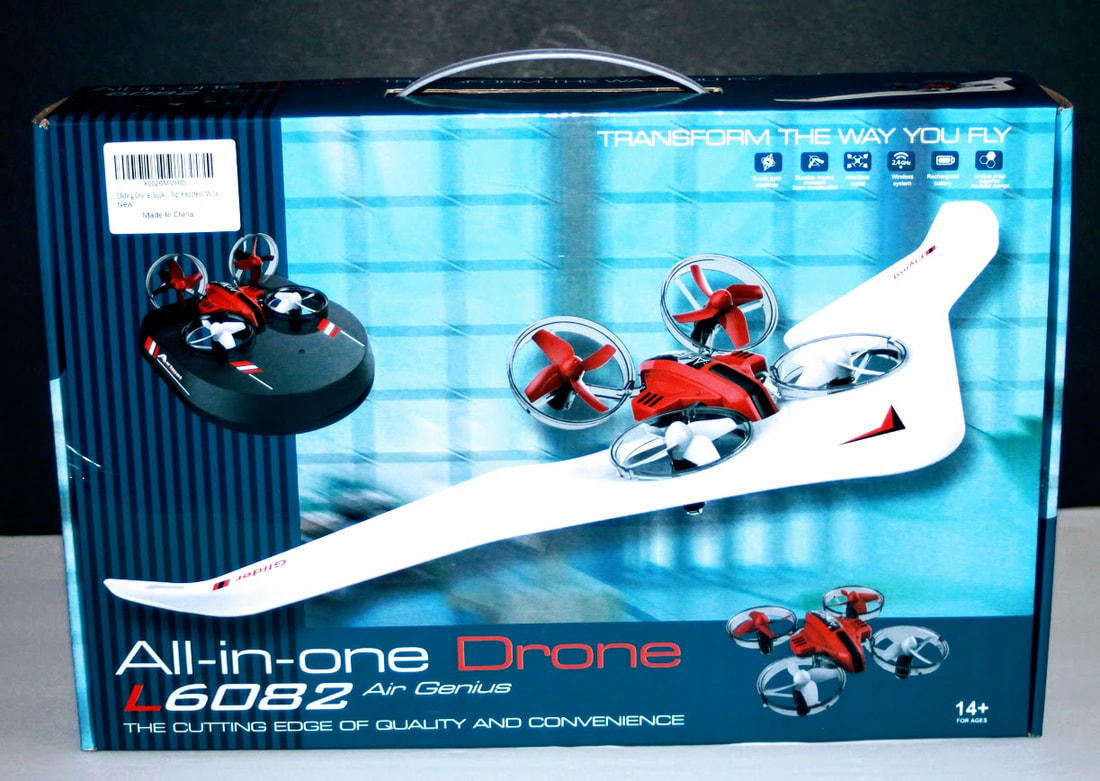
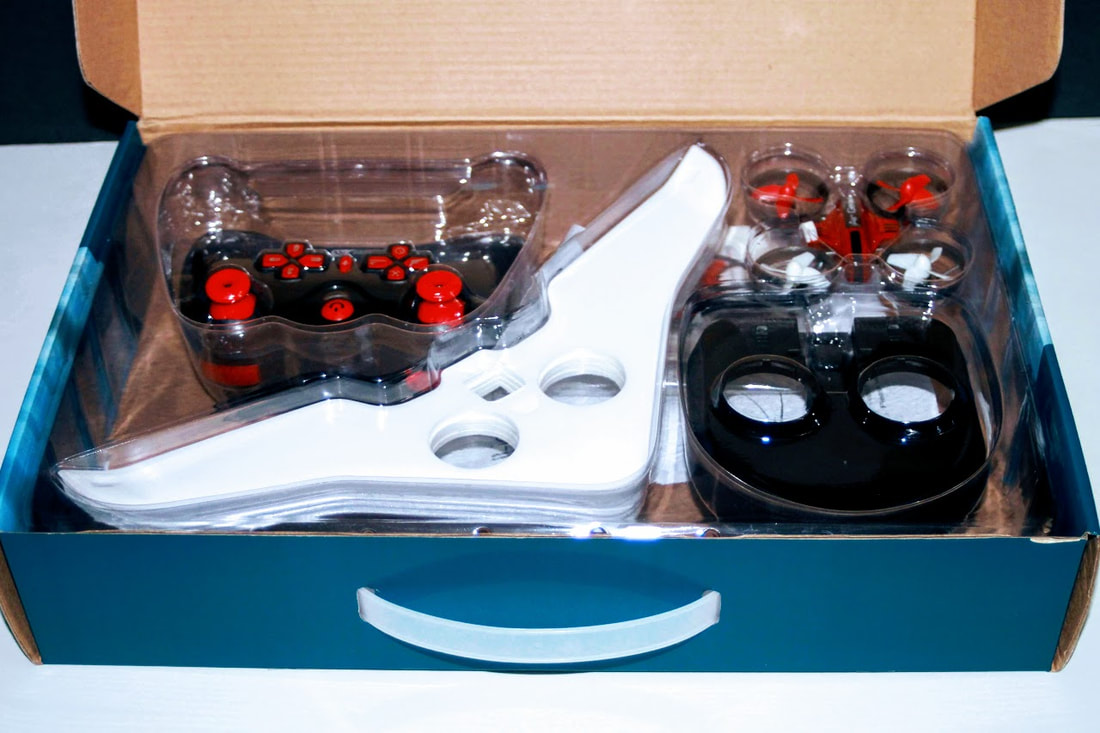
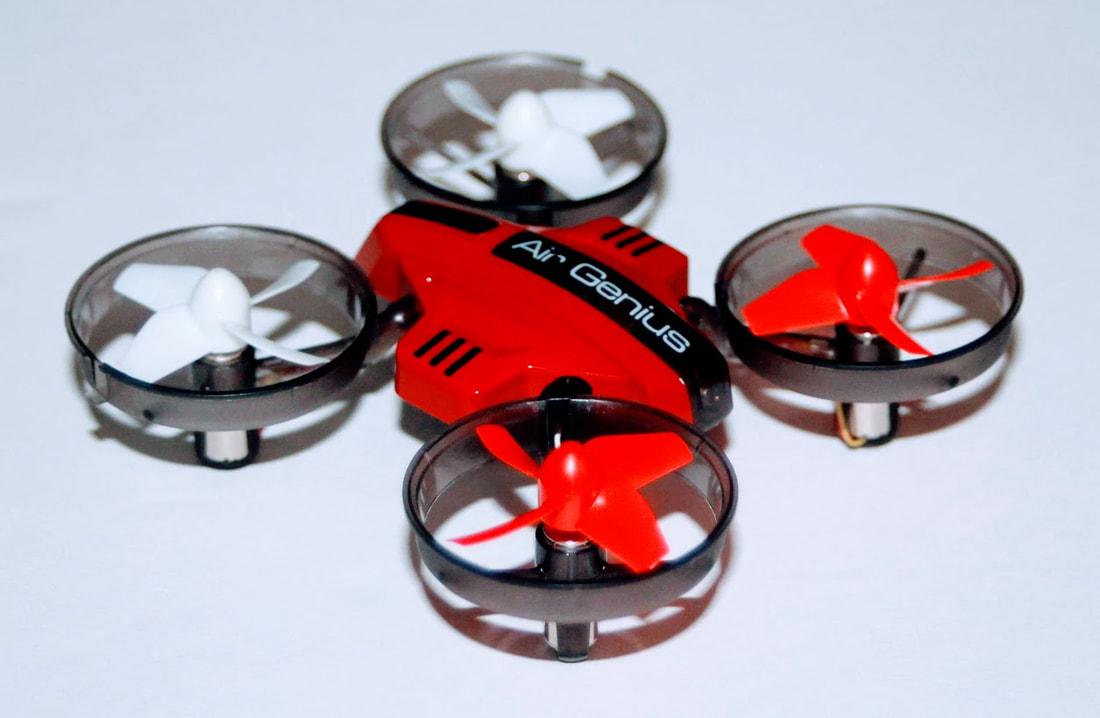
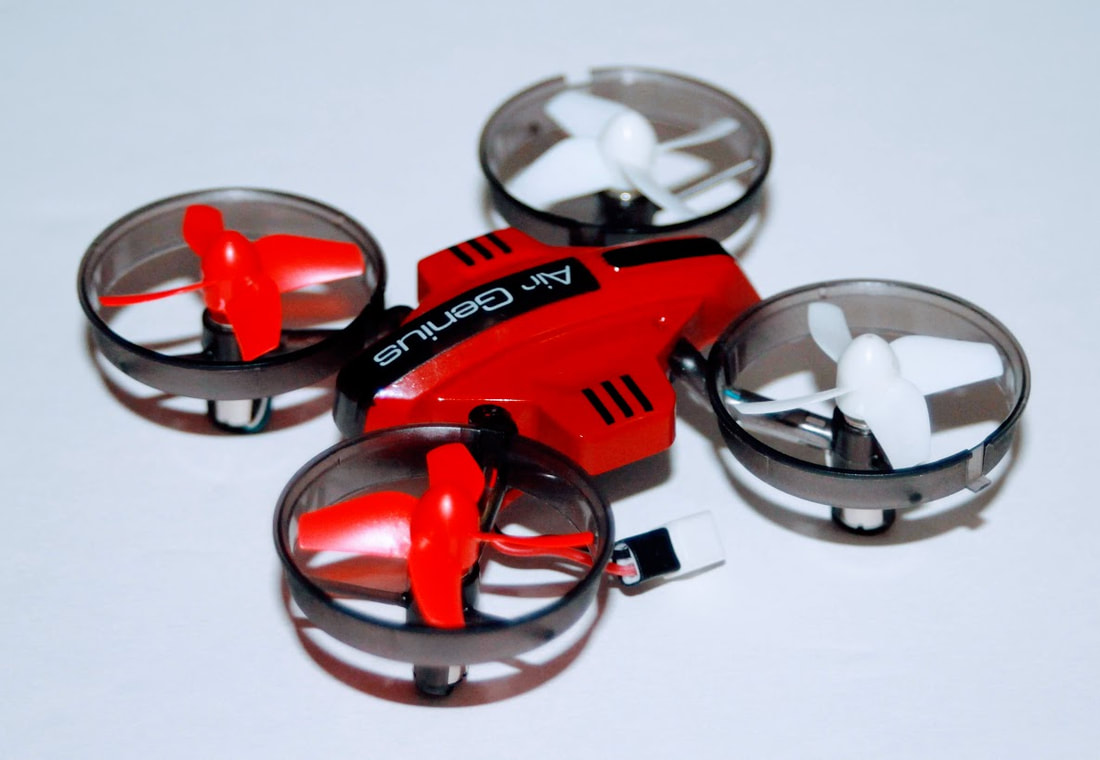
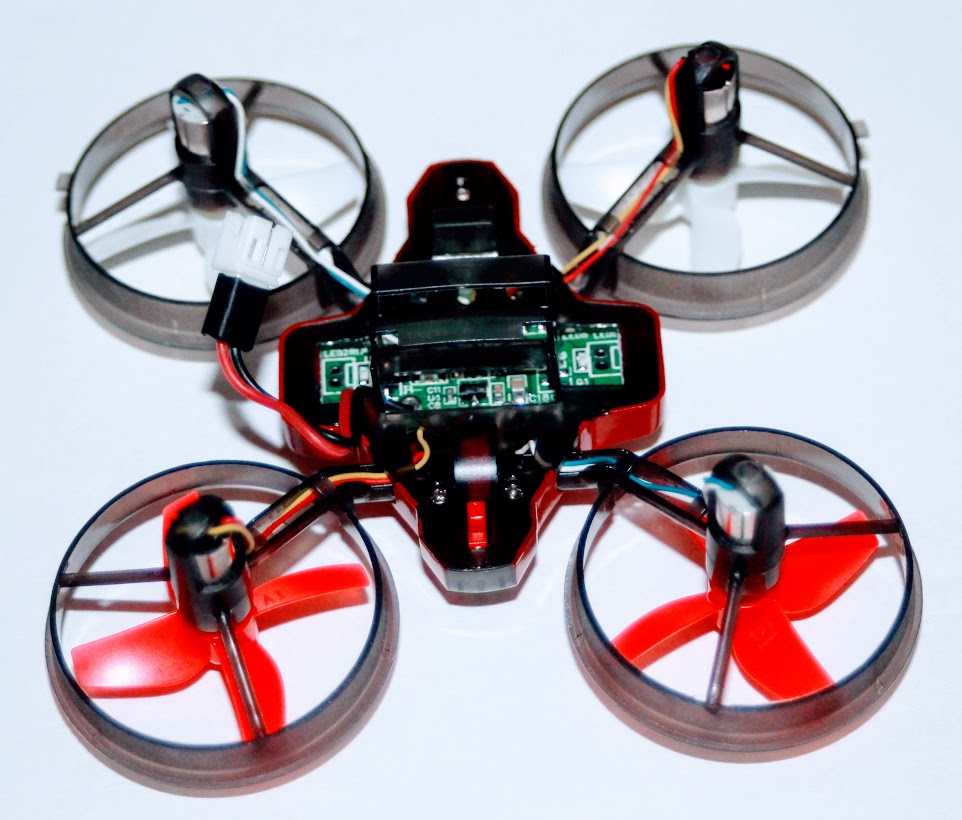
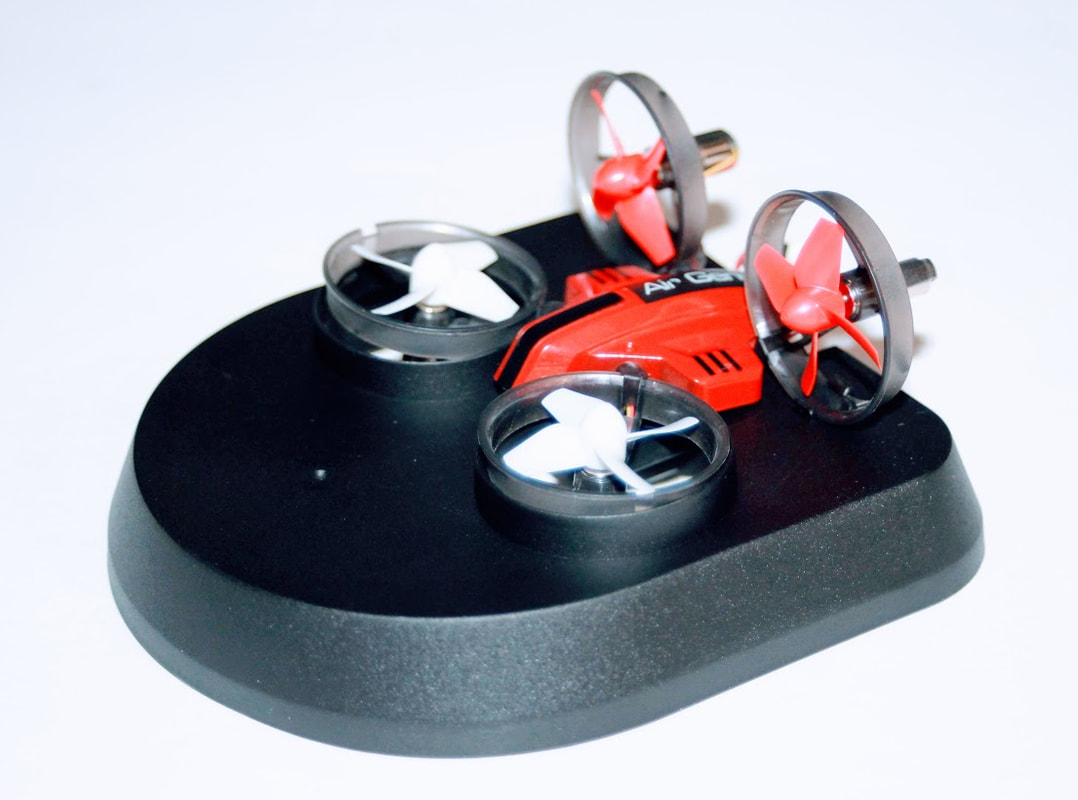
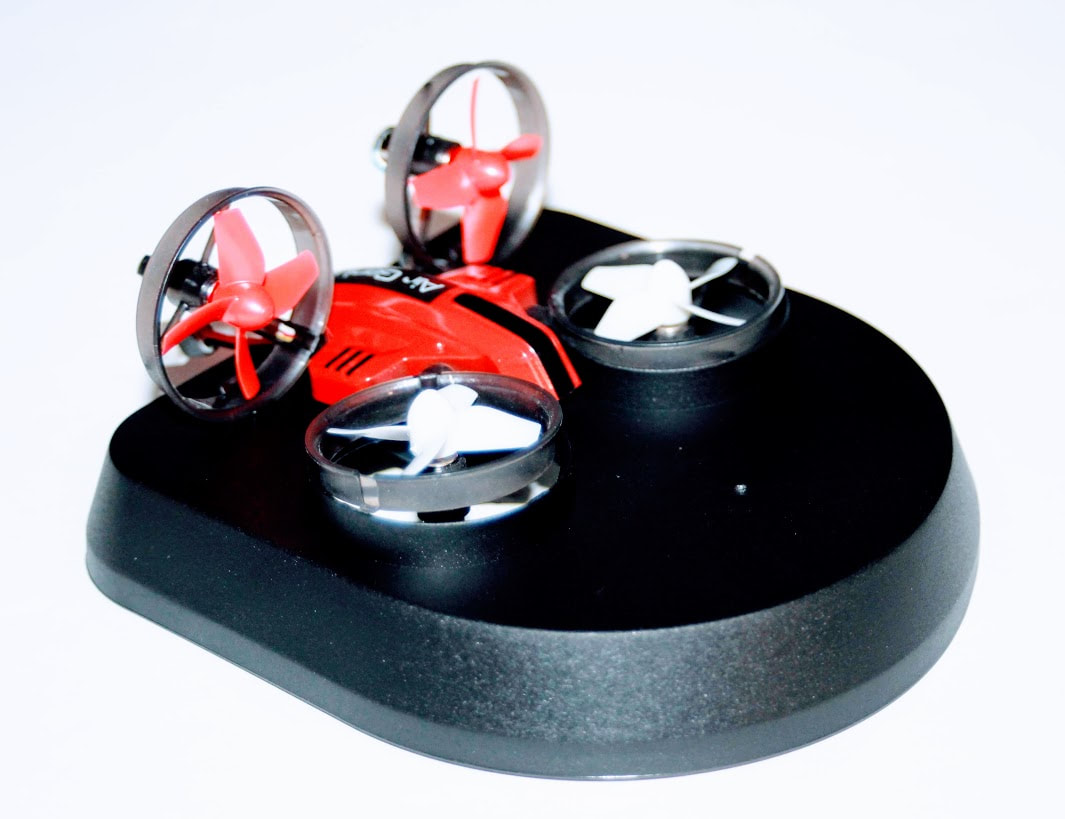
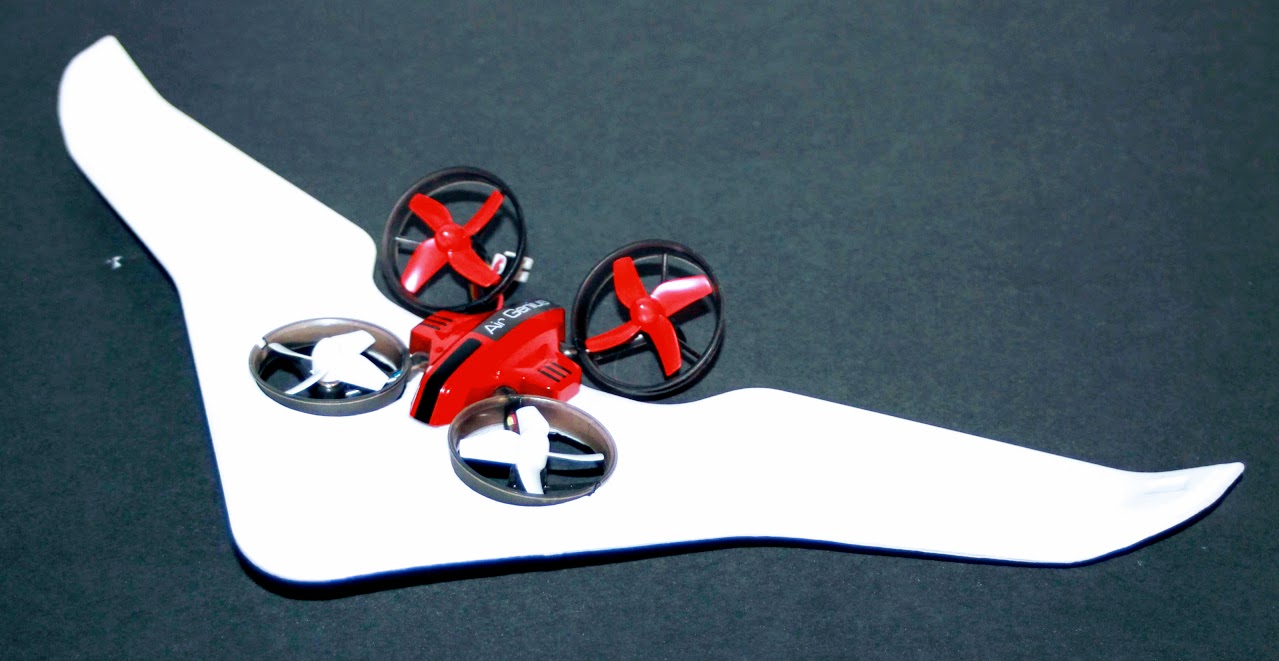
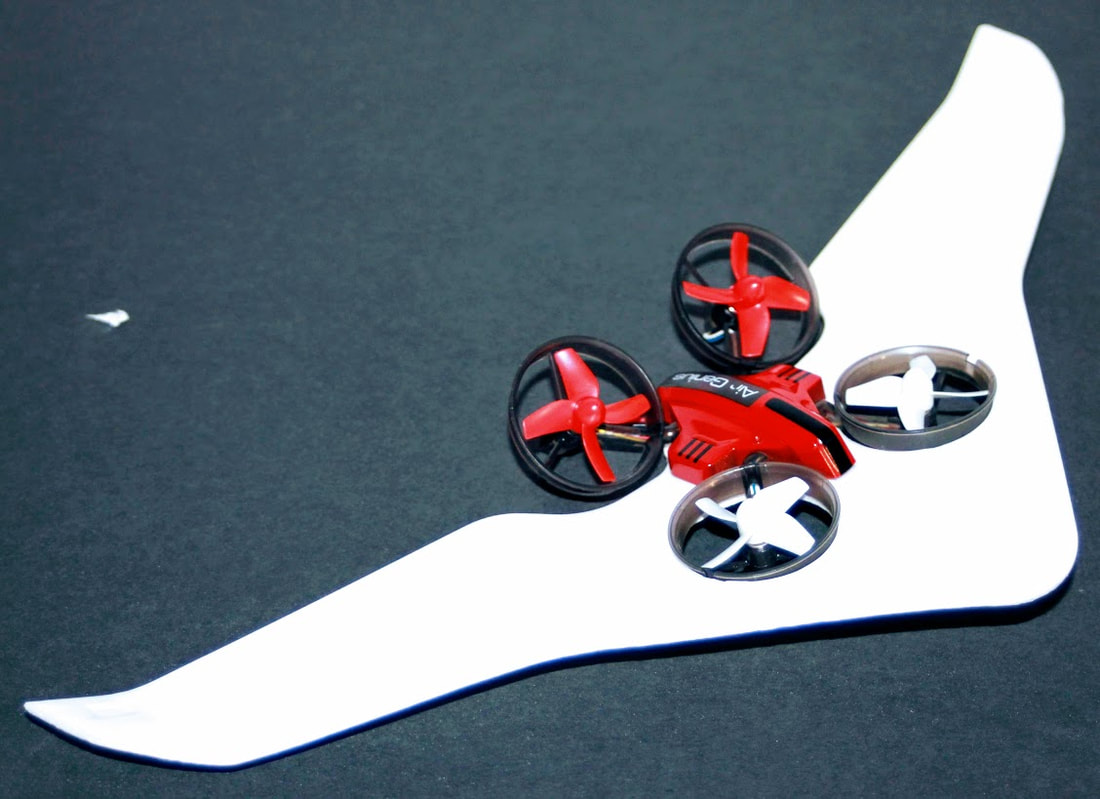
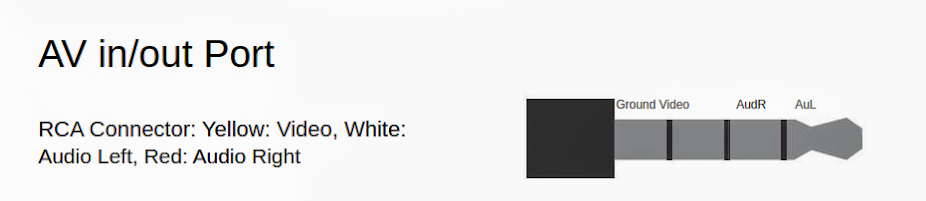
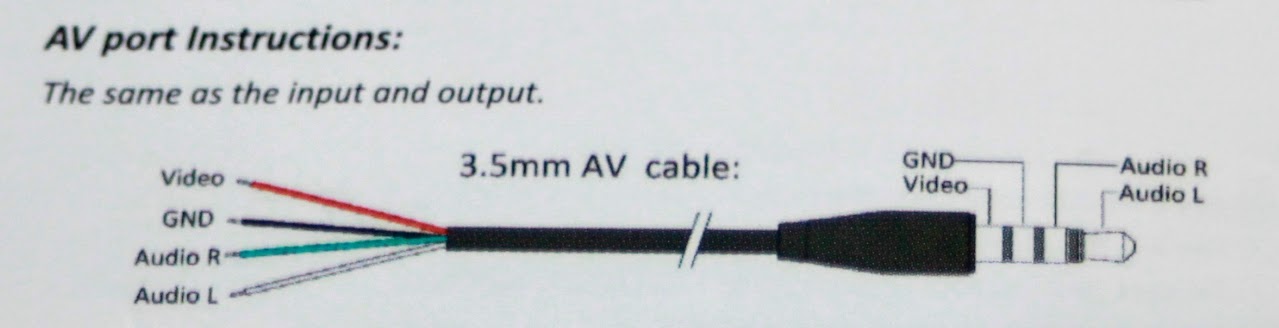
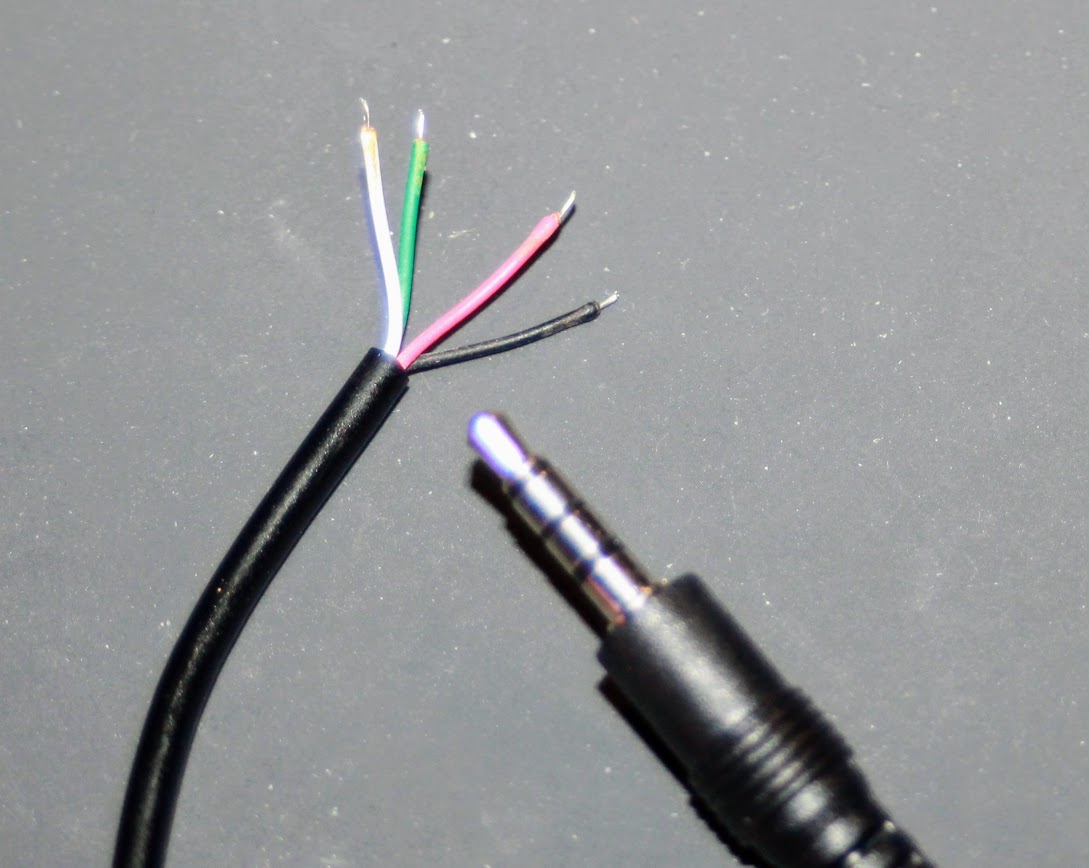
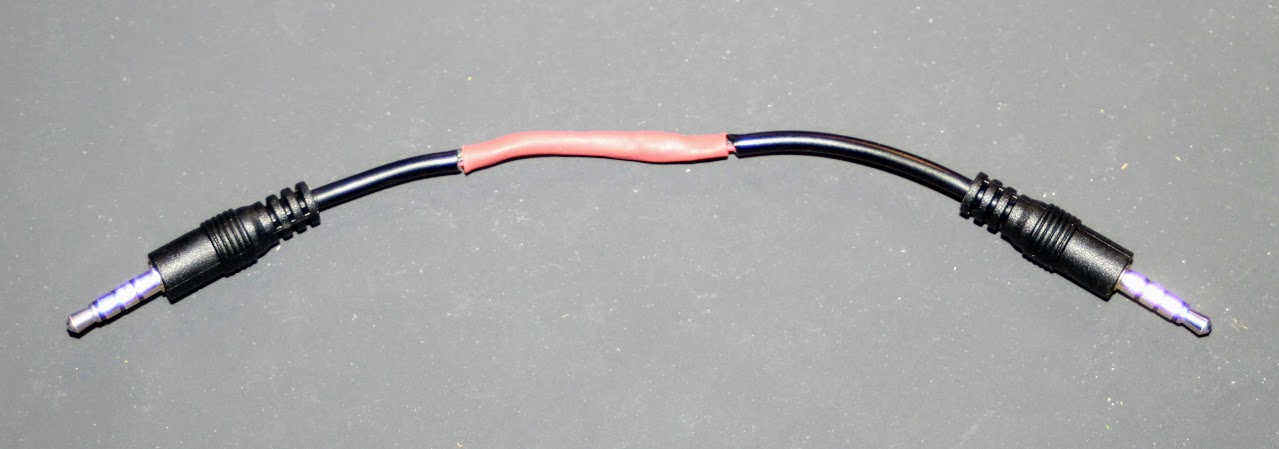
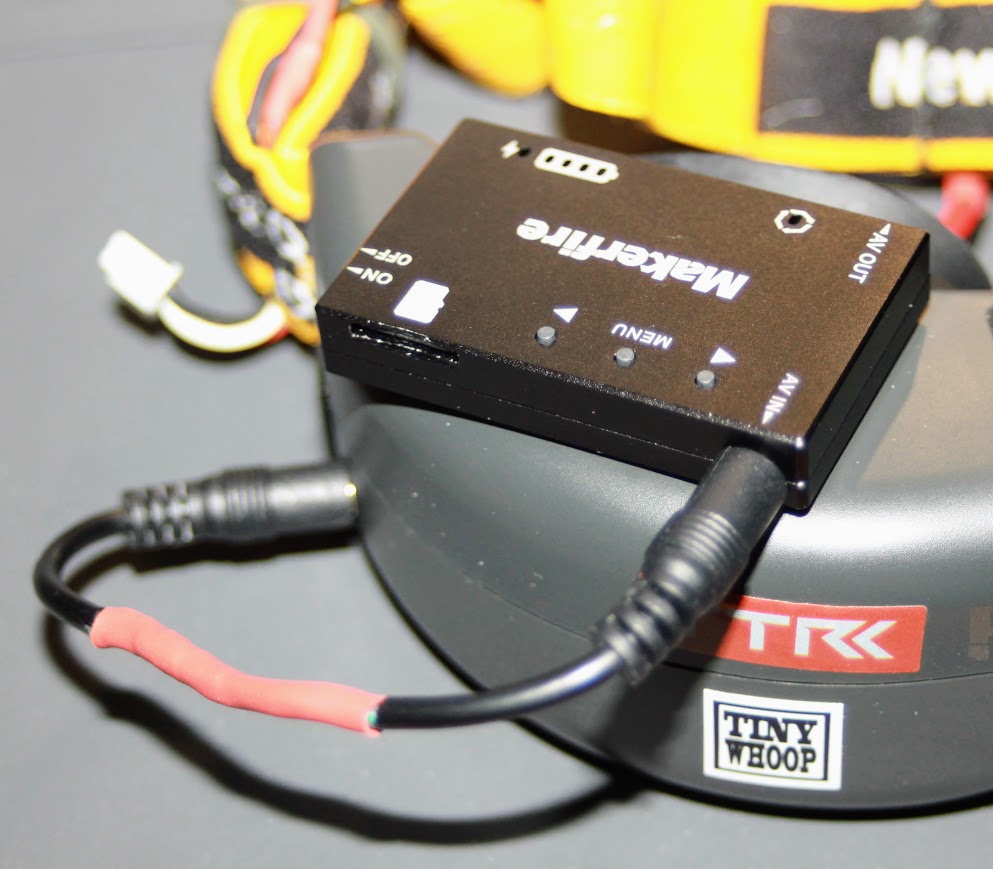
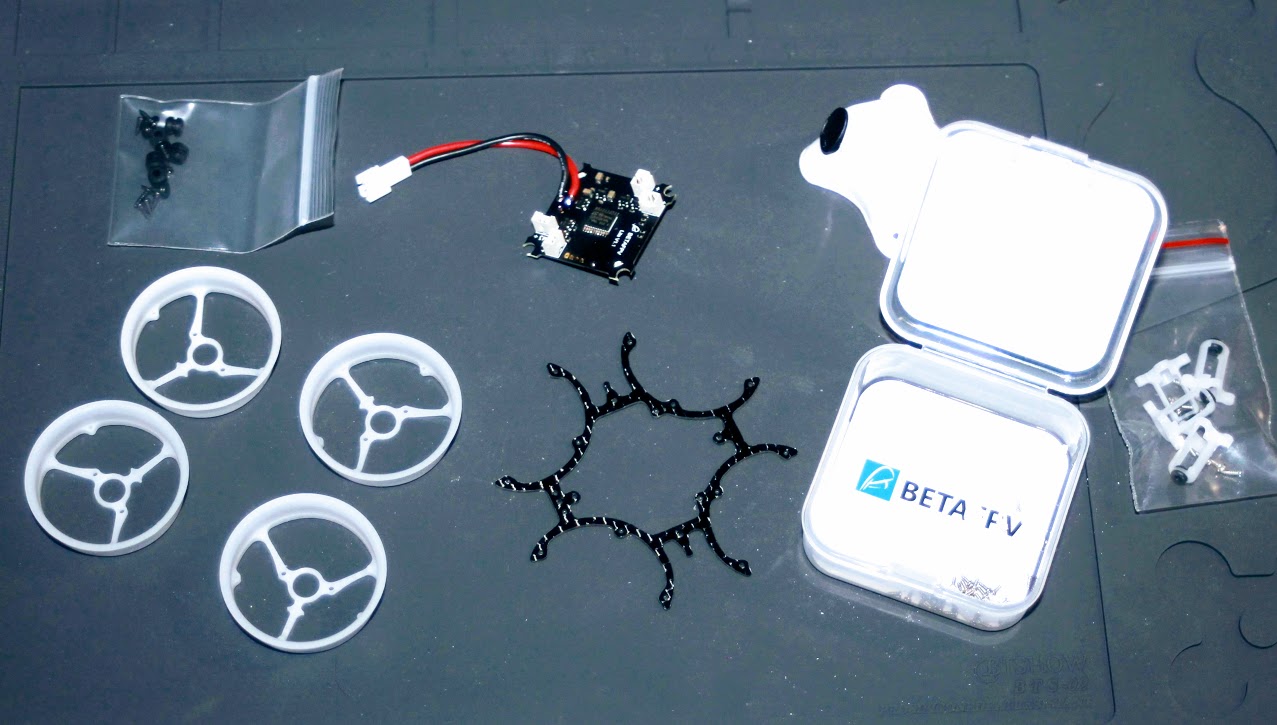
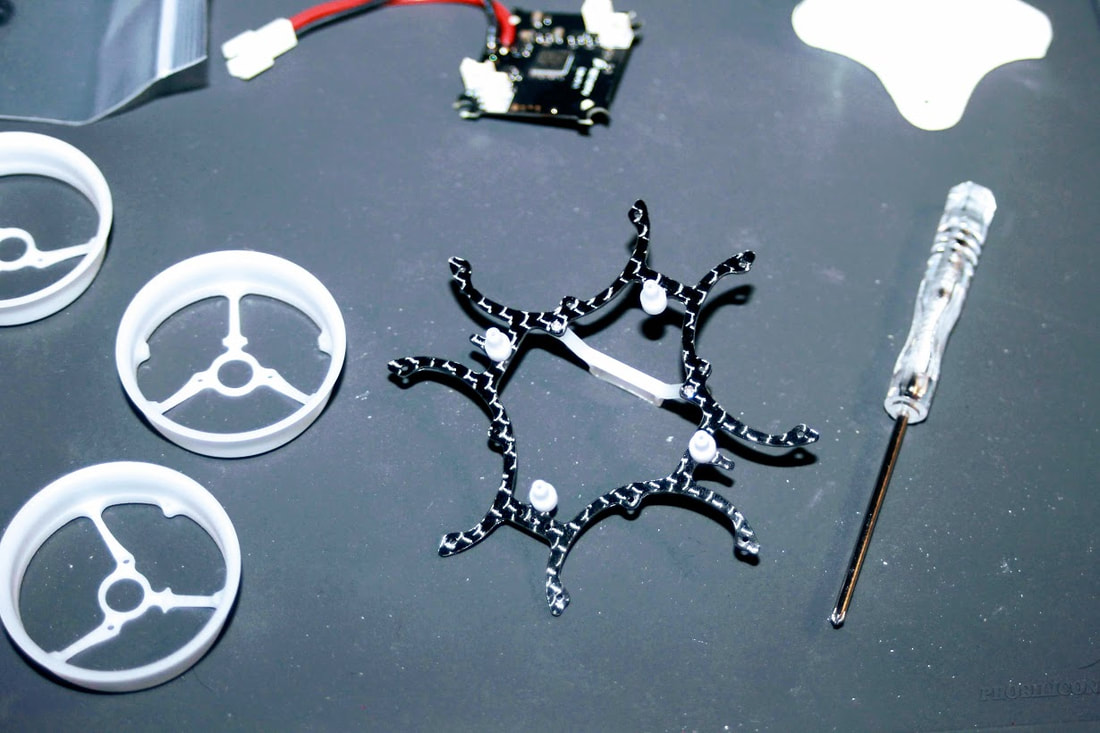
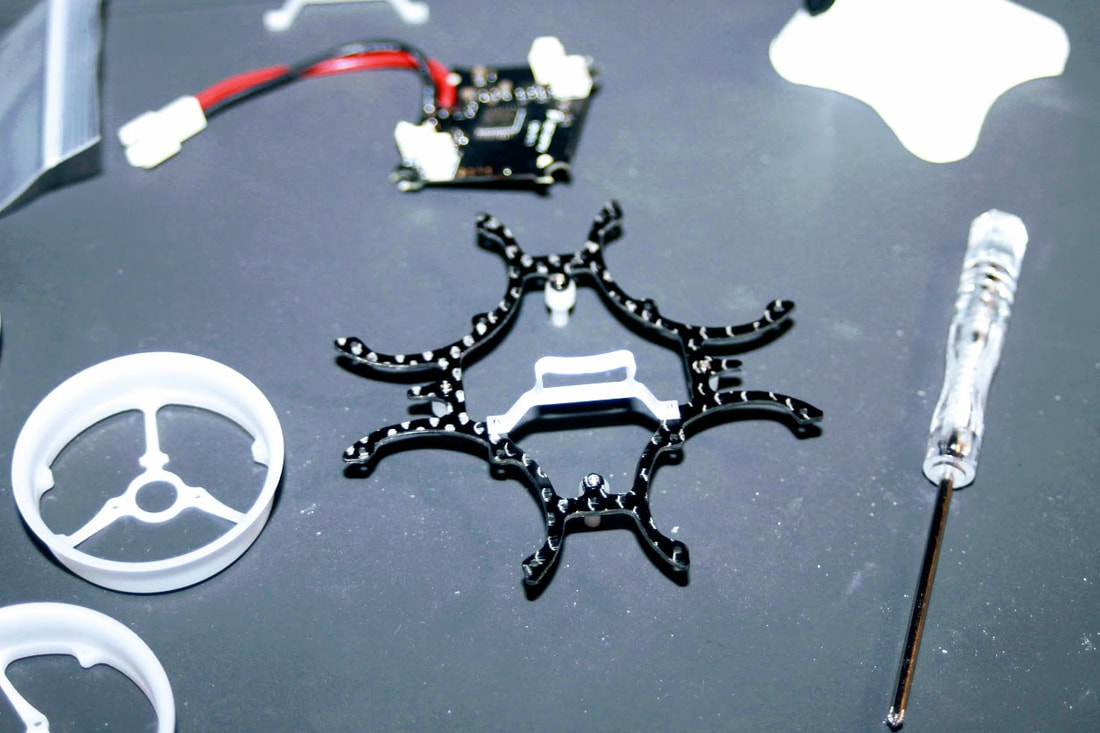
Here's another little project I just finished putting together. I live in the village so when flying my Whoops, and micros around my house and yard I get a lot of interference and break up in my goggles. It got a lot better when I started using a NewBeeDrone Honey Patch antenna on my goggles, but I still wasn't able to explore the entirety of my property or go all the way around my house. Sooo... I thought, let's try a diversity ground station and see what happens, and voila! I am now not only able to fly all of my property, but I can also venture into the neighbors yards with little to no break up in my video feed. This has made flying at home MUCH more enjoyable since before I was basically flying the same pattern around my driveway over and over again with little to no variation. With this set up I think I can actually now put some of my gates in different areas of the yard and really change things up from day to day. Set up is a TBS 7" HD monitor with diversity RX. A TrueRC Biquad 5 patch alongside a VAS Madmushroom V2 with the A/V out feeding my Predator V2 goggles. Charging batts now! DVR footage coming soon. Here's another Whoop build. Can never have too many Whoops! This one is a bit of a Franken Whoop. It has a Blade Inductrix FPV Plus flight controller, and camera combo mounted in a NewBeeDrone Cockroach frame and Goober canopy. Props are NBD Azi, and motors are Tiny Whoop Special Sauce. This little Whoop is an excellent flier, and has become one of my go to Whoops for buzzing around the house and ripping around the backyard. Here's a few pics. Video, and DVR footage coming soon. Had a set of NOS Sauce motors that needed put to use so figured it was time to slap together another Whoop With this build I decided to go with an NBD Cockroach frame, and Goober canopy bundle. I also had an older BeeCore F3 flight controller just sitting in my drawers so in it went. While I was ordering the frame and canopy I thought I might as well try out some of NBD's Azi props, and I also grabbed a few Nitro Nectar 250mah HV batts since they were on sale. Just finished getting it set up in Betaflight, and got the batteries all charged up so now it's time to take it out for a maiden flight. Video, and DVR footage coming soon. This post will be a running log of my adventures with the Volantex SR48 brushless boat. I will keep this thread updated with my mods, upgrades etc. as I look to improve performance, and customize the look of the boat. This awesome little boat can be had on eBay here from MrBenMois of Mois Family Tech (MFT) for under $100 shipped to your door. Here is a quick video of my first run with the boat in box stock form. Stay tuned for more info, pics, and vids. EDIT-4/13/2020 Another quick run. The flex shaft has now been soaked in CowRC Moo-Slick. Next run will be with an upgraded prop so stay tuned. EDIT-4/22/2020 Emax metal gear servo, and OSE Octura prop installed. New running video coming soon! Had another BetaFPV F4 flight controller, and another set of BetaFPV 15,000kv 0703 brushless motors that needed put to good use so I decided to do a 3D printed "toothpick" build. The Eyebreaker frame can be found on Thingiverse here. This build is swinging 55mm props, and had an AKK A5 cam/vTX combo on this 3D printed mount. This build also fly's beautifully on the same GNB 450mah 1s LiHV batteries that I use on many of my other Whoops. The end result is a smooth, good flying 1s bird that gets around 4 minutes of flight time with a lot of full throttle usage. Check out the pics, and stay tuned for some flight video, and DVR footage coming soon. Happy Flying!! With spring right around the corner I figured it was time to put together a new backyard bird. 1S Whoops are my favorite for my small half acre backyard, and my old Beta75 has quite a few miles on it so I decided to start this spring with a fresh build. I was hoping to put together a couple new Whoops with my current budget, so the hunt for some inexpensive parts began. I came across this frame on Amazon that included a set of props for only $5.99 so in the cart it went. RCG member KadosMicroMotors recently had a big sale on some Whoop parts, so I was able to get some new BetaFPV 0703 15000kv motors from him for quite cheap in the RCG classifieds. Control is handled by a BetaFPV F4 1-2s AIO and camera/vTX is an AKK A5 on this 3D printed mount from Thingiverse. I power all of my Whoops with GNB batteries, and this one like my other 75mm is running on these 450mah 1S batts. Everything went together butter smooth, and last nights indoor maiden was a success! Now I just need to beat the incoming snow storm and get it outside for a real flight, and some DVR footage. Oh yeah! This one should be lots of fun! The L6082 Air Genius 3 in 1 Tiny Whoop Drone, Whoover, Glider is a complete ready to run package that gives you the option of flying a quadcopter, driving a mini hovercraft, or piloting a micro airplane. The package includes everything you need to get flying, or hovering except 4 AA batteries for the transmitter. They even include 2 flight batteries to keep the fun going longer, with less down time. One very nice surprise for me was to see that they also include 4 wings. As someone that already owns a bunch of Whoops, and Drones my biggest interest in this model was the idea of having a plane that I could fly around in the house. Extra wings gives me the confidence to push the limits a bit without worry of being grounded due to a hard crash. Check out the pics, and first glider mode flight video. More info and videos coming soon. These currently on sale on Amazon here for only $19.99 with free 2 day shipping for Prime members. If you're like me and you're flying FPV with some older Fat Shark goggles, and would like a quick, easy, affordable way to add a DVR to record your flights with, then check out the Makerfire Mini DVR. This little DVR has a built in battery, so there is no need to connect it to an external power source. This makes it perfect for attaching to FPV goggles that don't already have a DVR. The problem I have seen some people have with these DVR's is that they aren't out of the box compatible with Fat Shark goggles, or other brands of goggles that use a standard A/V 3.5mm plug configuration. Why they manufactured it like this is beyond me, however it is a very easy fix. In the images below you will see that the signal order of the cable included with the DVR has the ground, and video lines reversed when compared to the plug configuration needed for our Fat Shark goggles. The fix is to simply cut the included cable in half (or shorter like I did). Since you will be splicing the cable back together anyway now is a good time to adjust the length to fit your needs. Now that you have the ends of your cable open you will need to strip the 4 individual wires inside enough to allow you to solder (or crimp if you prefer) them back together. This time however you will reverse the red, and black wires, and connect them red to black, and black to red. This will put the ground, and video signal wires in the correct order on the plug for proper communication when plugged into your goggles. The first image below shows the plug order for the Fat Shark goggles. The second image shows how the cable included with the DVR is wired. The video below is taken with the Makerfire DVR attached to my Predator V2 goggles, and I have also used it on the Teleporter goggles that I use for passengers. If you have any questions about the process feel free to ask, and I will do my best to help. Happy Flying!! The idea for this build was to create something that resembled the ever popular Stormtroopers, and be a build that would be great for flying through my tight basement Whoop course. Since I already have a couple brushless, and 716 powered Whoops, I figured for this one I'd go a slightly different route and do a 615 build. This is the end result, and I like to call it the Stormwhooper With the 17500kv motors, and the NBD Venom bi-blade props it's just about the perfect speed for the size of my course. My camera arrived DOA so I'm waiting on the replacement to get here from Amazon. I'll update with a couple pics once it is here and installed. The Stormtrooper (if you can call it that) helmet canopy is just some bits of 3M vinyl I cut and stuck on there The Kwad is built on the RakonHeli 64mm Frame. Control is handled by a BetaFPV Silverware FC. Power comes from CrazePony 615 17,500kv motors, and NewBeeDrone Venom bi-blade props. The canopy is just a basic BetaFPV canopy, and it will be housing a TurboWing Cyclops 25mw AIO Cam/VTX. I mount the camera and VTX in my Whoop builds using these 3D printed mounts. Here are some pics. I will get some flight video and DVR footage as soon as I can. Happy Flying!! |
Archives
June 2022
|


 RSS Feed
