|
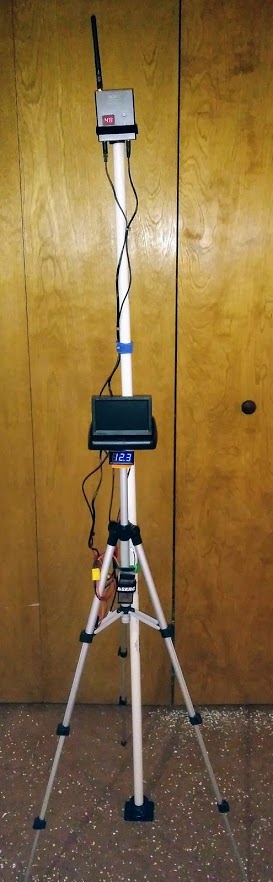
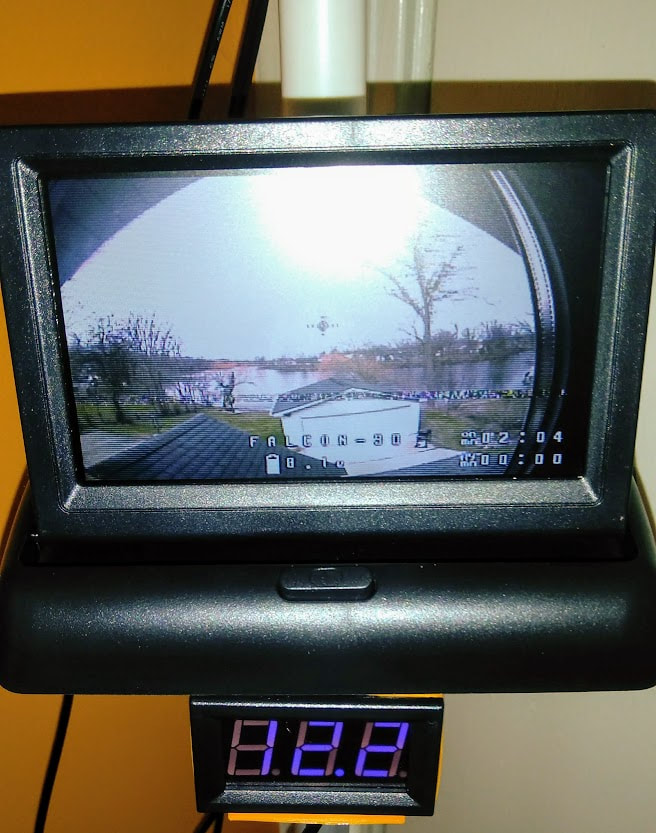
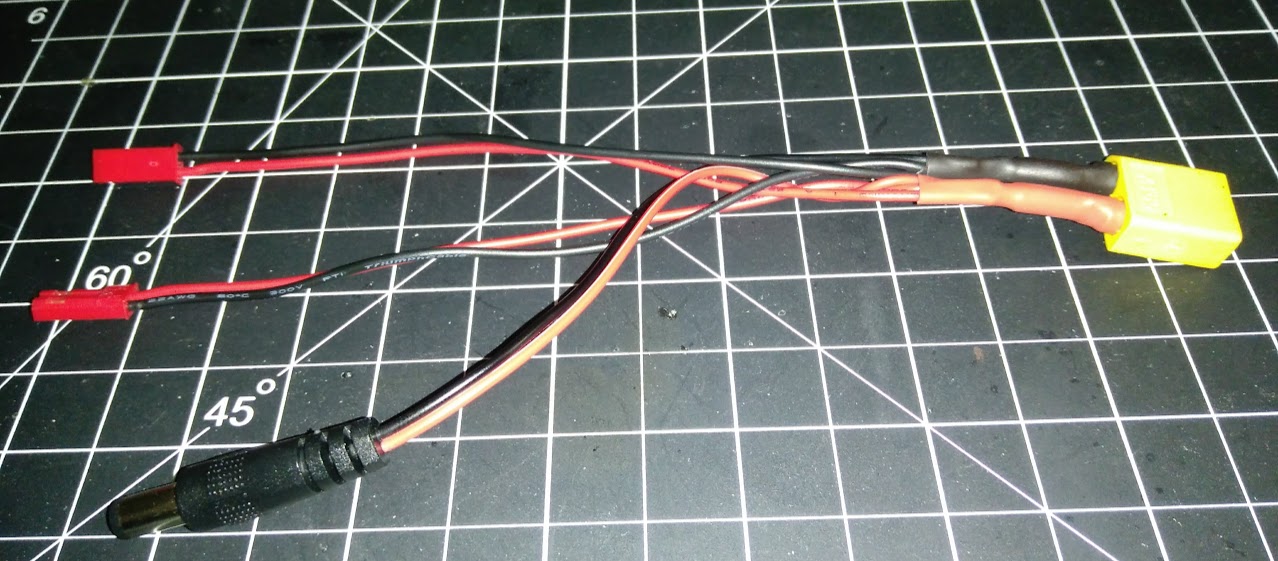
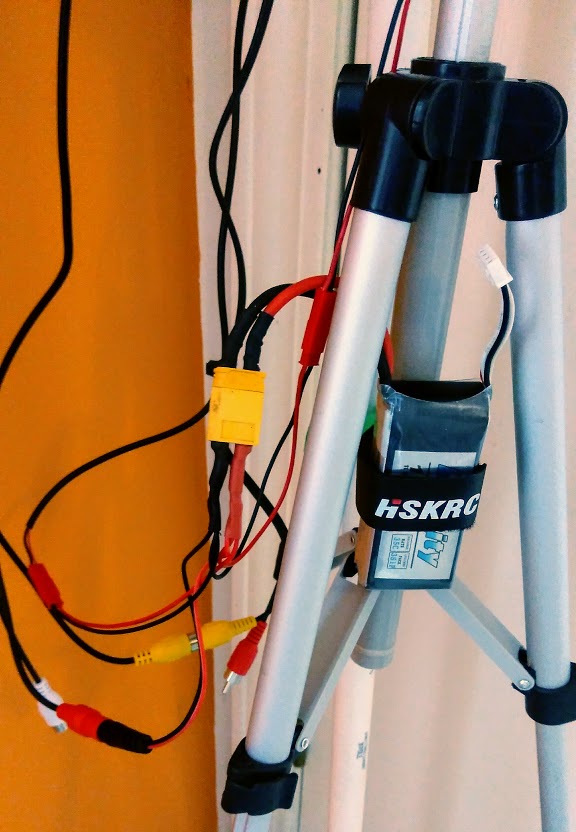
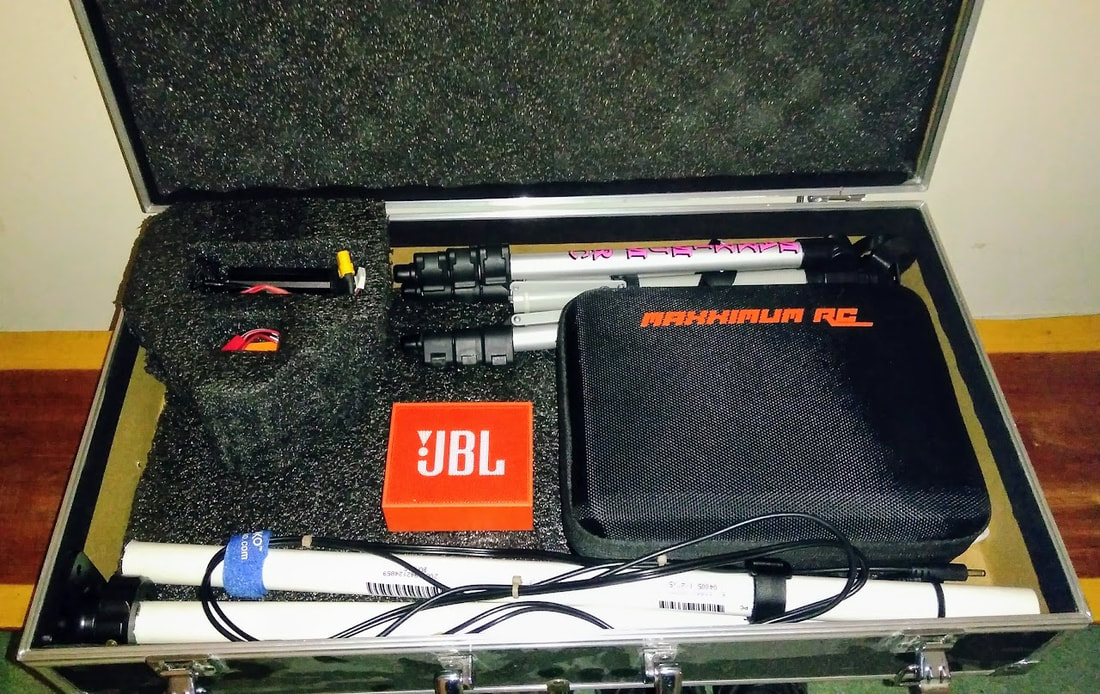
I fly alone 90% of the time, and at least half of that flying is done in my backyard, over, and around a lake. Flying near the water makes me very nervous when wearing goggles, so I decided I needed another option that would give me the benefits of both LOS, and FPV flight. So began my research for putting together an FPV ground station that would be relatively inexpensive, and quick, and easy to set up. After some web browsing, and a few Google searches, I managed to put this little GS together for $40 using items from Amazon, and eBay. So far it has worked flawlessly for me. I'll be taking it to the park with me in the next day or so to see what kind of range I can get out of it. For my yard, and the ball fields across the street it's been great. Amazon $14 Monitor Amazon $12 Tripod $10 eBay 5.8ghz RX $6 Amazon LCD Voltmeter I power the unit with an Infinity 1300mah 11.1v LiPo battery that I already had, but any cheap 3s LiPo will do the trick. The only soldering necessary for this build was to make a pig tail with an XT60 for the battery, and a couple JST connectors for the monitor, receiver, and LCD voltmeter. Everything else is plug and play. I plan on upgrading the antenna with an Aomway clover leaf in the near future, but as of right now I'm pretty pleased with the way this thing performs for what I have invested. Here are a few pics of how I have it all hooked together. Feel free to ask any questions you might have if you're looking to build something similar. Happy Flying!!
0 Comments
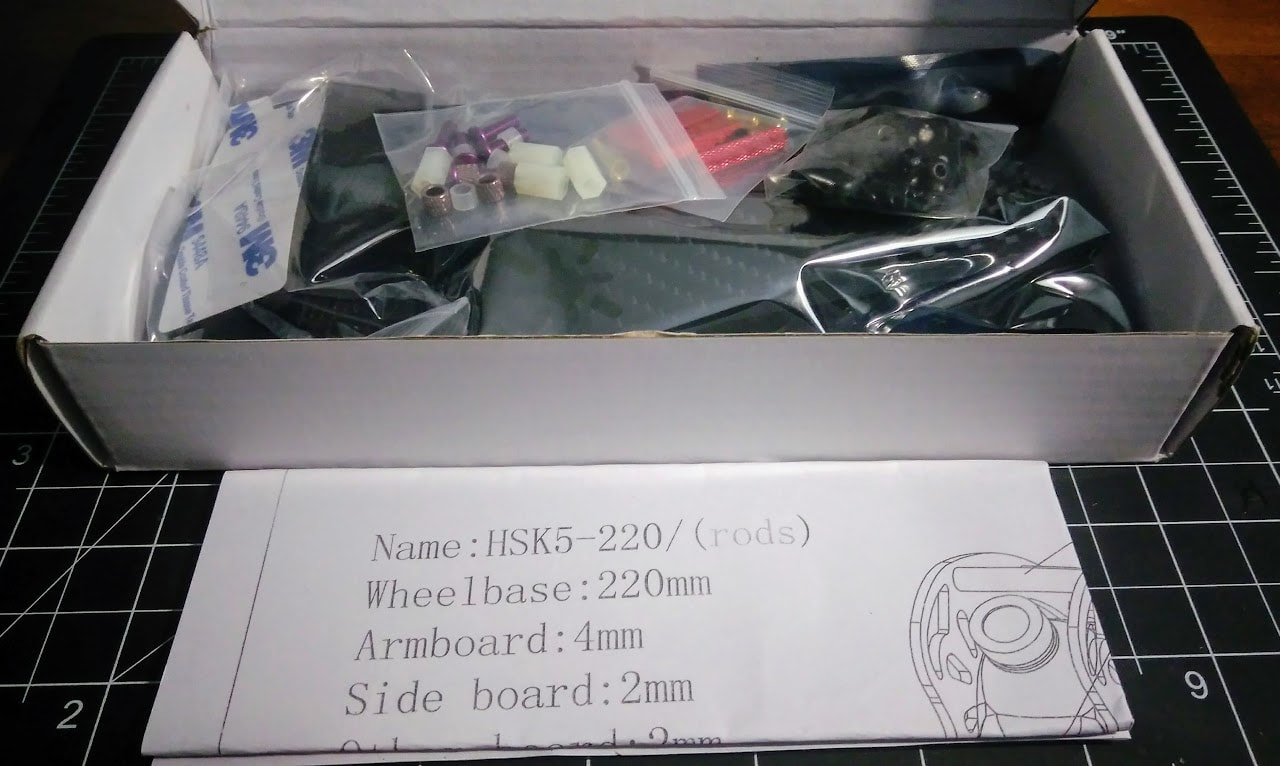
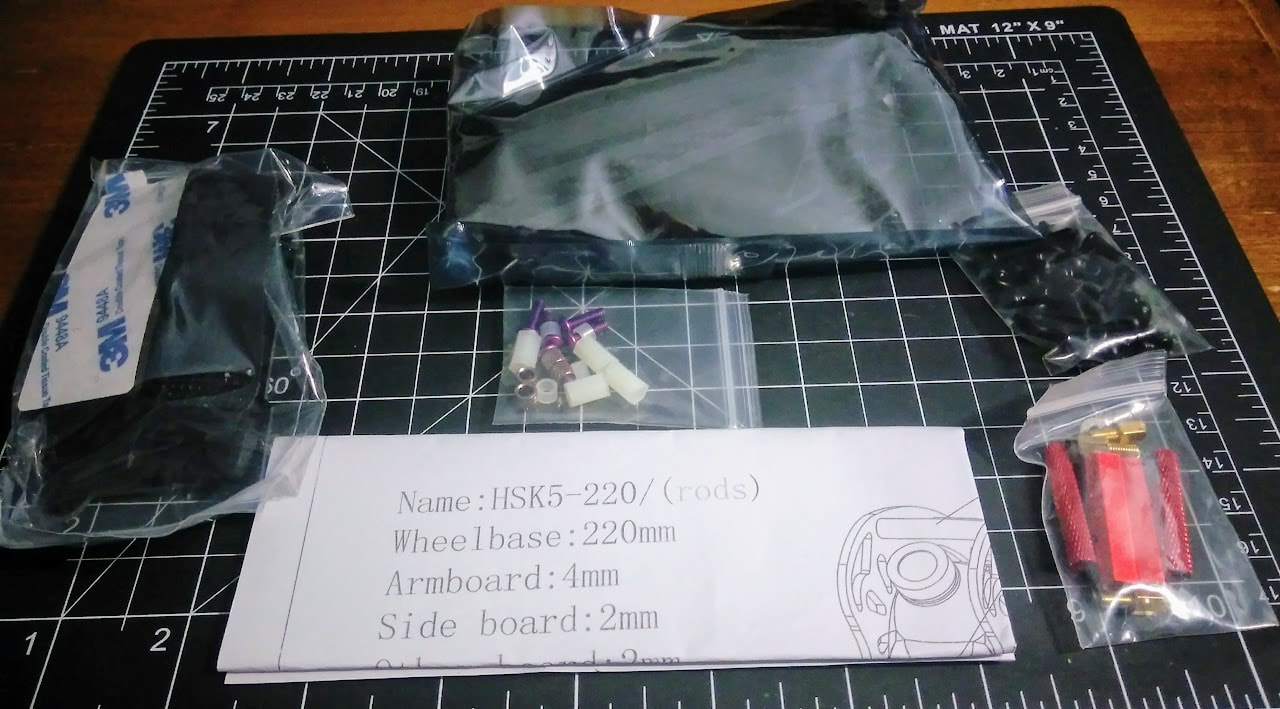
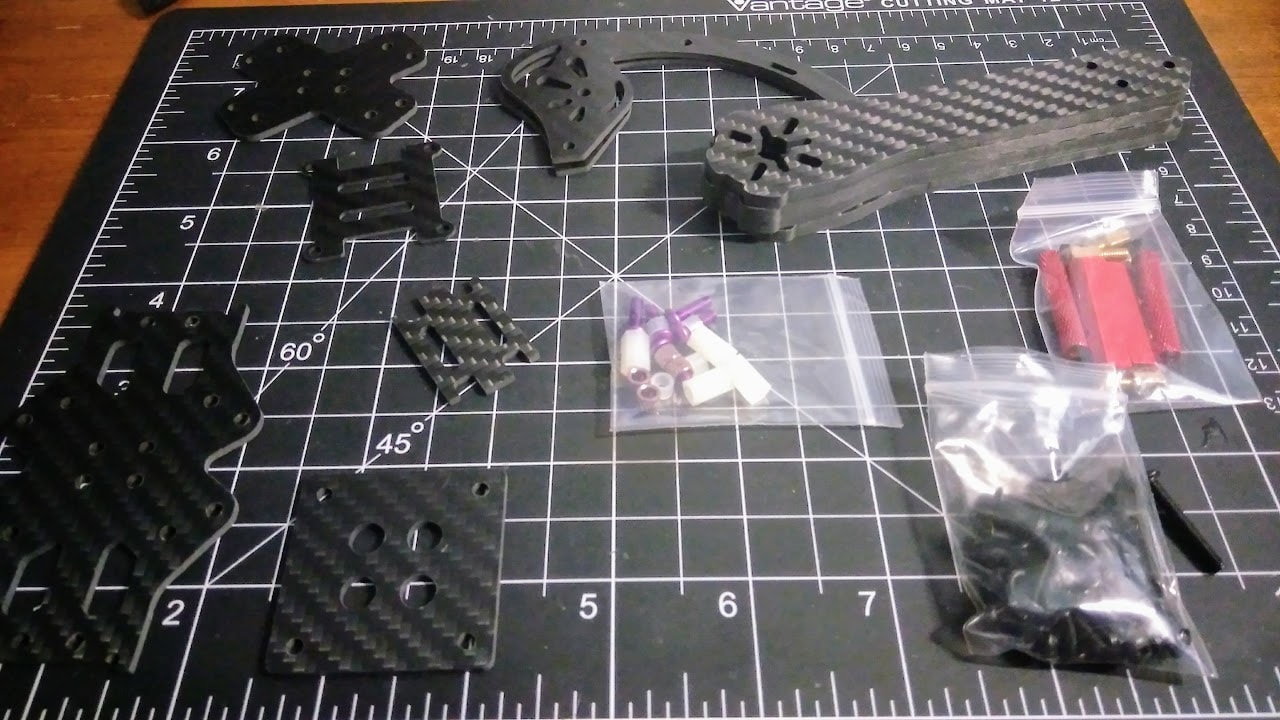
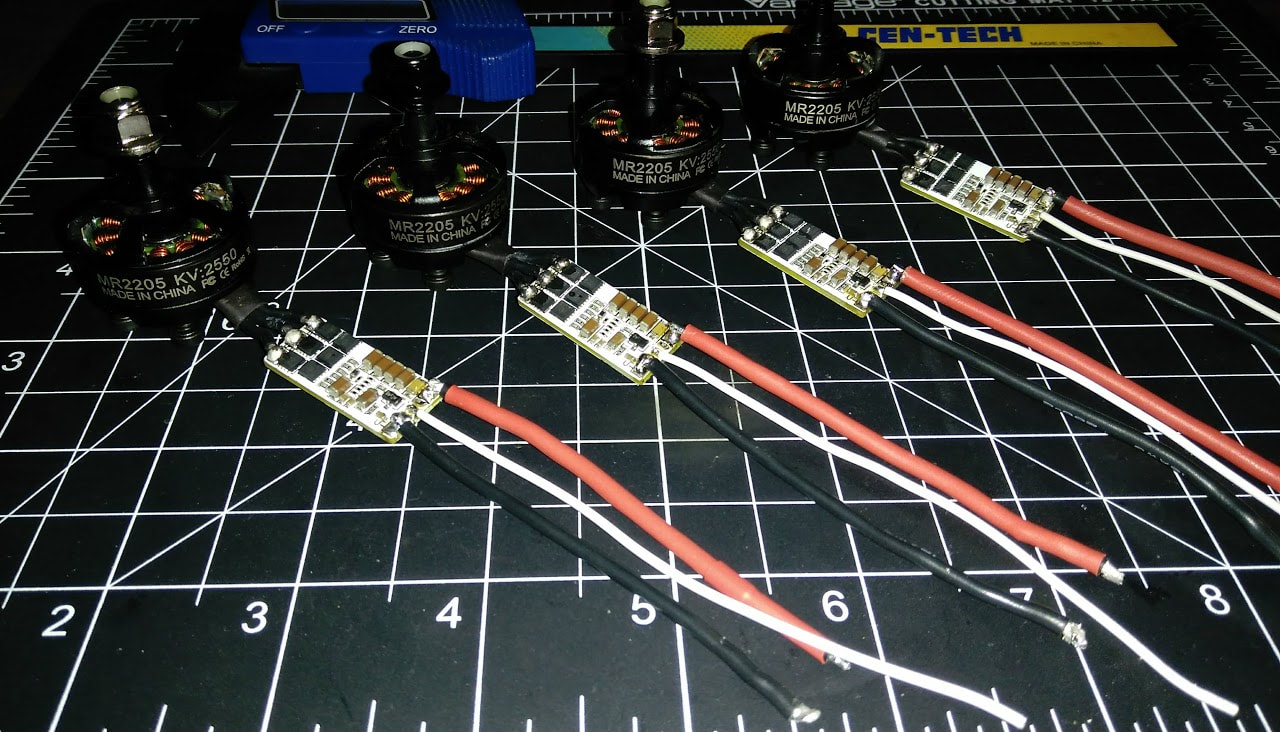
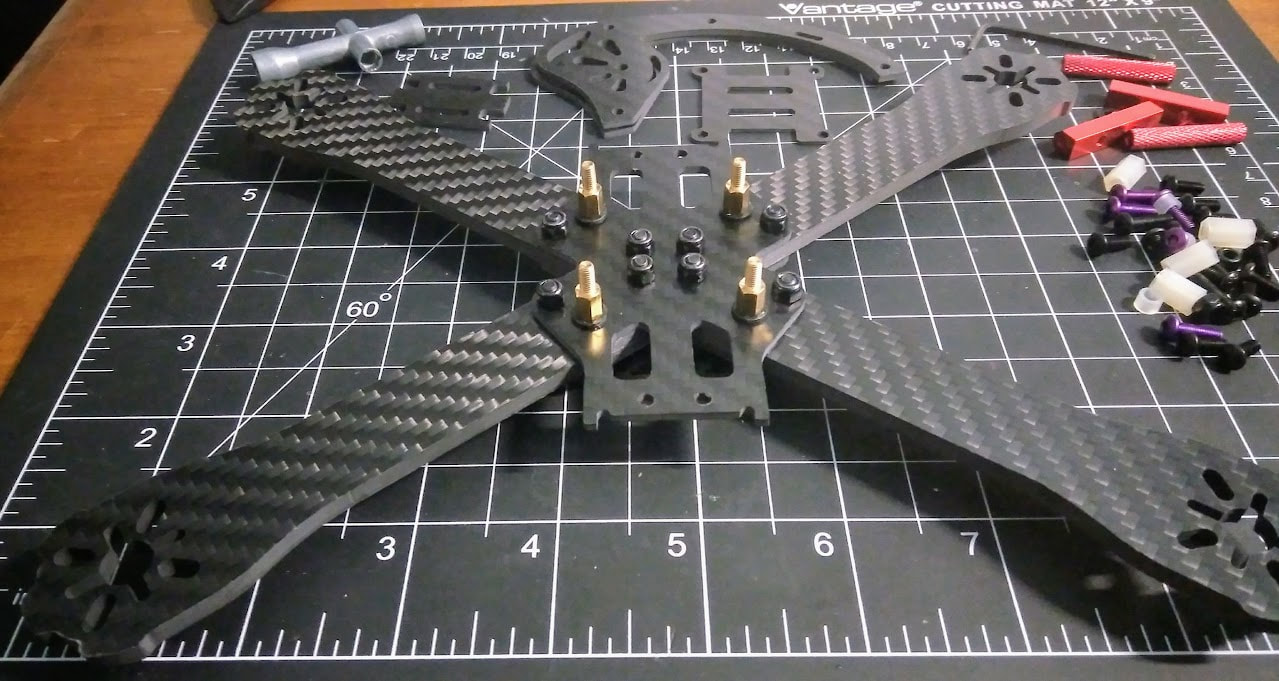
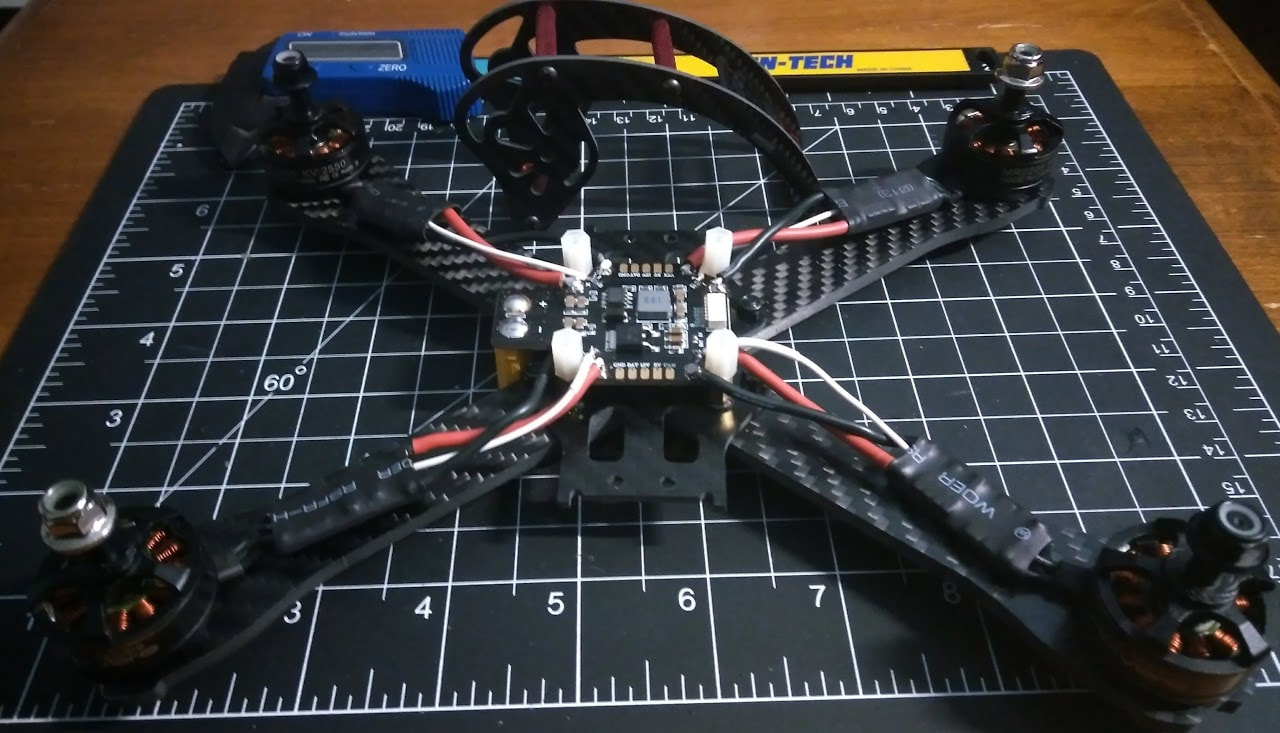
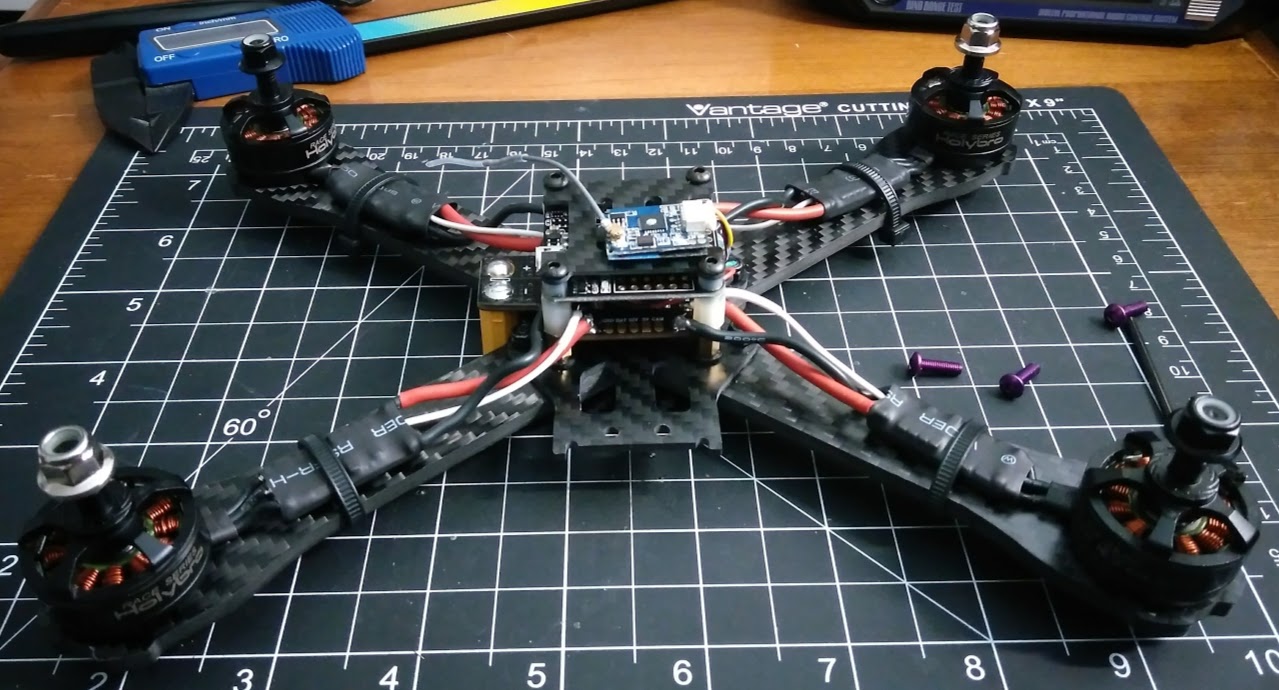
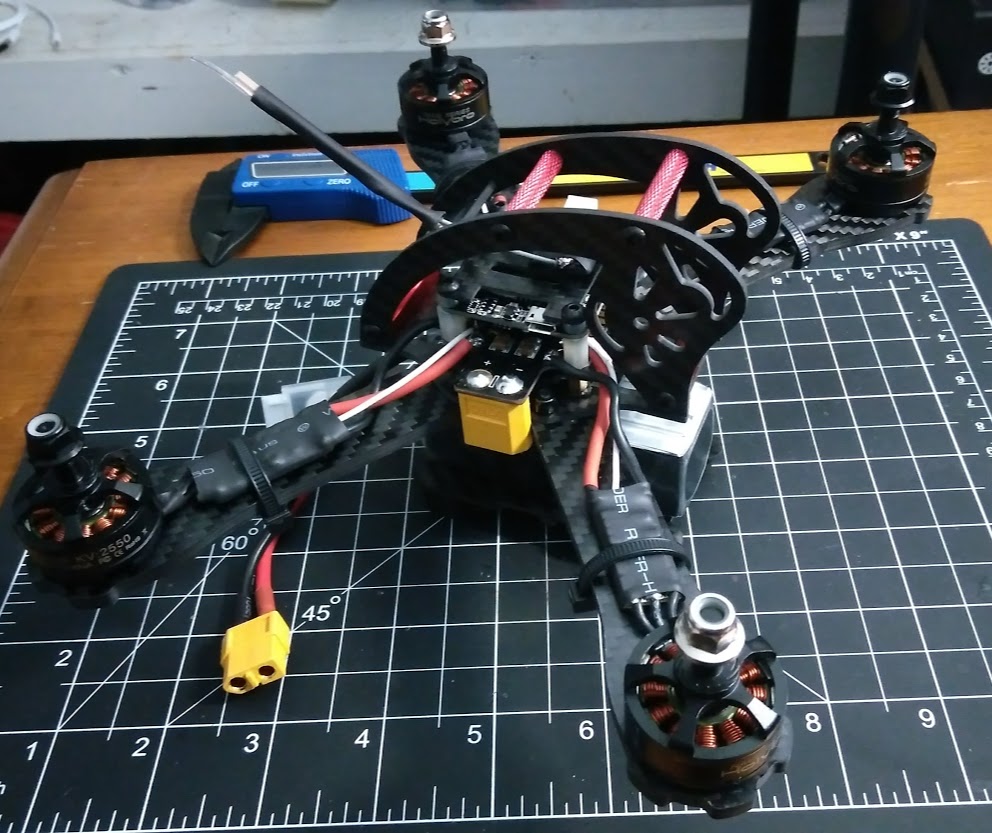
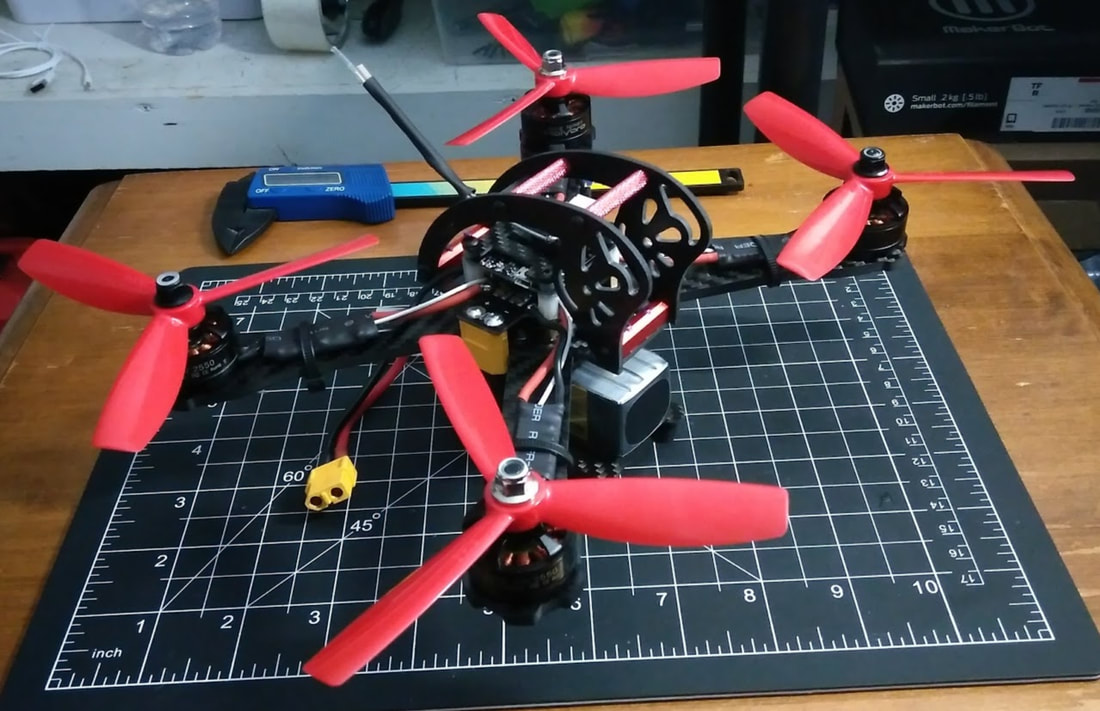
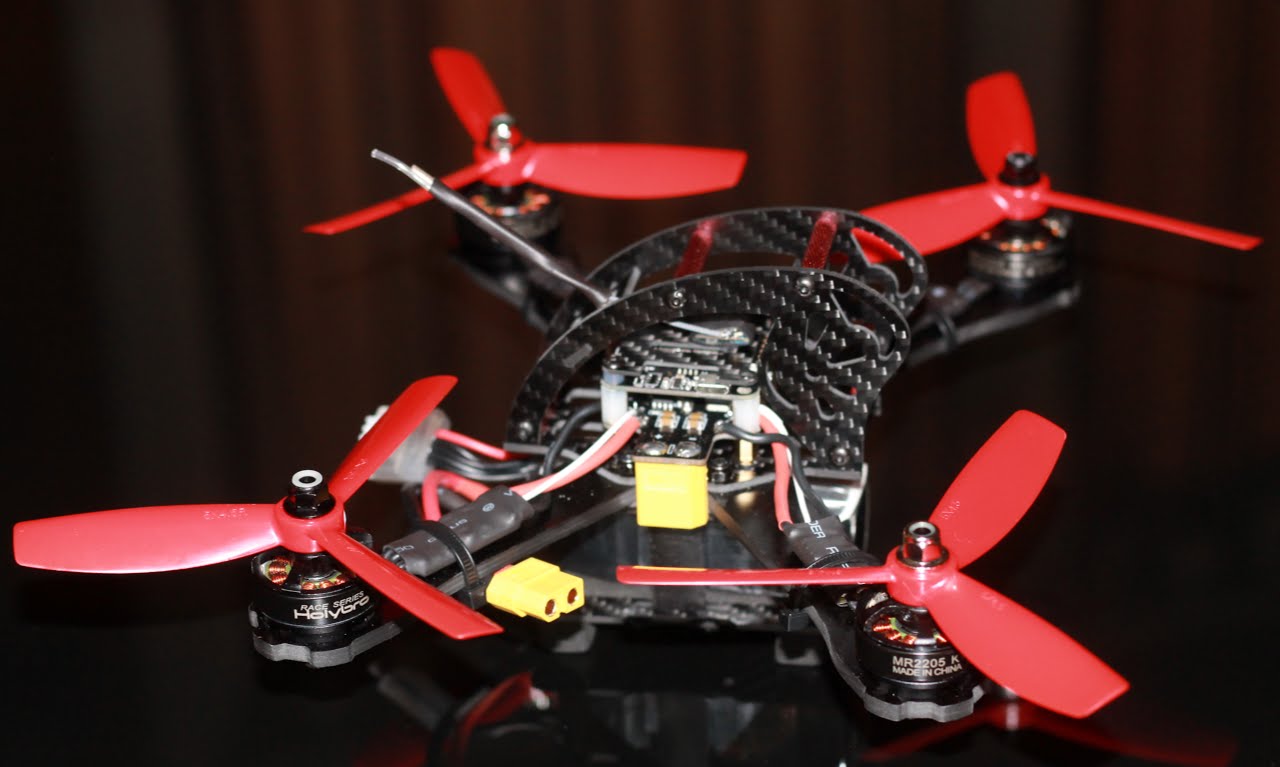
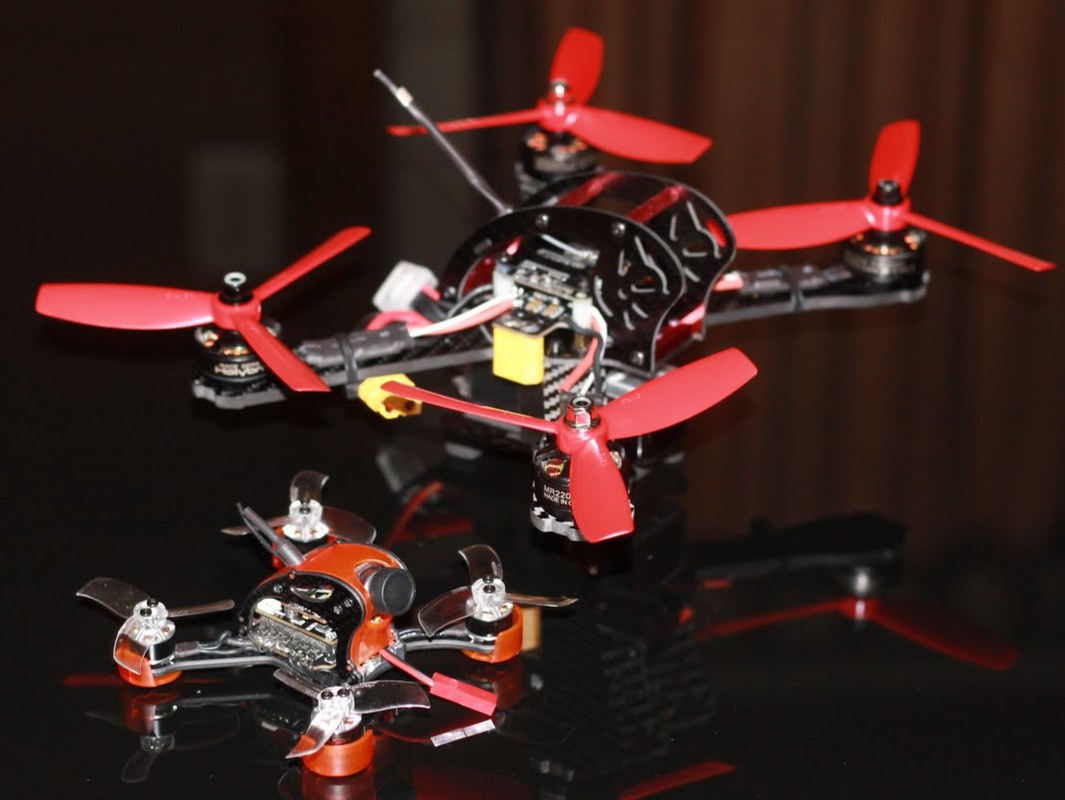
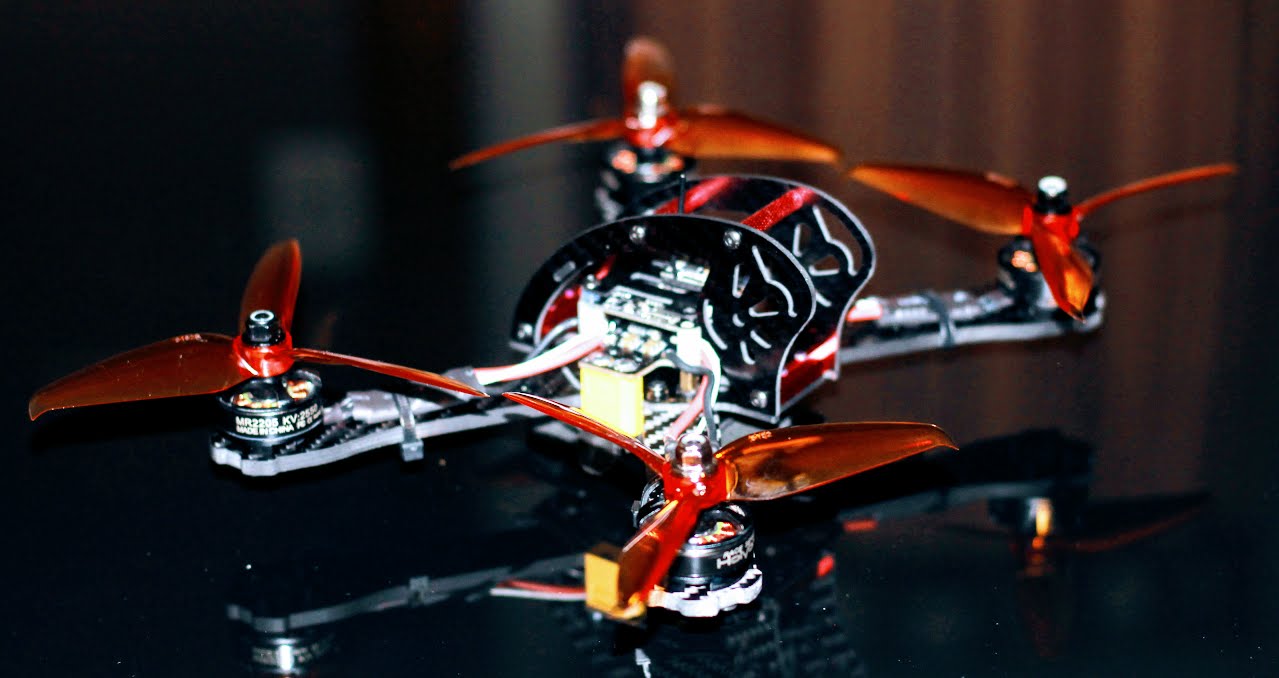
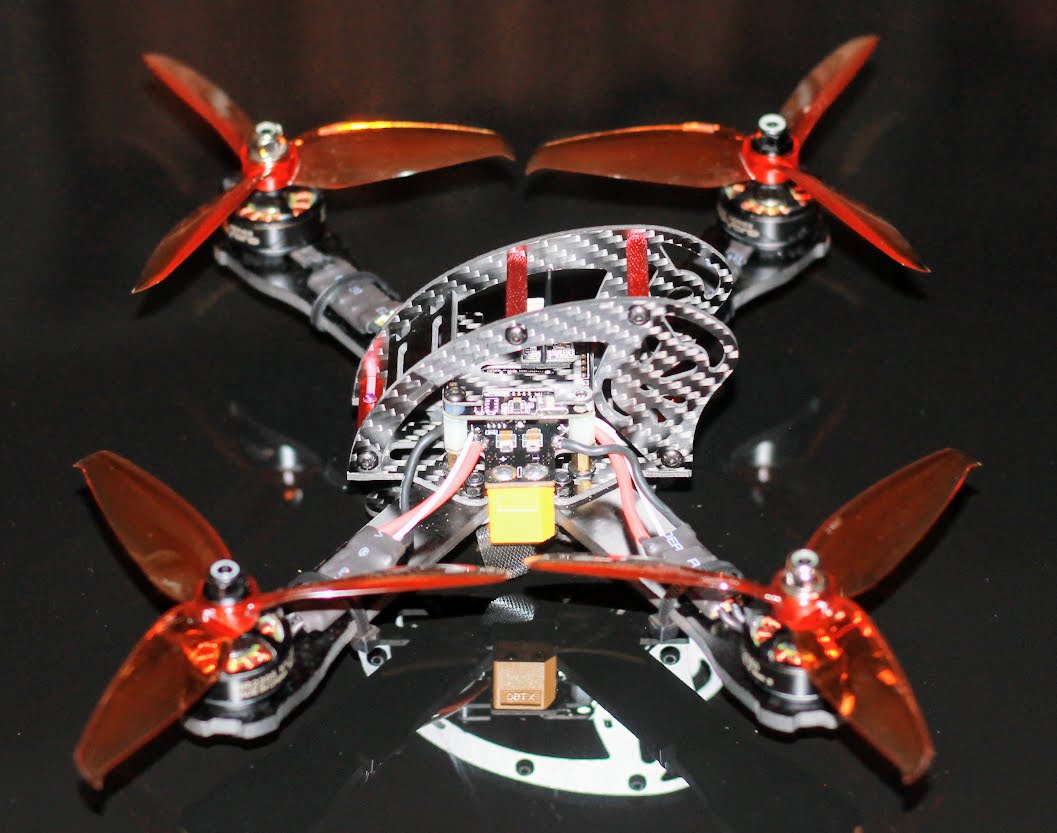
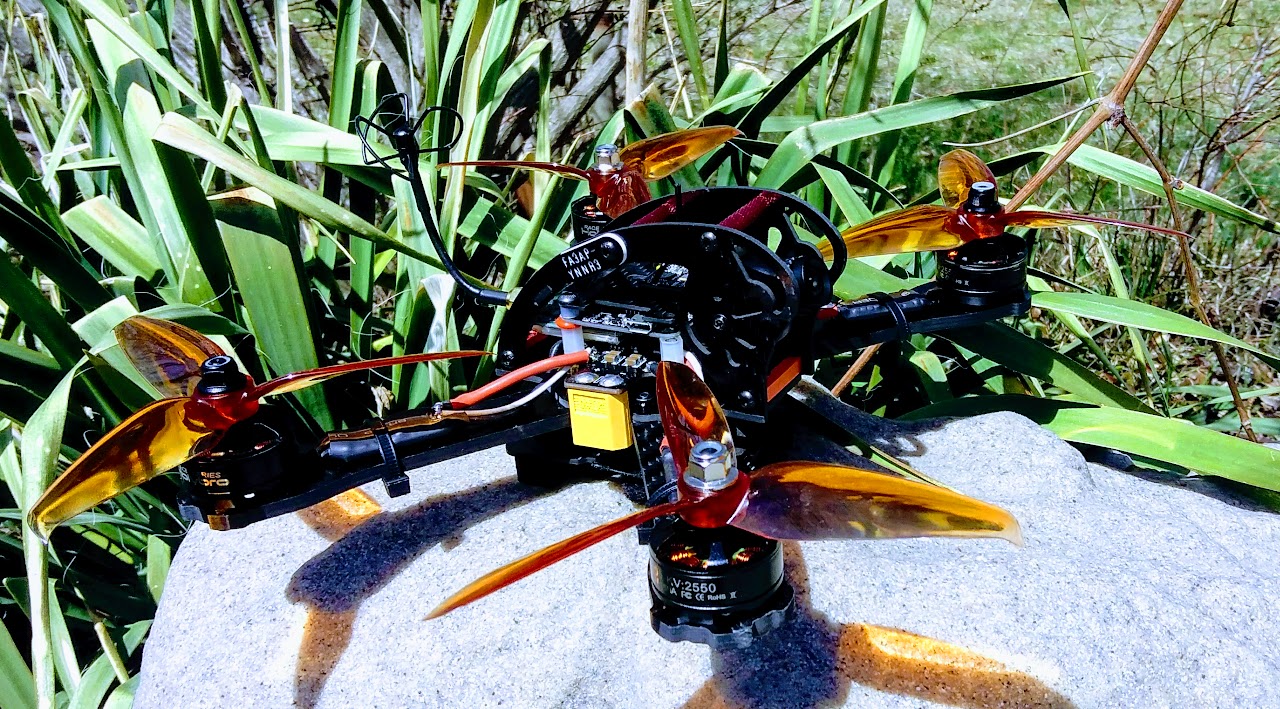
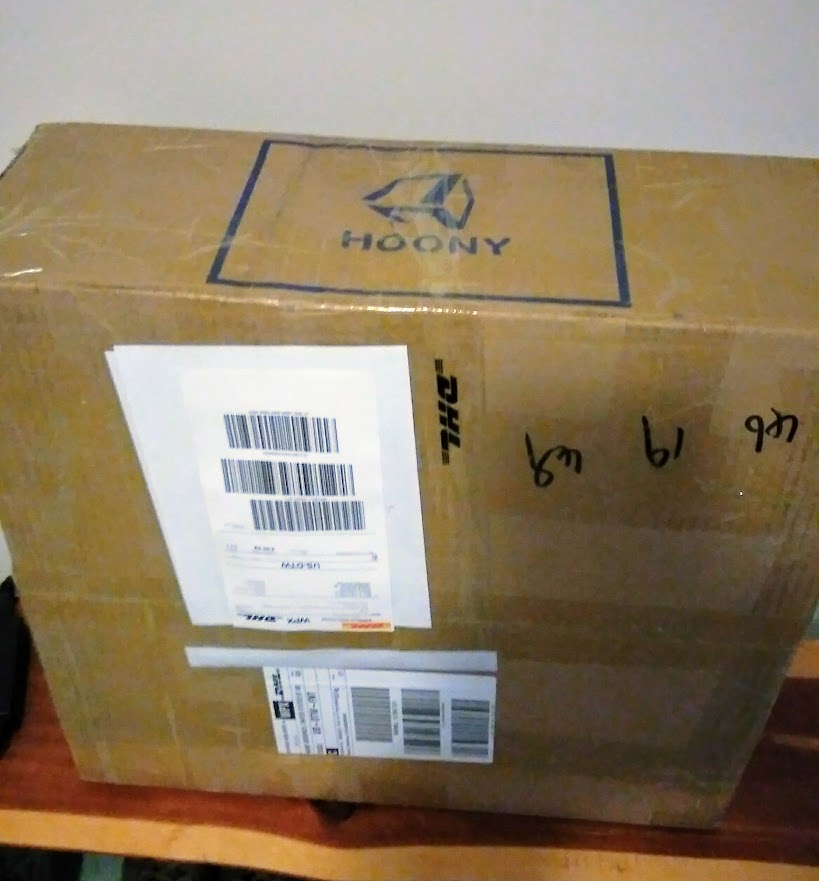
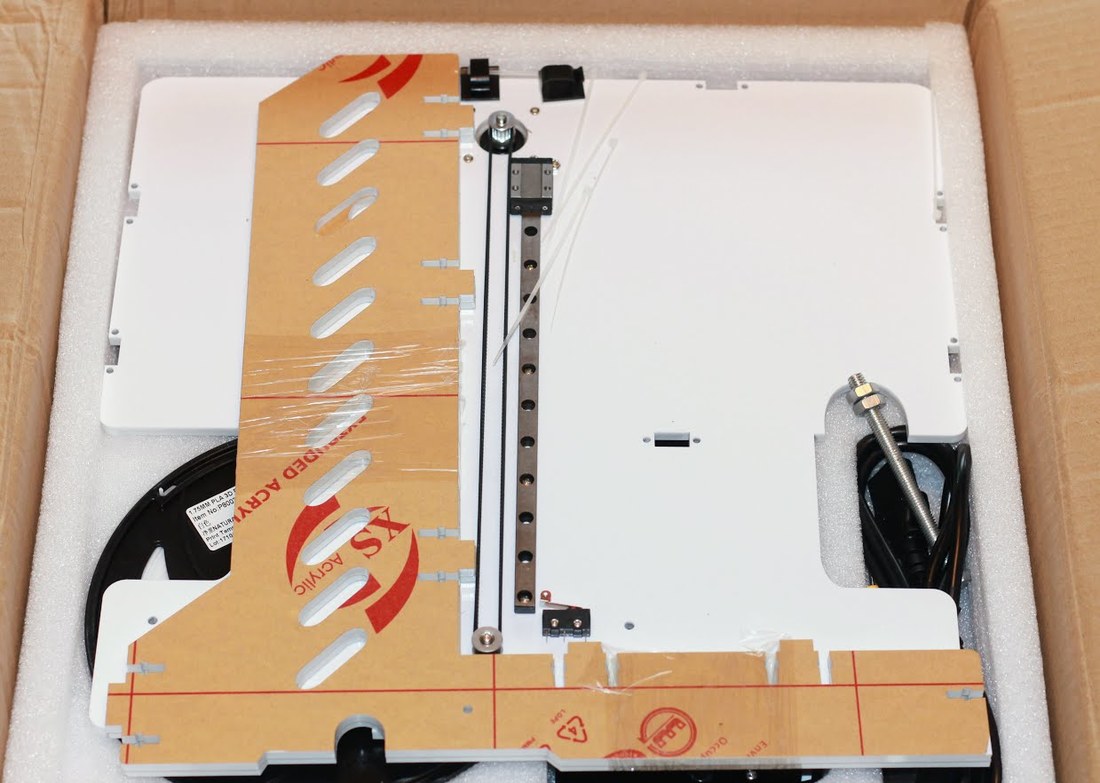
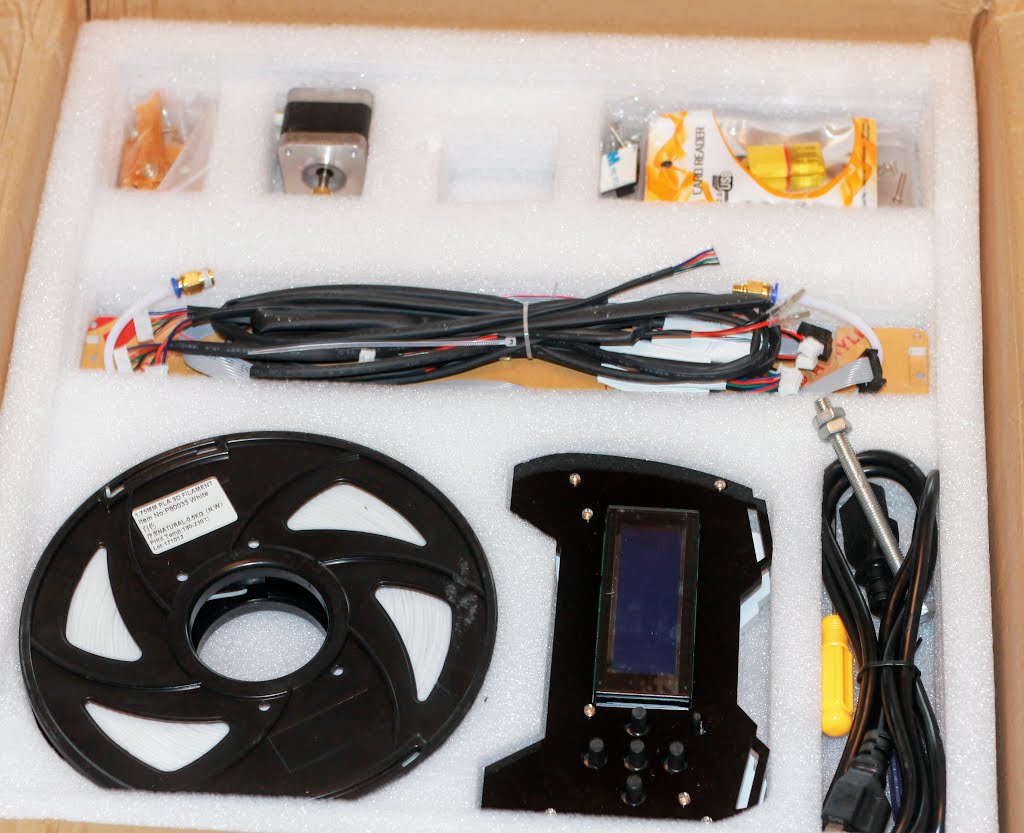
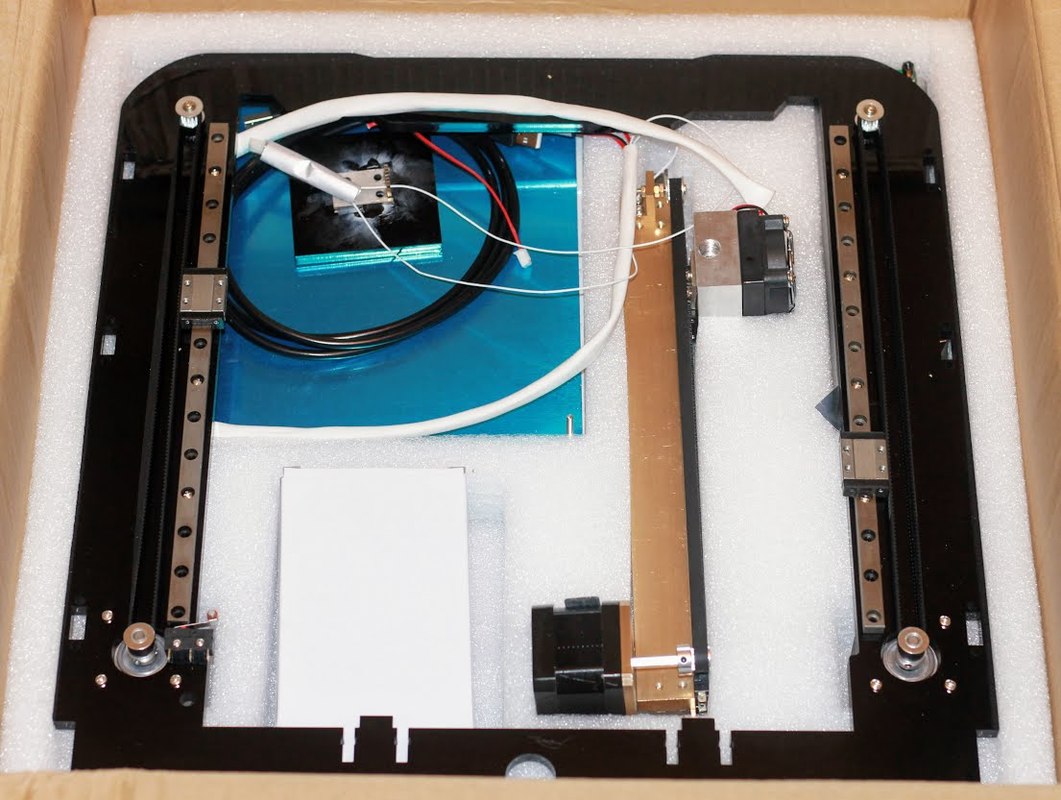
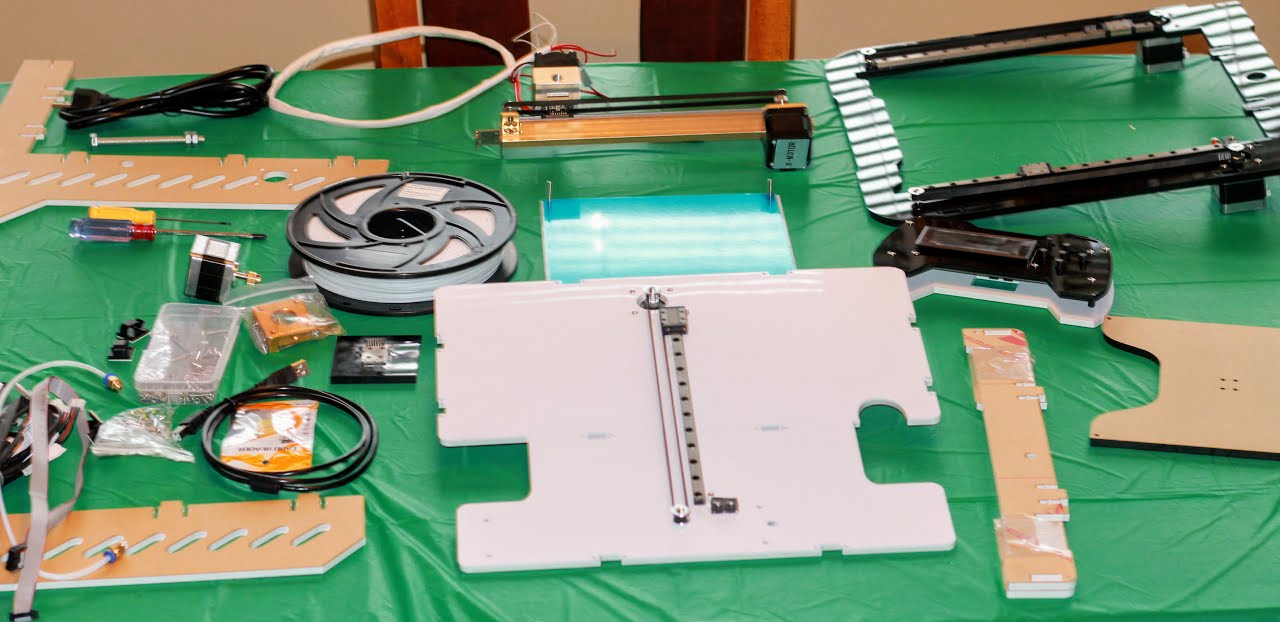
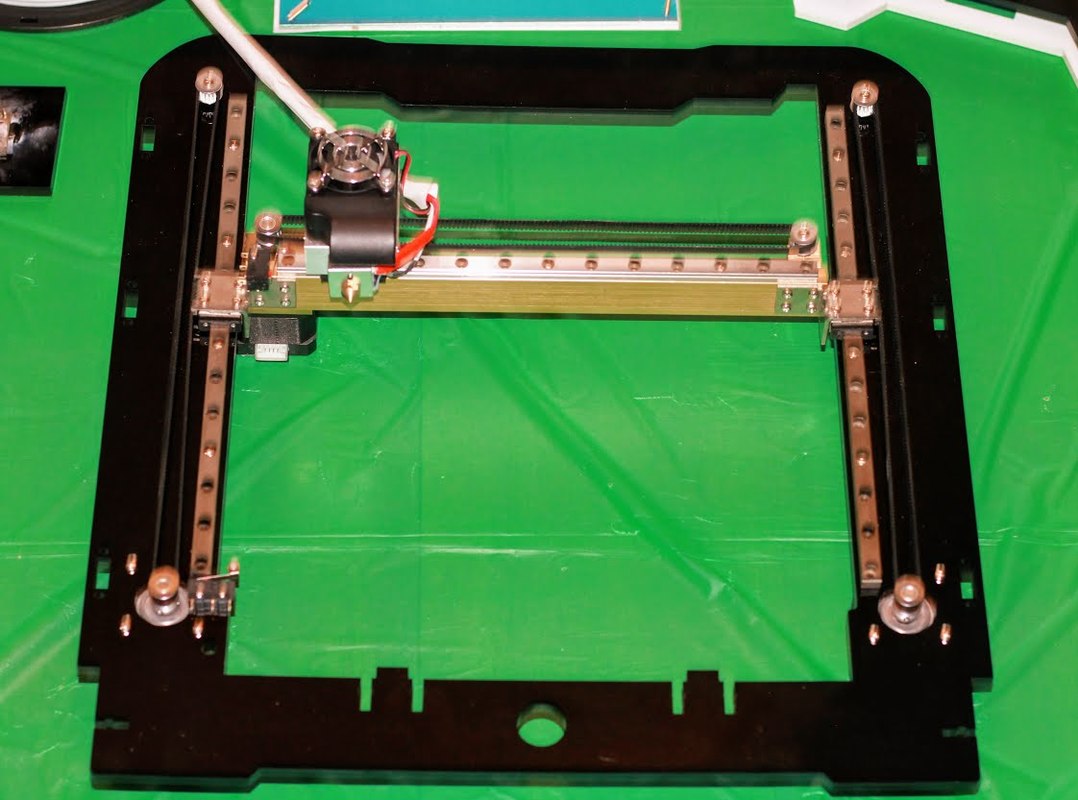
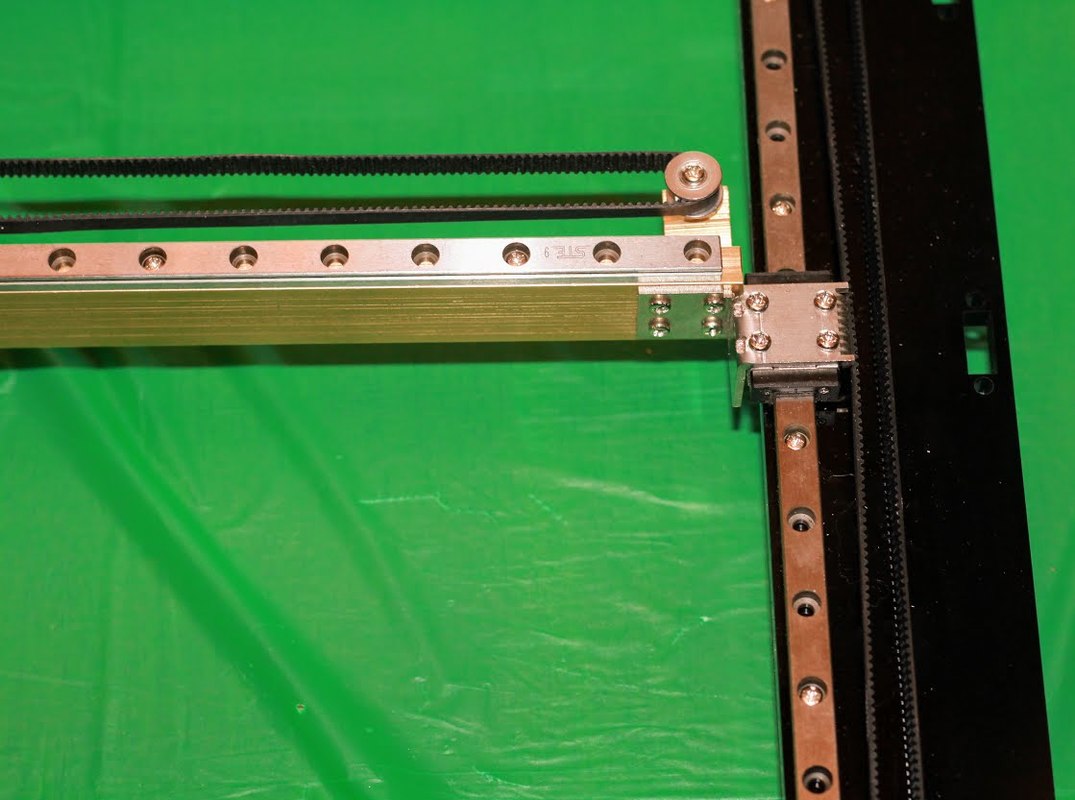
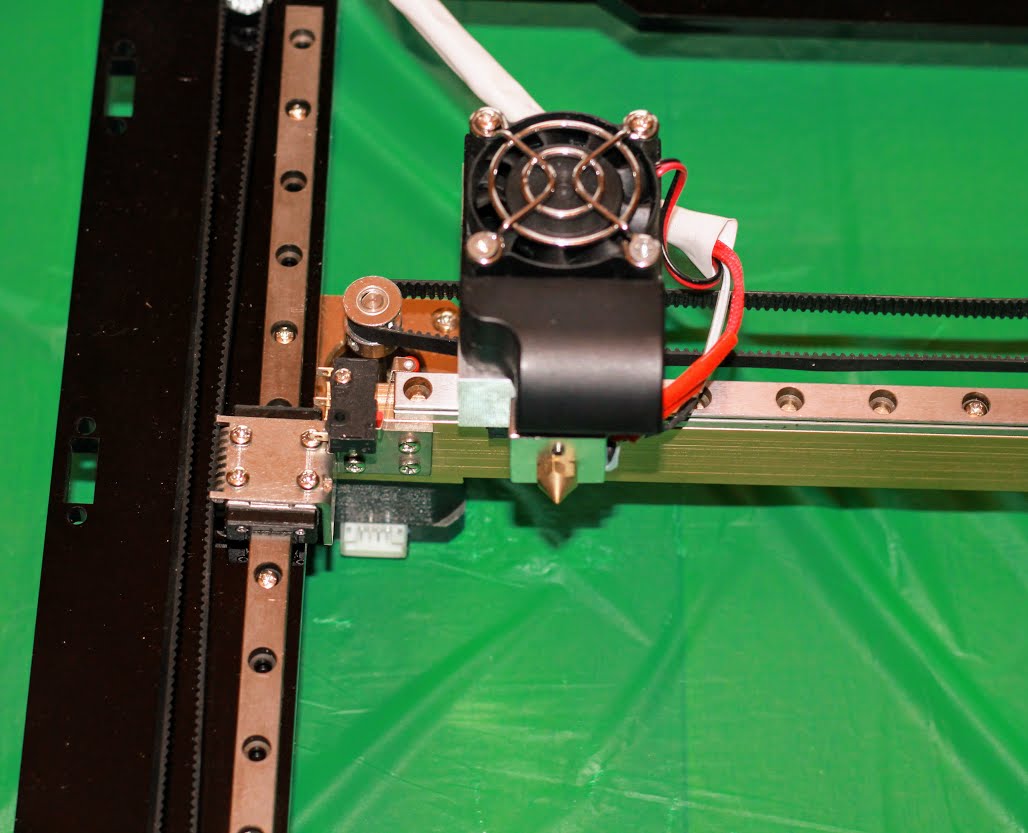
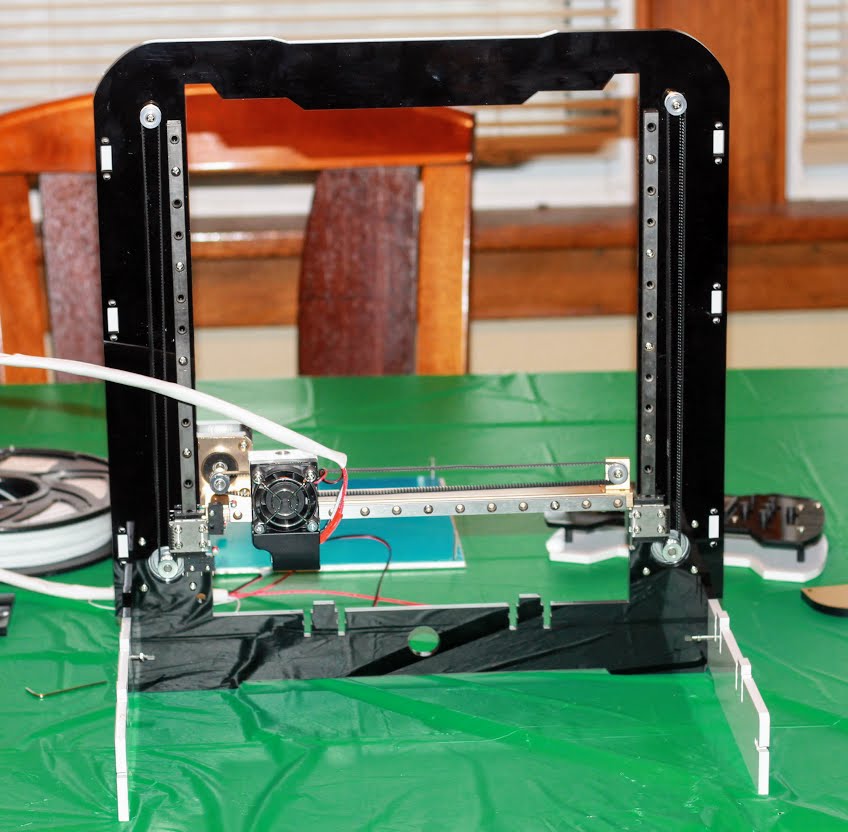
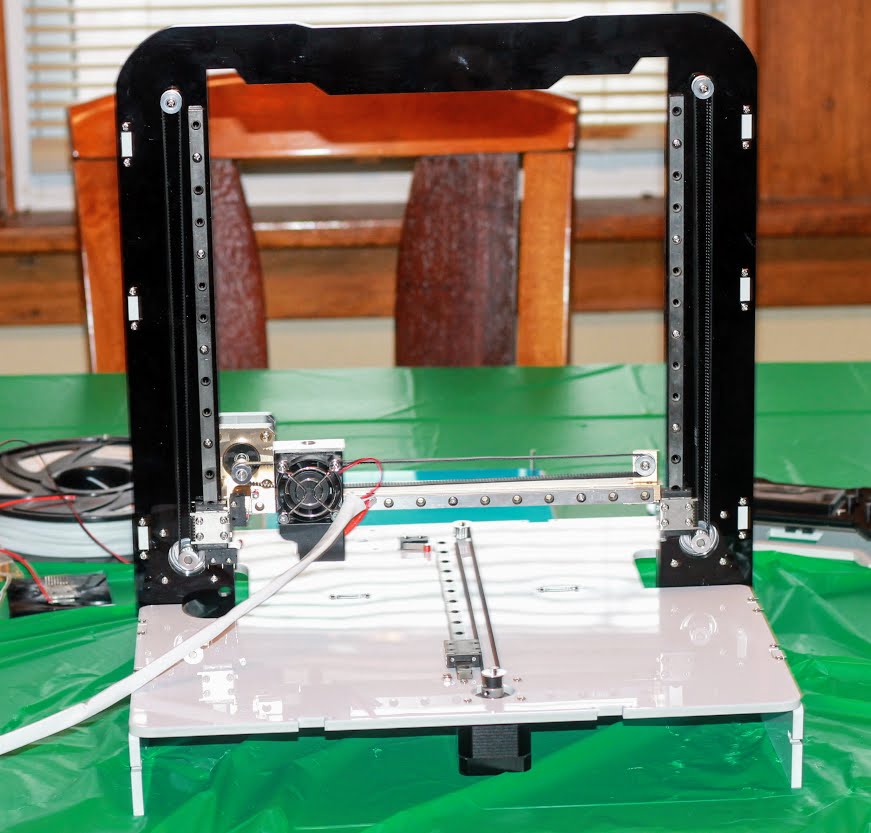
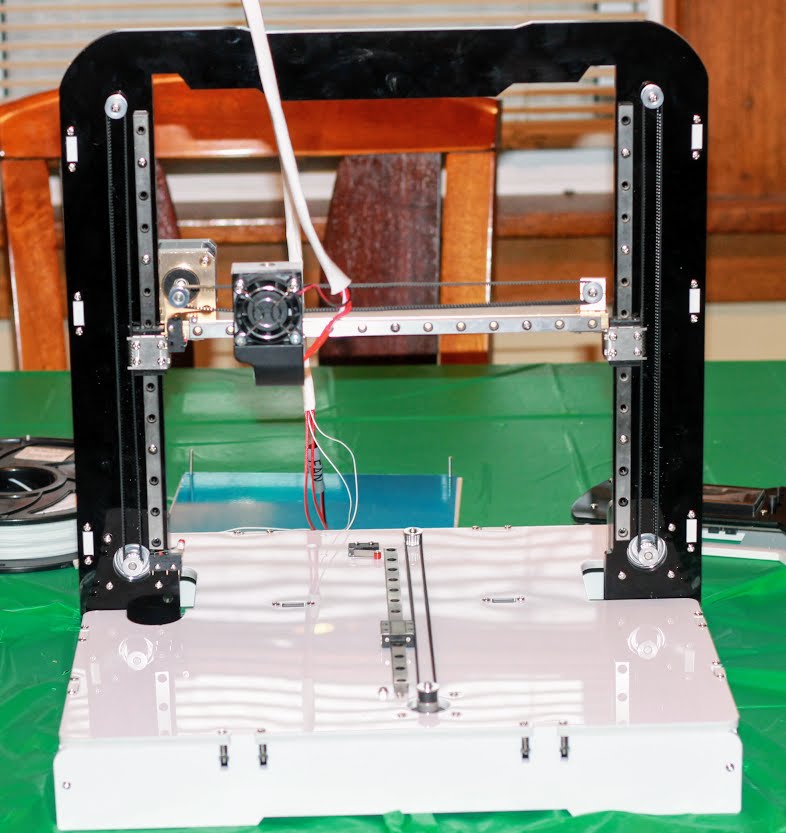
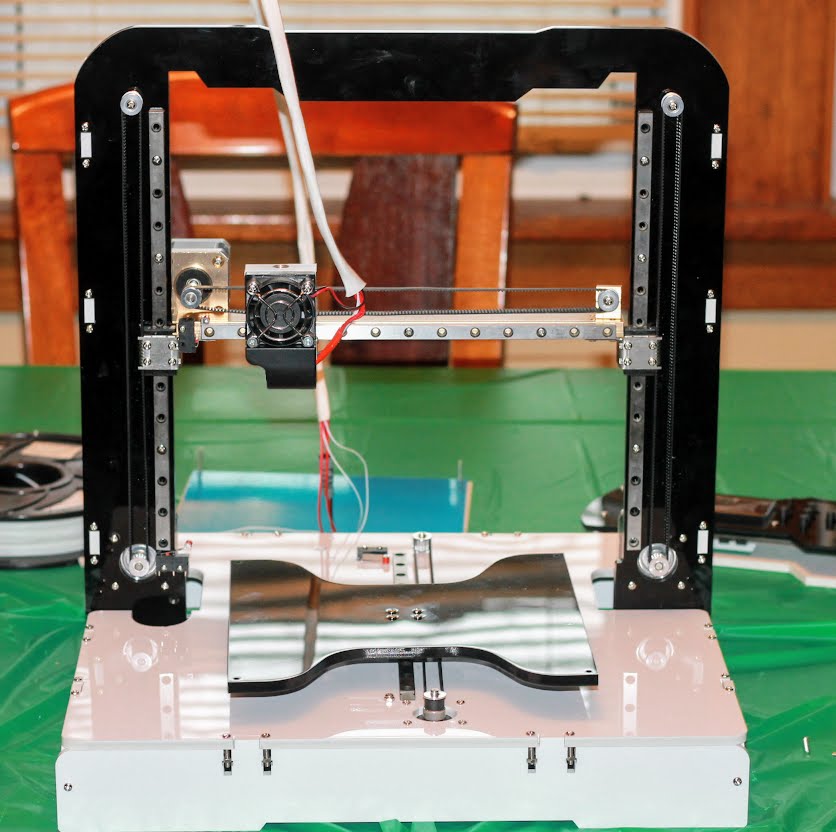
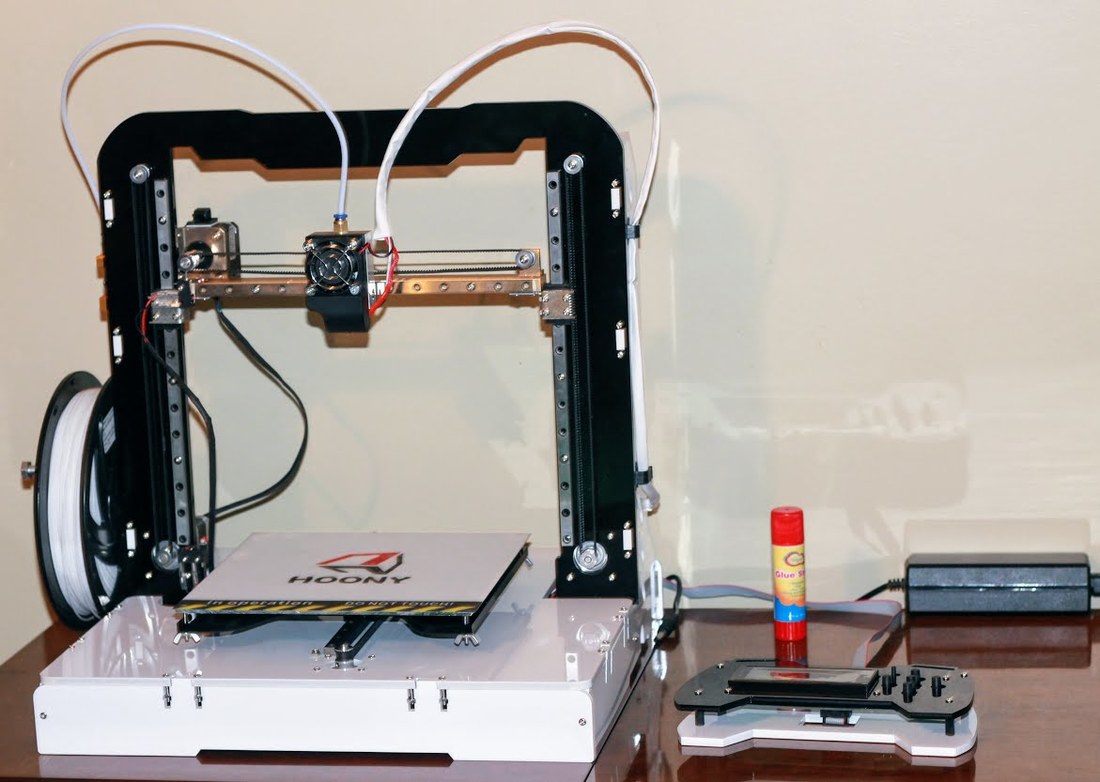
Usmile HSK5 220mm budget FPV Racing Drone Build. All parts available on Amazon. With warm weather moving in, those of us that live where it snows half the year, will finally be able to get outside and do some flying without freezing our butts off I've decided to put together a budget 5 inch quad to do some park flying with this spring. I've put together a list of most of the parts I've used for my build. I had some Holybro 2205 2550kv motors, and 30A ESC's in my boxes waiting to be used on something, so below are the parts I'll be using with those. I know not everyone has motors, and ESC's lying around, so I've also added some budget options for those as well, in case anyone wants to do a similar build. For anyone that has looked at this frame on Amazon, and wondered about it, I am very happy to say that it is an extremely nice frame. The assembly instructions are easy to follow. The frame kit includes all necessary hardware, as well as a carbon protective plate for the battery, a foam pad for the battery plate, and a nice battery strap. It is also solid as a rock once it is assembled. I have to say that I am really impressed with it. Frame Flight Controller PDB Motors ESC's Camera VTX Props Battery Everything listed above is Prime eligible, so Prime members can put together this great performing 5 inch quad for under $145 with free 2 day shipping. Obviously you will still need to add a receiver to match your radio, but I'm not going to go into that in this particular build. If you are interested in doing a similar build, and would like advice on a radio set up don't hesitate to ask. I'll be happy to help. There are a lot of great, affordable options out there. I am still awaiting the arrival of my FPV gear for this build, but in the meantime I have gotten the quad programmed, and ready for an LOS maiden. I will be sure to post some flight video shortly. Check out the pics, and as always, don't hesitate to ask any questions you might have. Happy Flying!! There's a new 3D printer on the block! The Hoony H8 has a 210x210x240mm print area, and is designed to be an easy to assemble kit, that offers high precision printing, and faster than standard print speeds. So, how does this printer actually perform compared to the competition? Let's find out. For starters, you get a kit that has some assembly already done for you from the factory. There is basically a structure to assemble, and some cables to plug into their designated connectors on the control board. There is an assembly video, a manual, and some sample print files all on the included micro SD card, so the process is pretty straight forward, even for beginners. So far I am pretty impressed with the quality, and design. Now lets see if it's capable of producing the kind of print quality we've come to expect from printers in this price range. Check out the pictures of the general assembly process. I will update this post with more pics, and info as soon as I get the printer tuned and running. Please don't hesitate to ask any questions you might have. I am happy to help when I can. Stay tuned for prints, and much more info in the very near future. Happy Printing!!dit. |
Archives
June 2022
|


 RSS Feed
