|
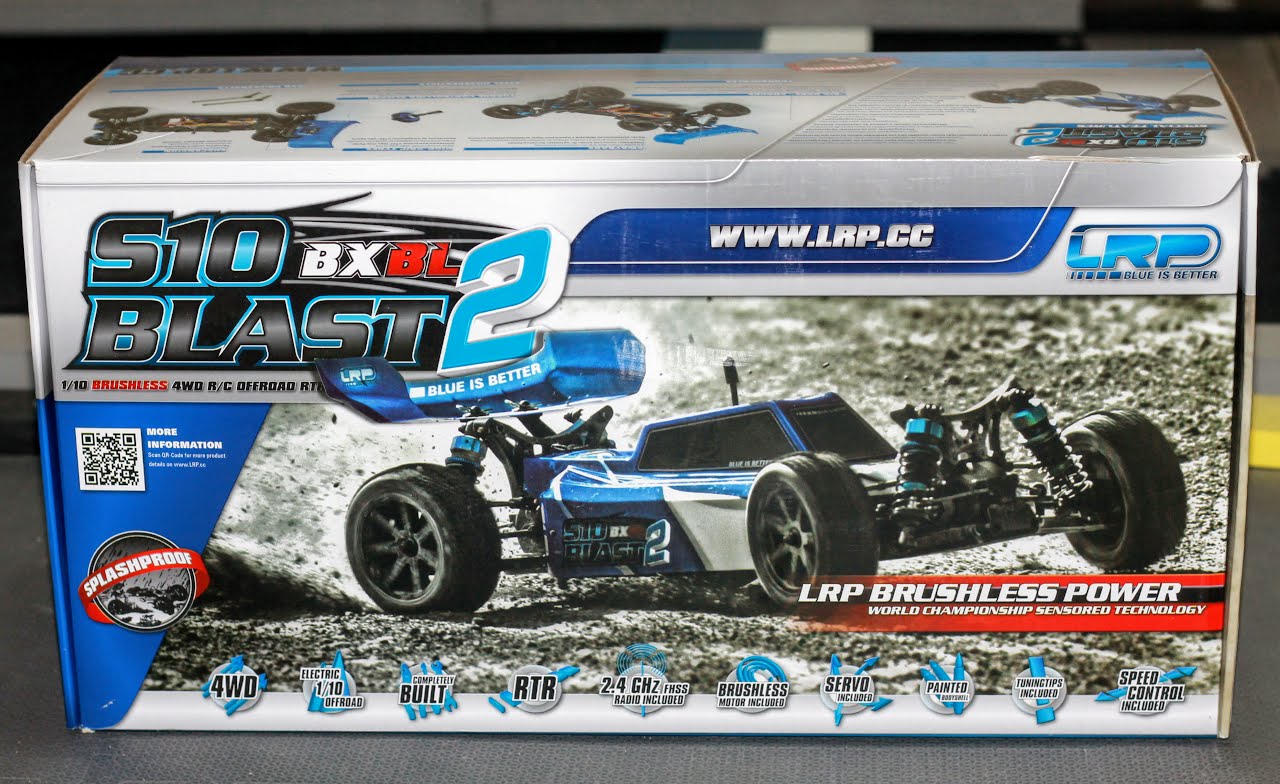
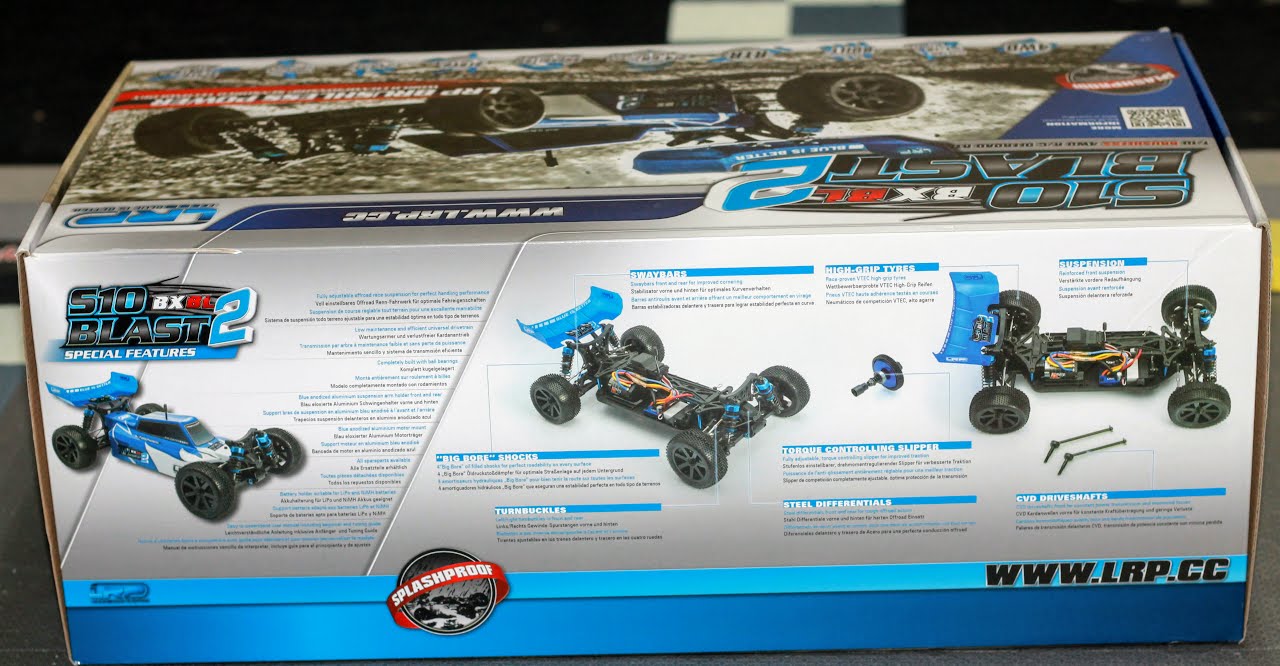
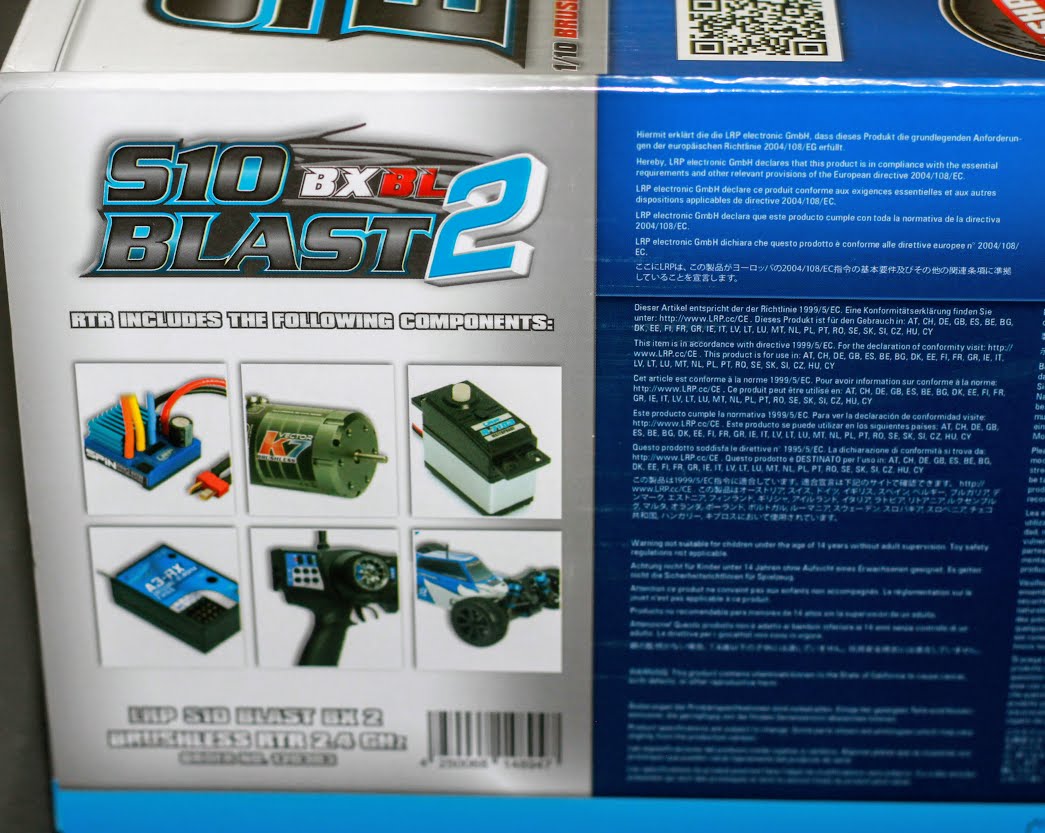
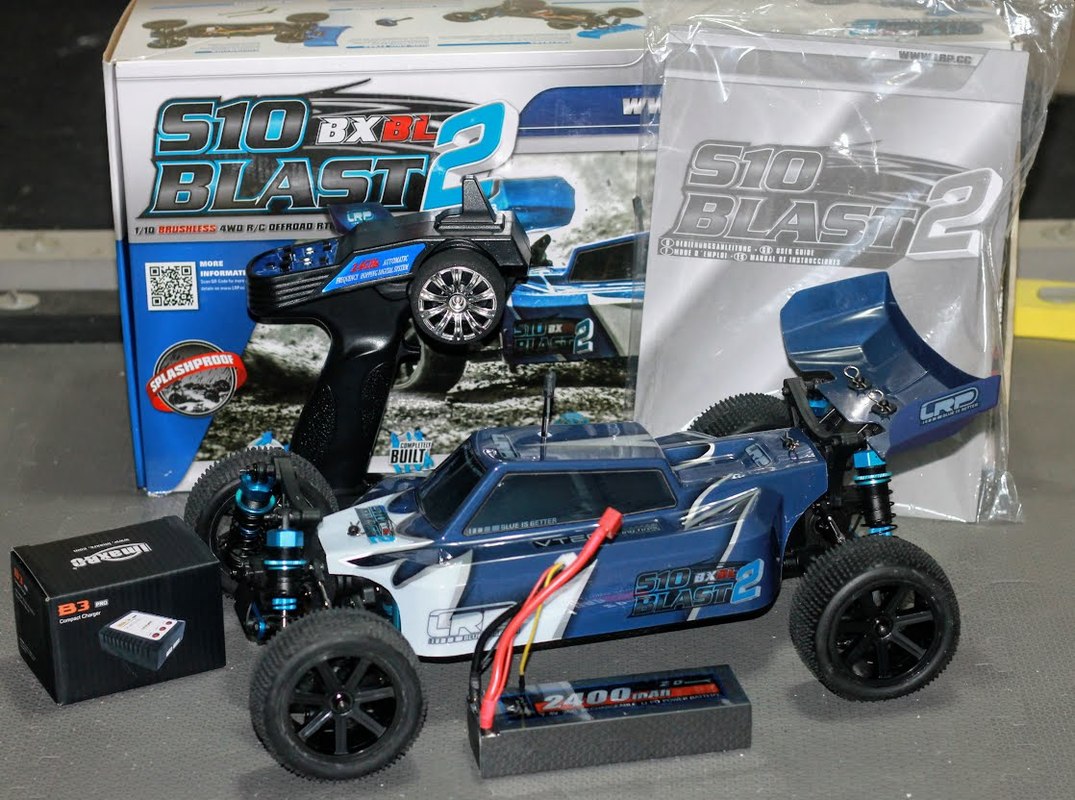
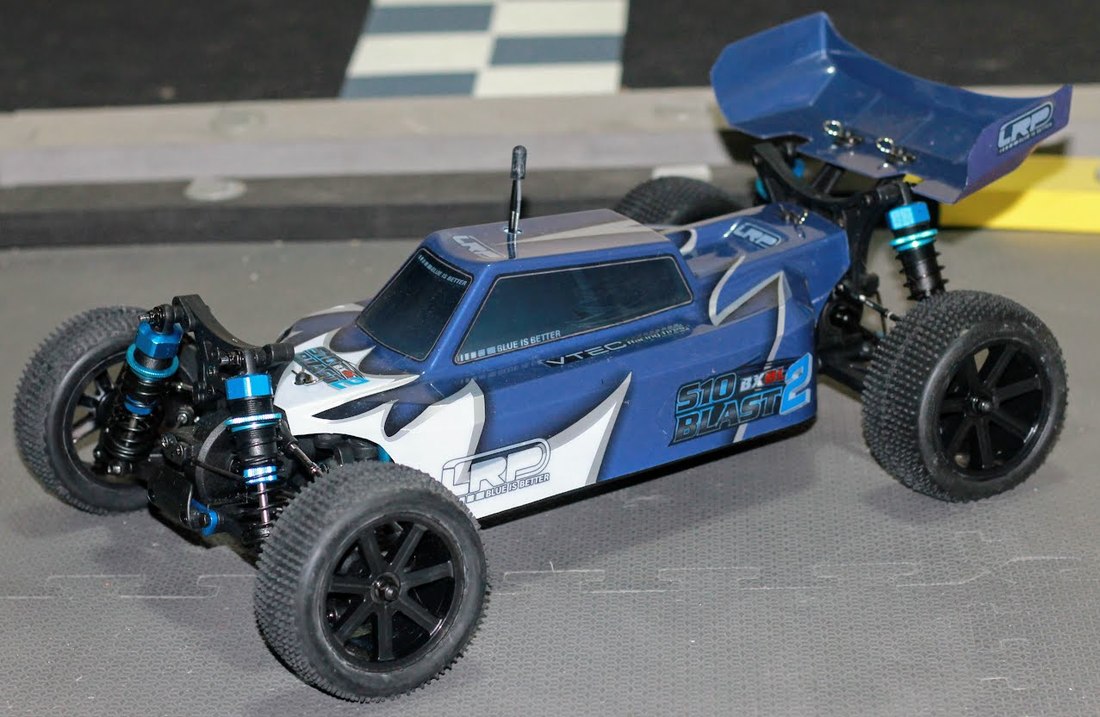
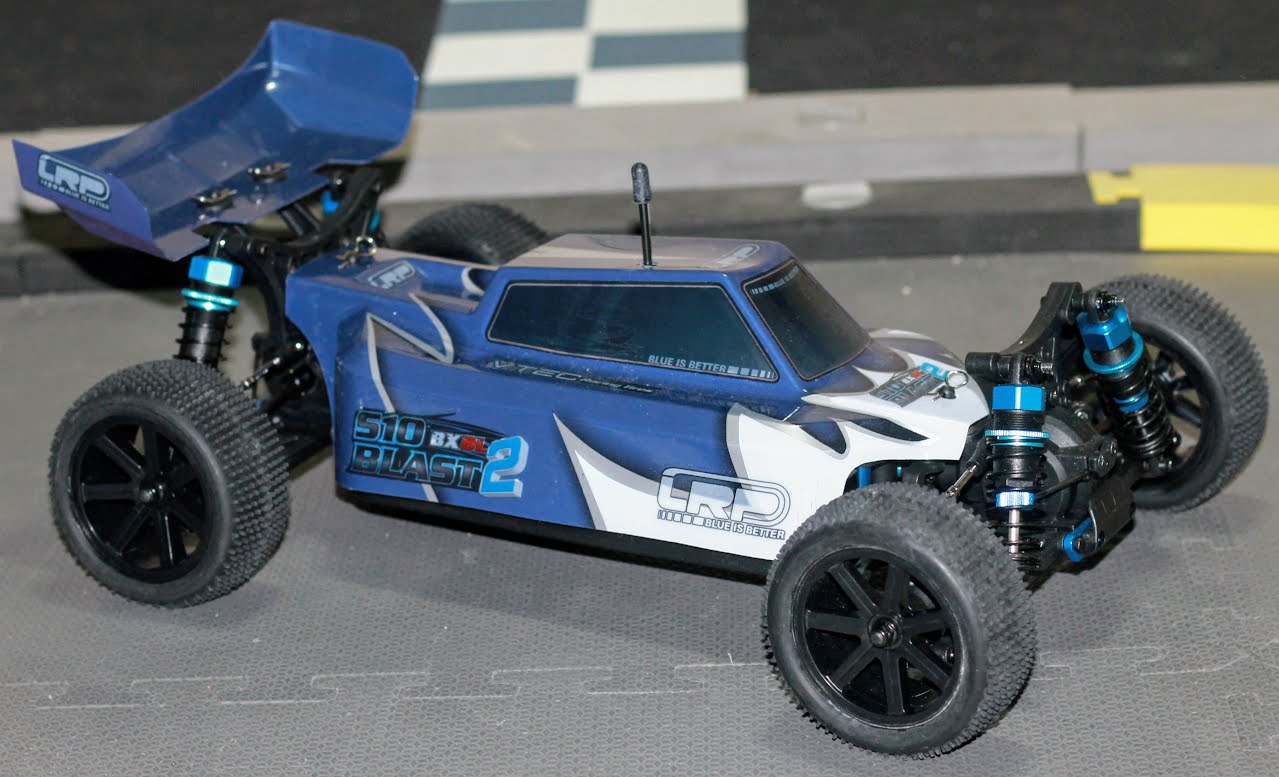
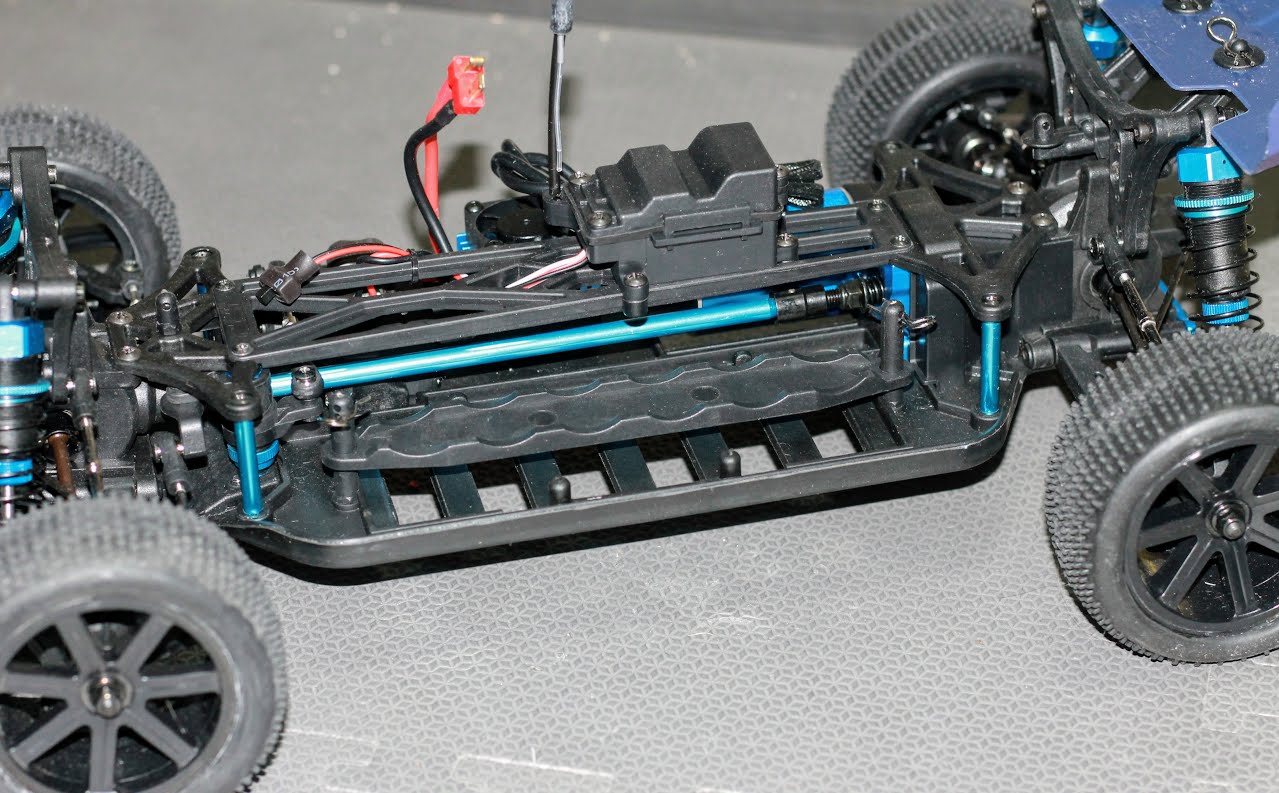
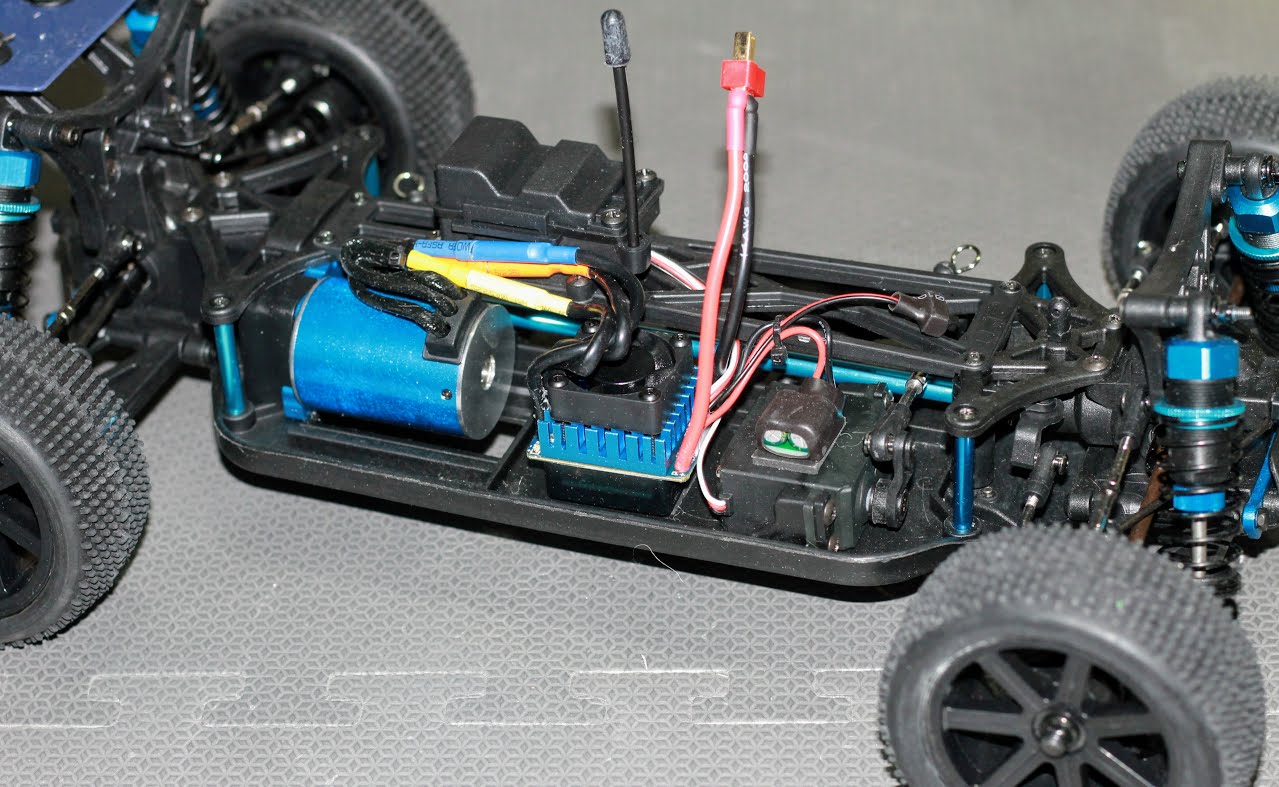
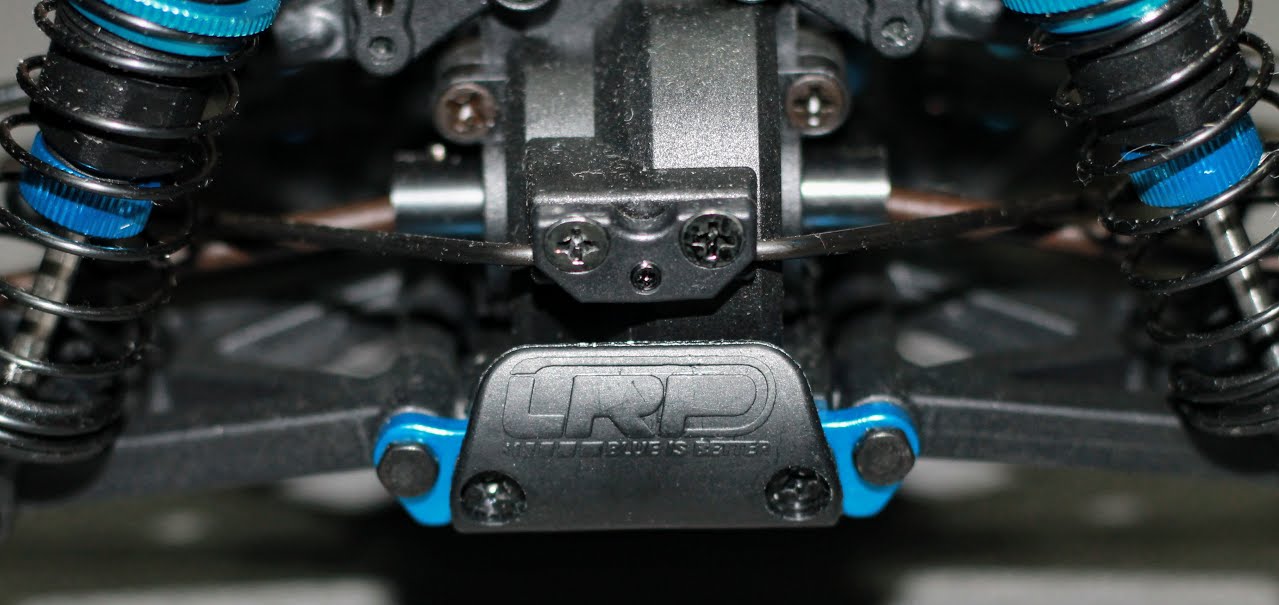
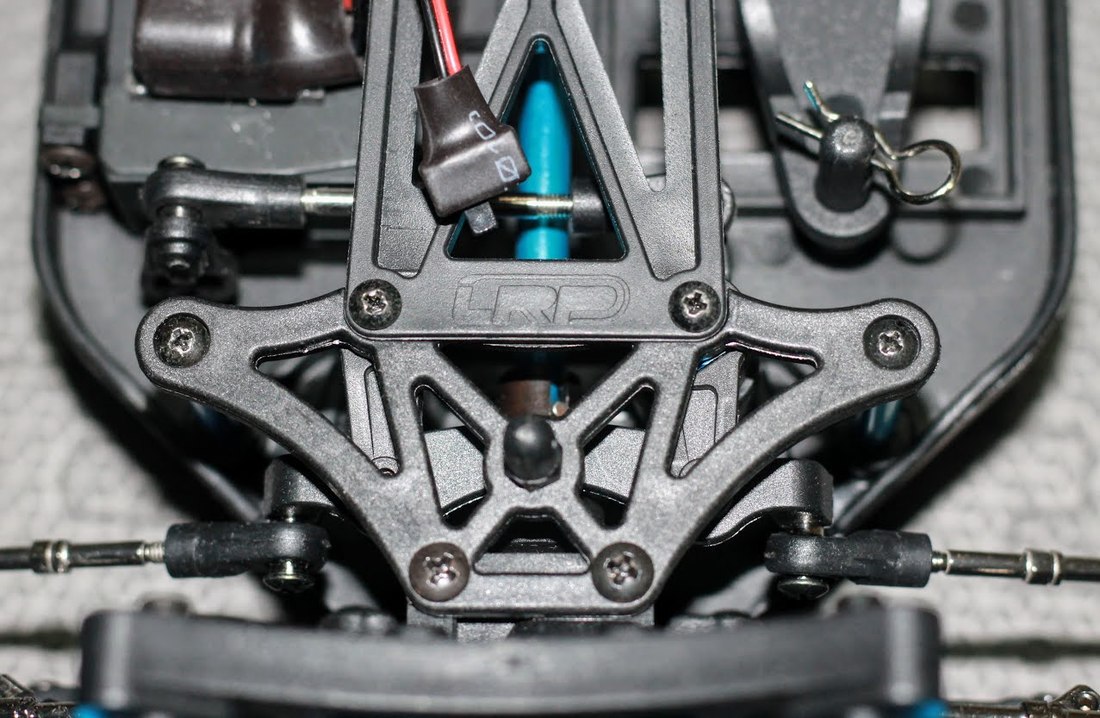
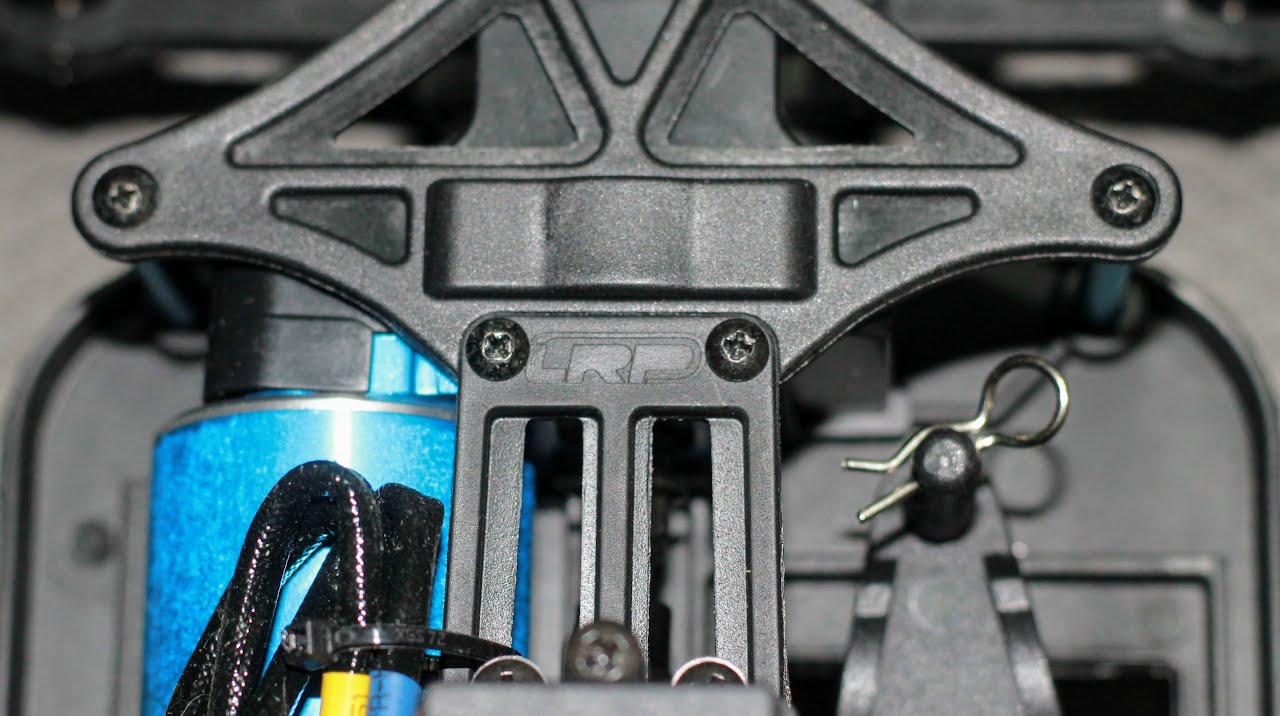
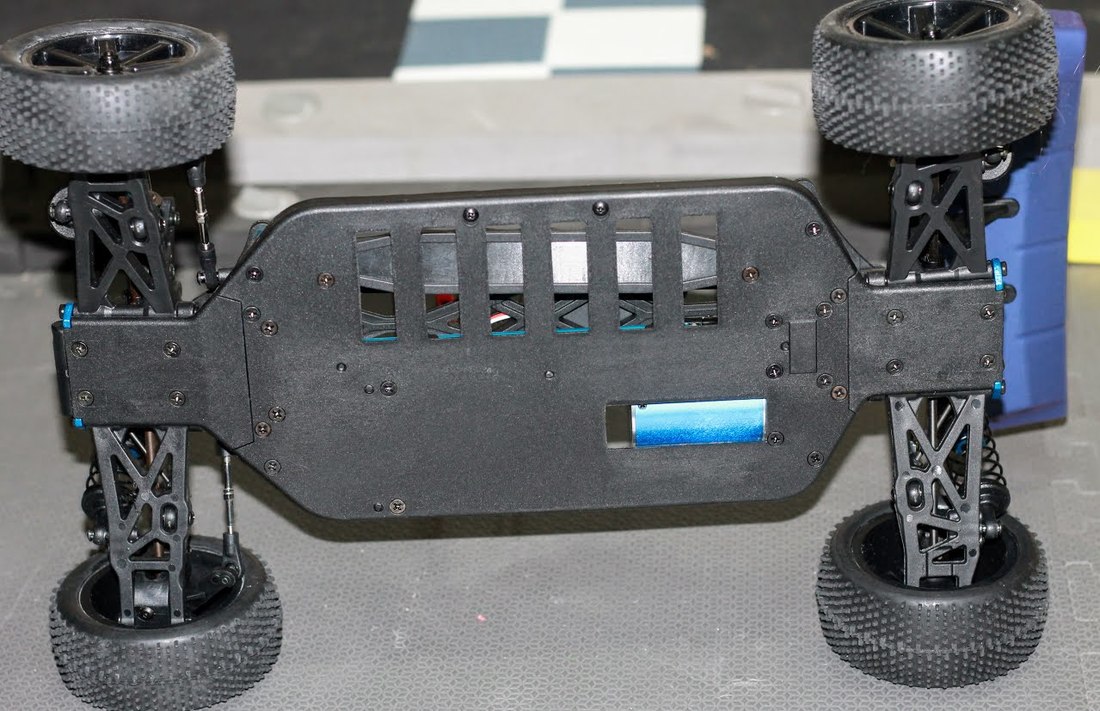
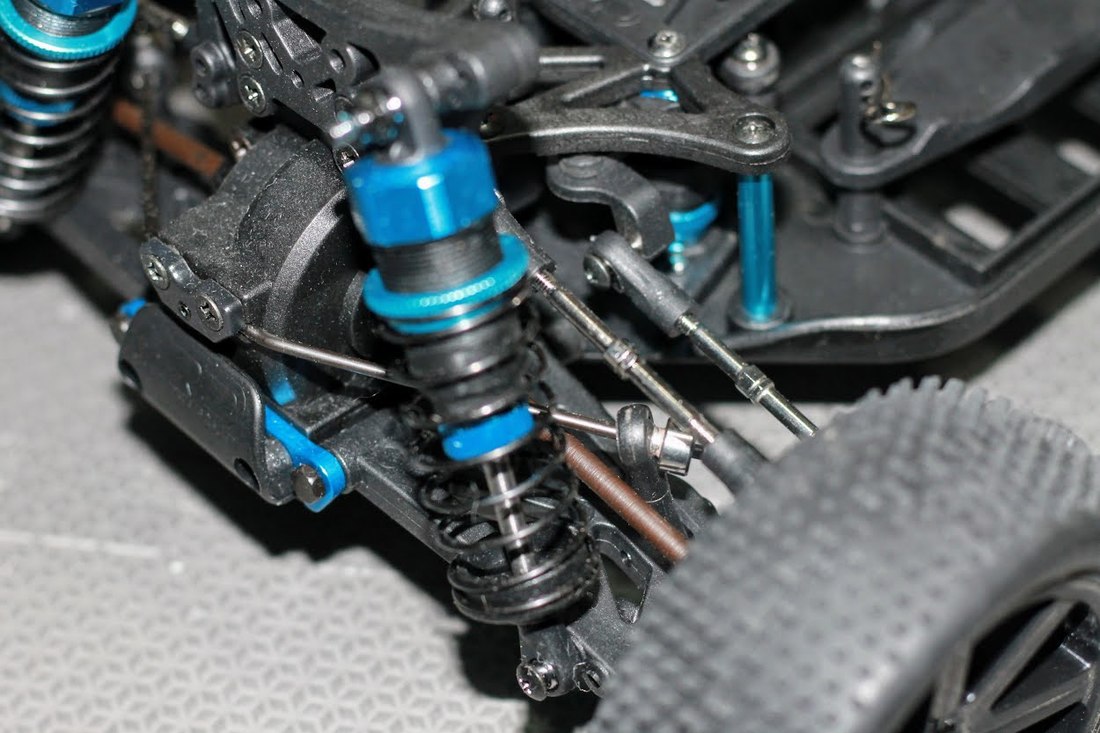
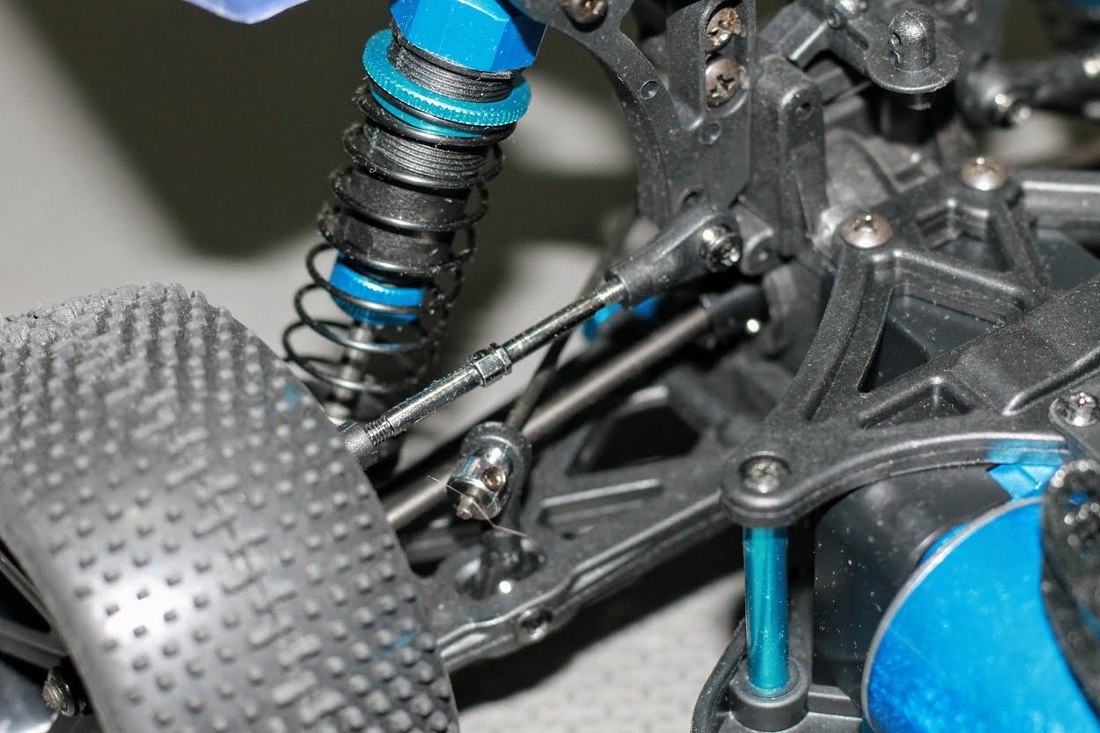
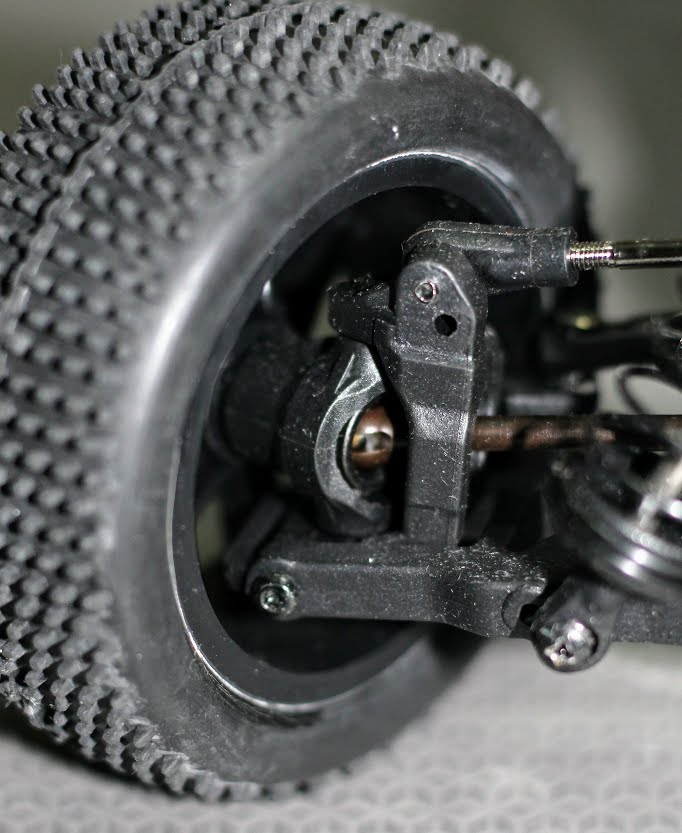
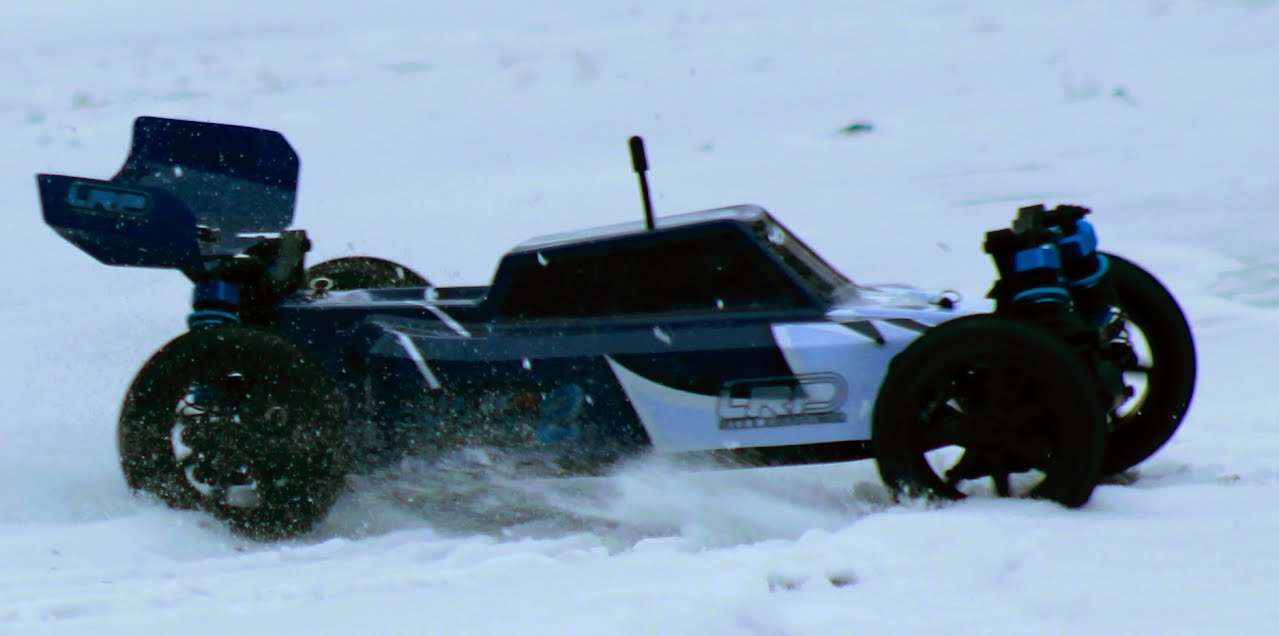
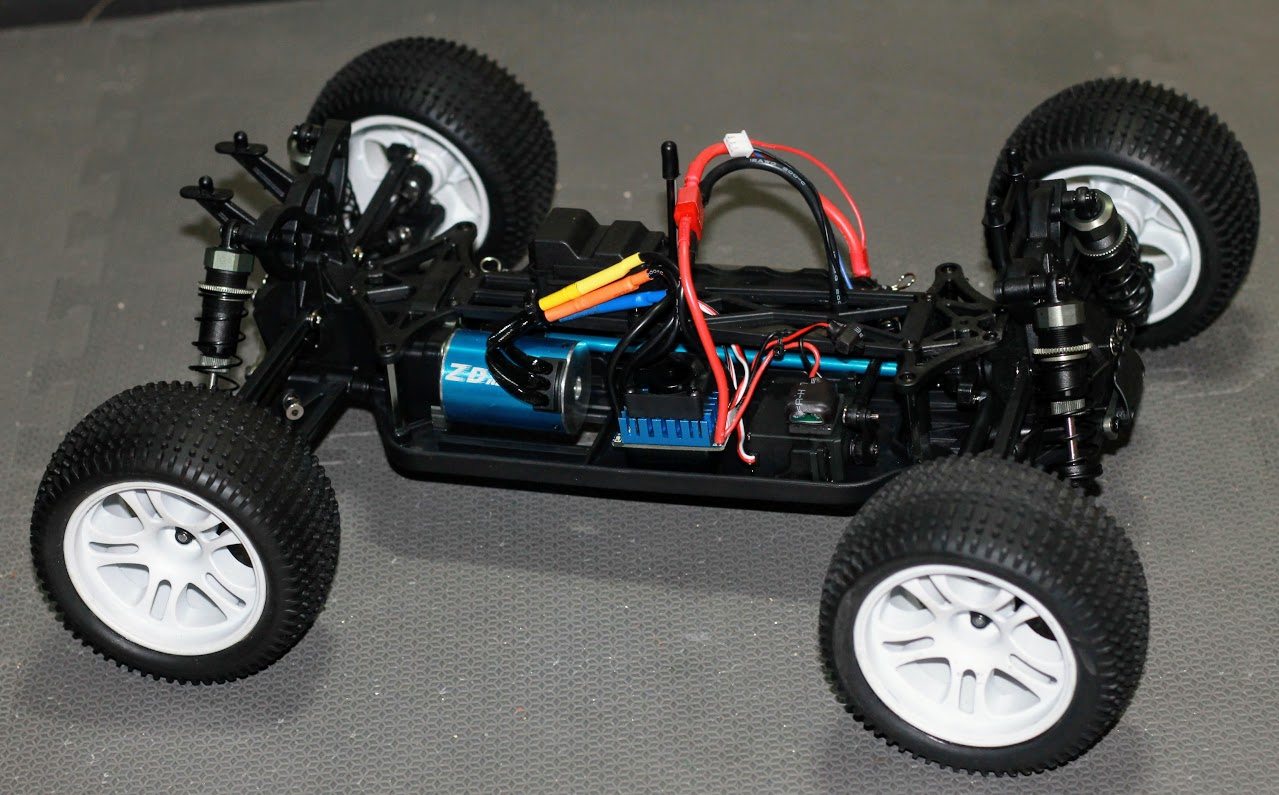
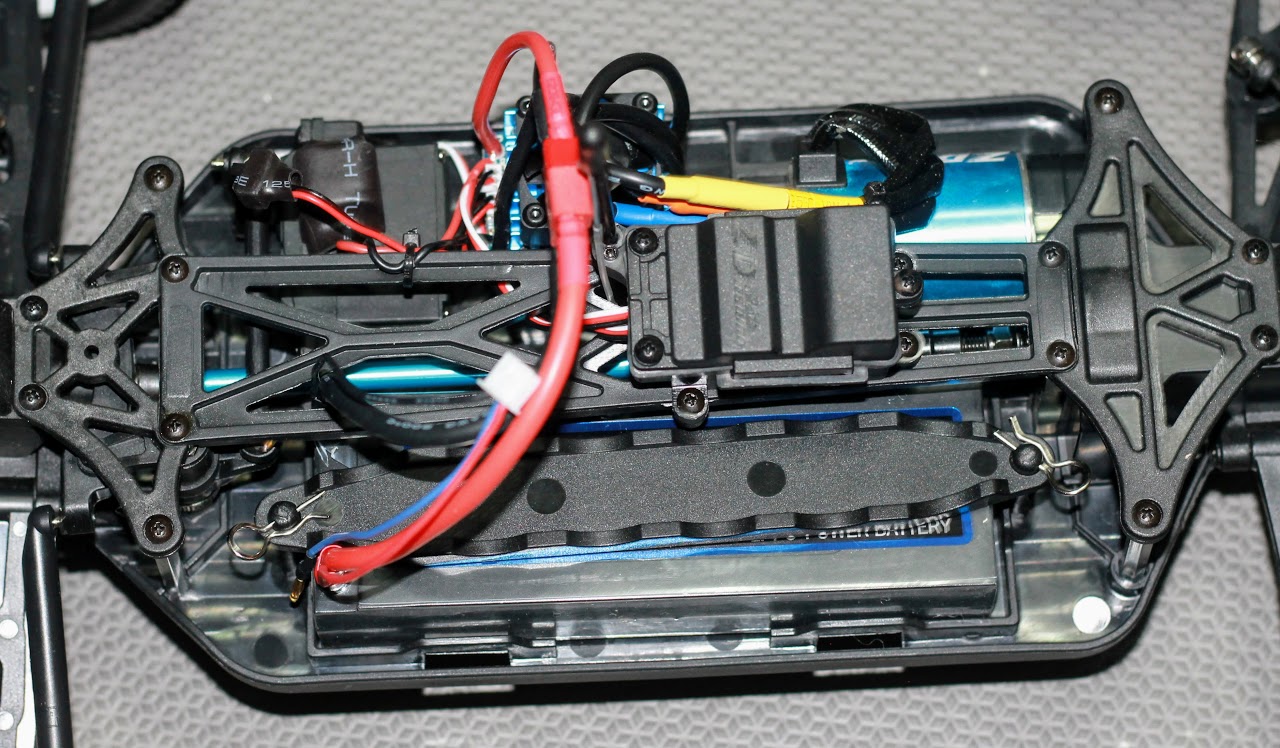
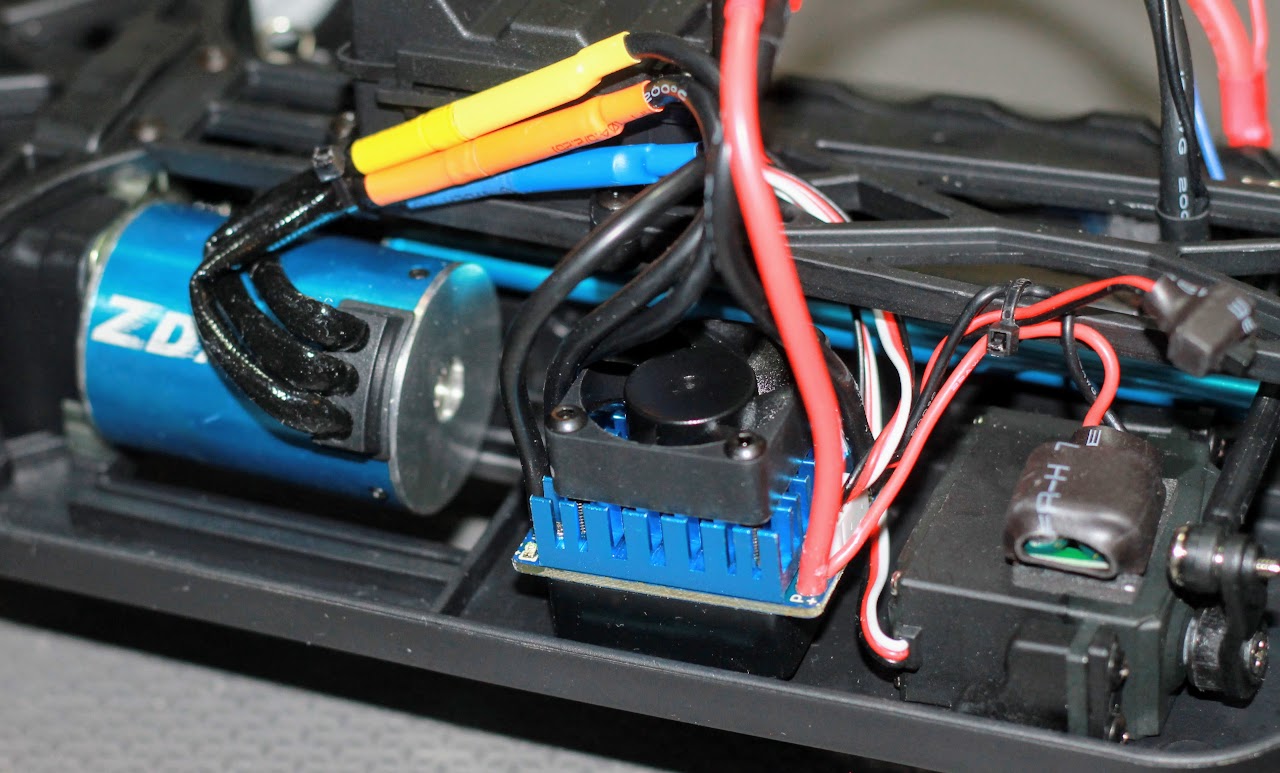
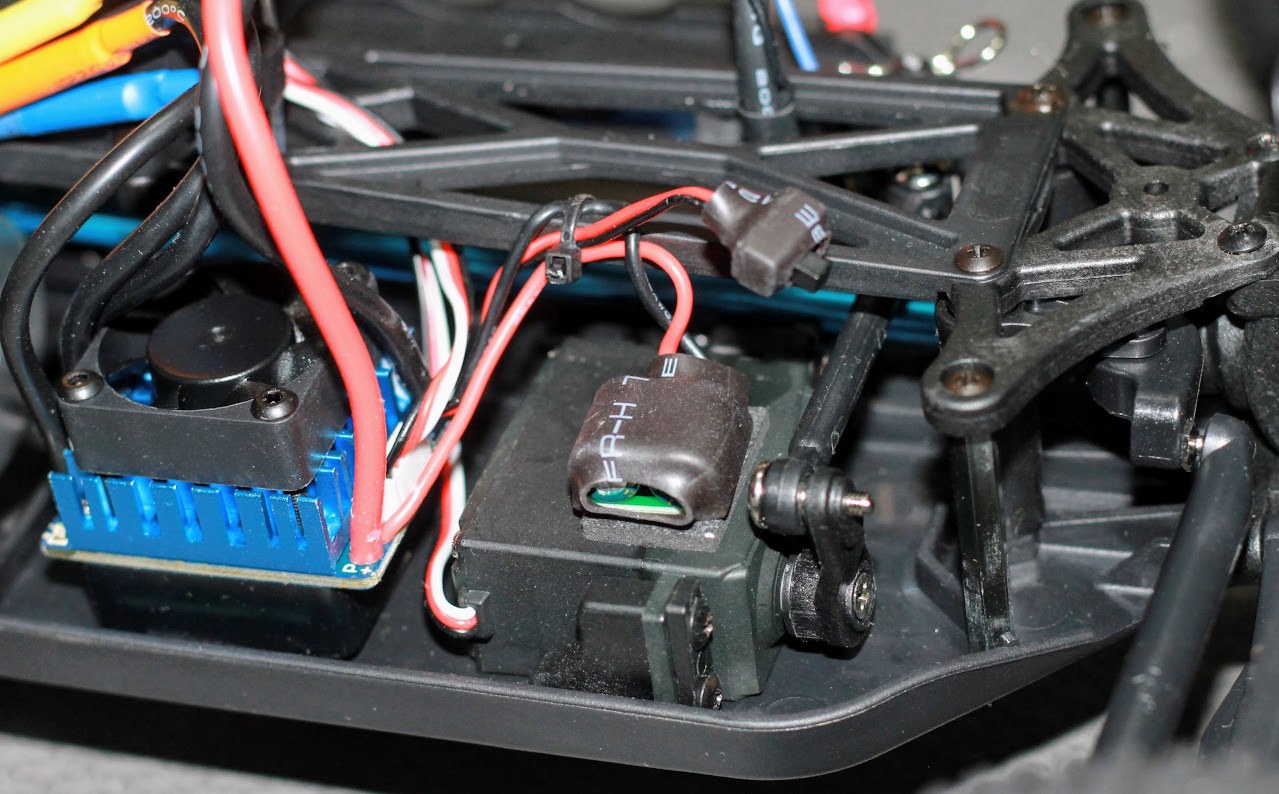
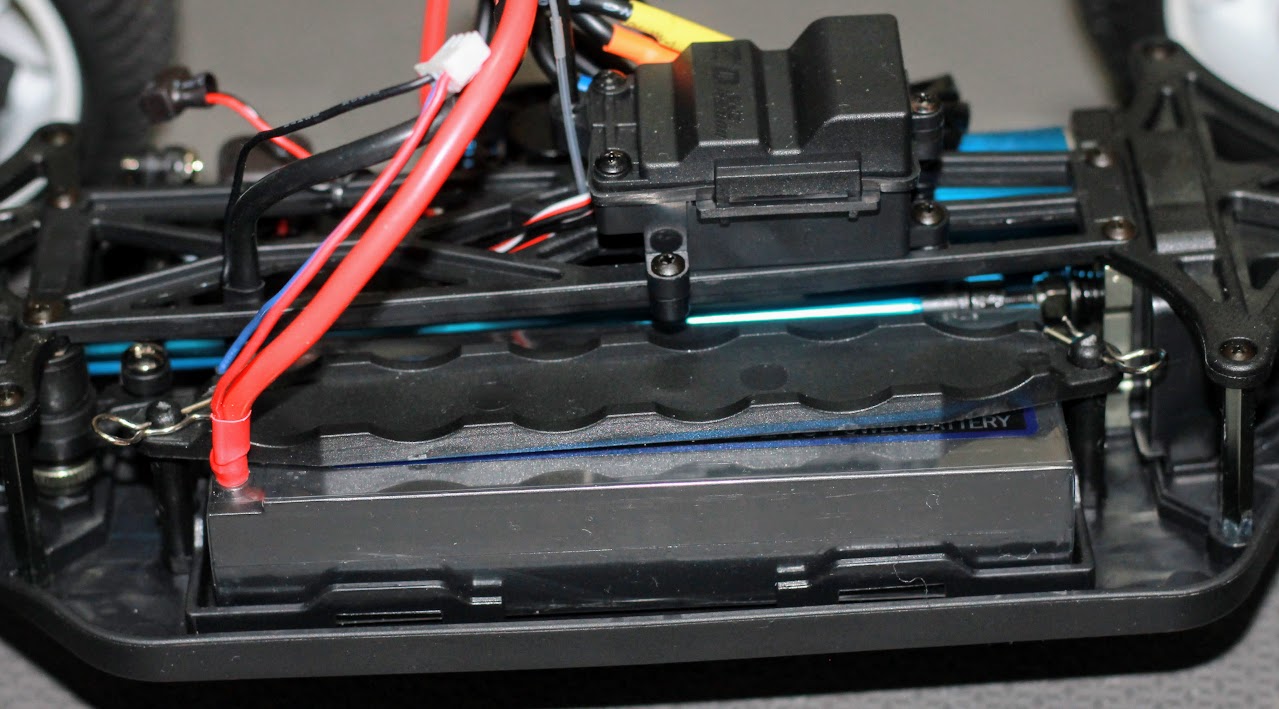
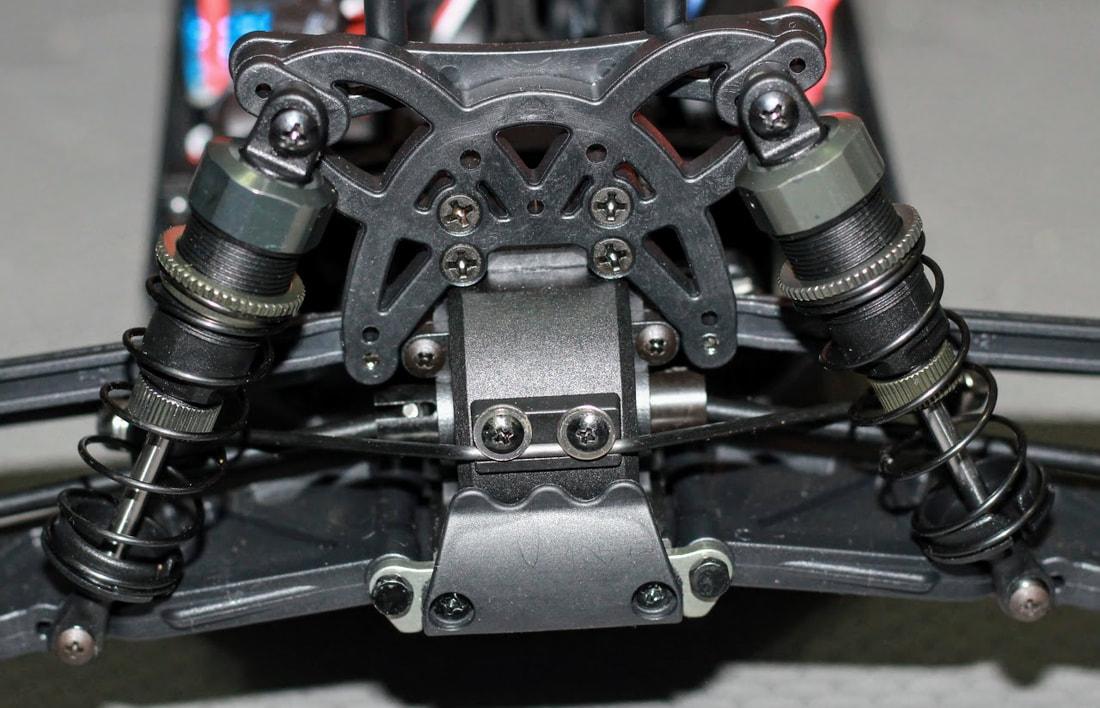
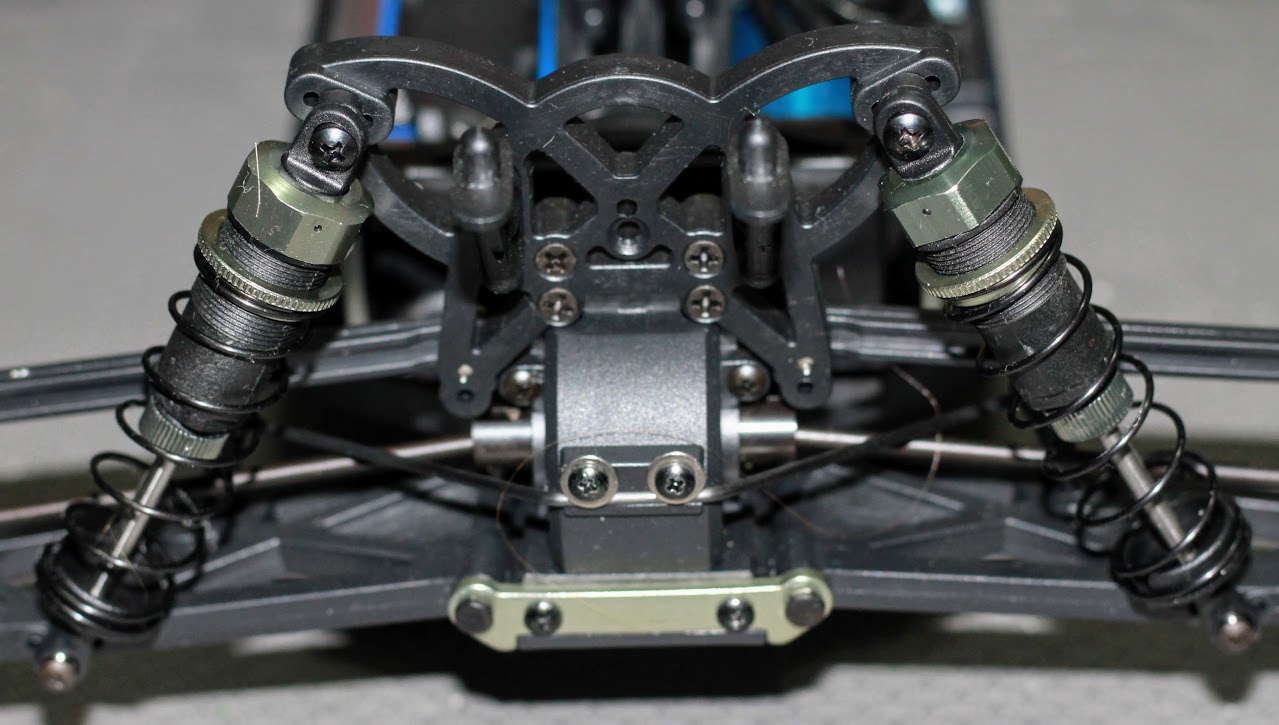
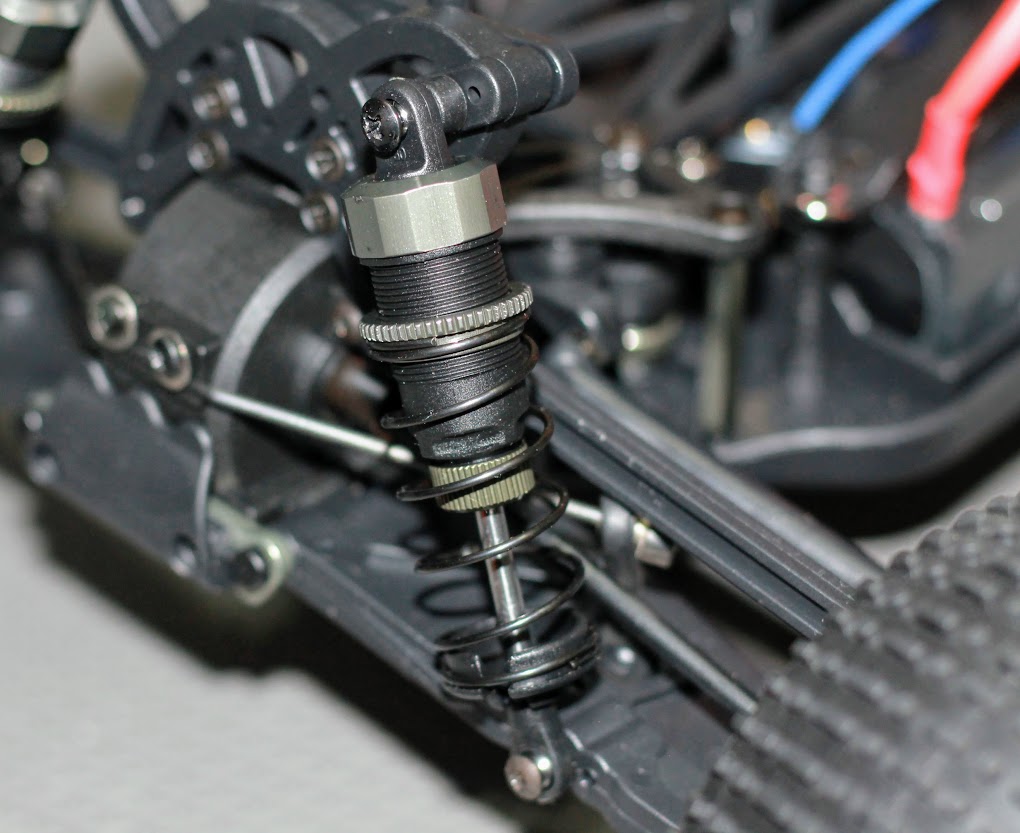
It looks like Gearbest is expanding their product line, and is now going to be selling LRP products The LRP S10 BX BL Blast 2 RTR 4WD buggy is now available on their site. There have been a lot of questions surrounding this buggy, and I am hoping that this review, and info will answer the majority of those questions. First off, it does appear that the buggy is indeed a genuine LRP product. It is however being sold by Gearbest with a ZD Racing electronics package. This explains how they are selling it for so much less than the buggy can be purchased for elsewhere. As you will see in the pics below, the buggy itself is packaged in an actual LRP box, which even shows the LRP electronics on it. It also includes a full LRP assembly manual. Apparently Gearbest has made a deal with the factory to have their own, less expensive version. I don't see this being much of an issue, as I have some past experience with the ZD Racing electronics package, and it has never given me any issues. The ESC is a 45A splashproof model, and the motor is 3650 3300kv. The included servo is just your standard 3 wire job. It gets the job done, but can always be upgraded for very little money later on. The included radio system is the same radio that ZD Racing are now including in many of their newer packages. Again this is just a basic 2.4ghz AFHDS radio, but it works just fine, and has a Flysky look and feel to it, though I can't say if it is a Flysky radio or not. This is a very complete ready to run package. You get everything needed to be up and running except 4 AA batteries for the radio. I have the 2400mah 2s LiPo battery charging now, and will get it out for a first run in my driveway shortly. Check out the pics, and video, and don't hesitate to ask any questions you might have. This buggy is now in stock, and available for $149 during the January sales. Click me to order.
0 Comments
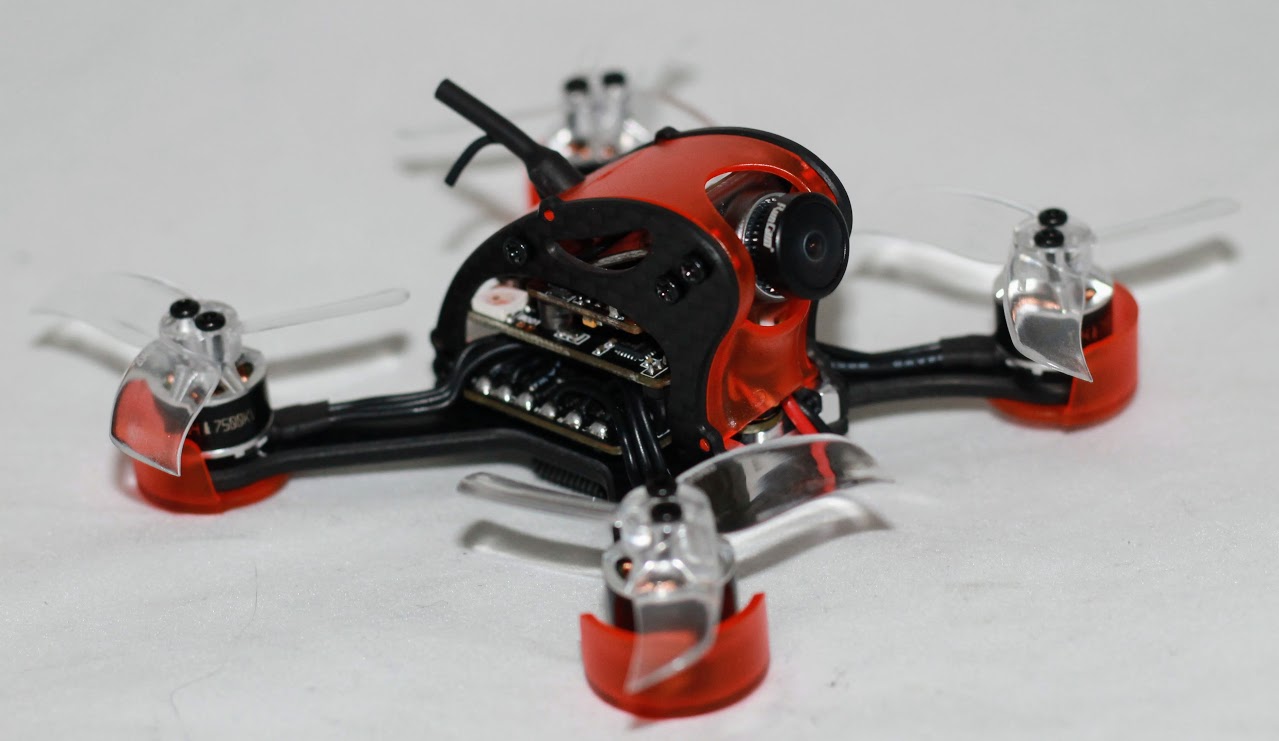
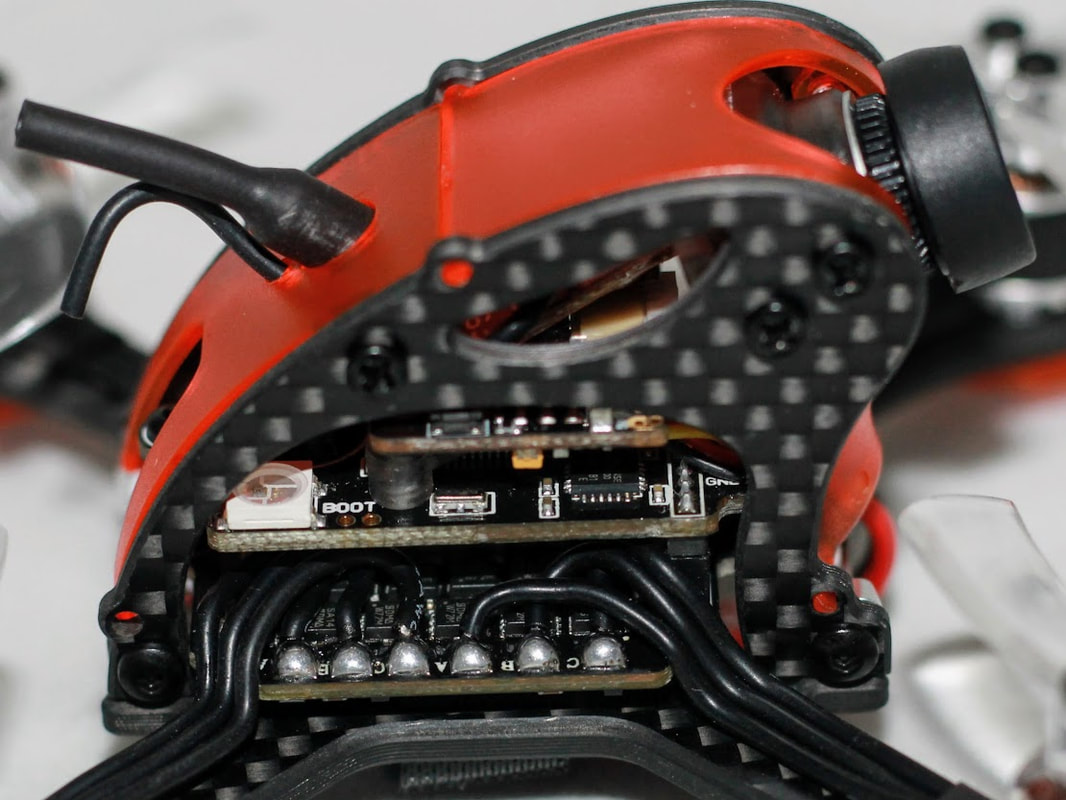
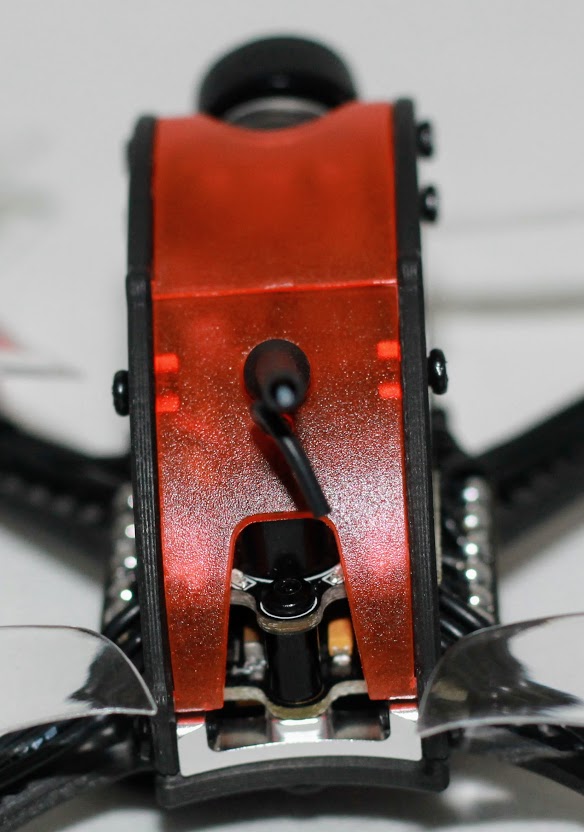
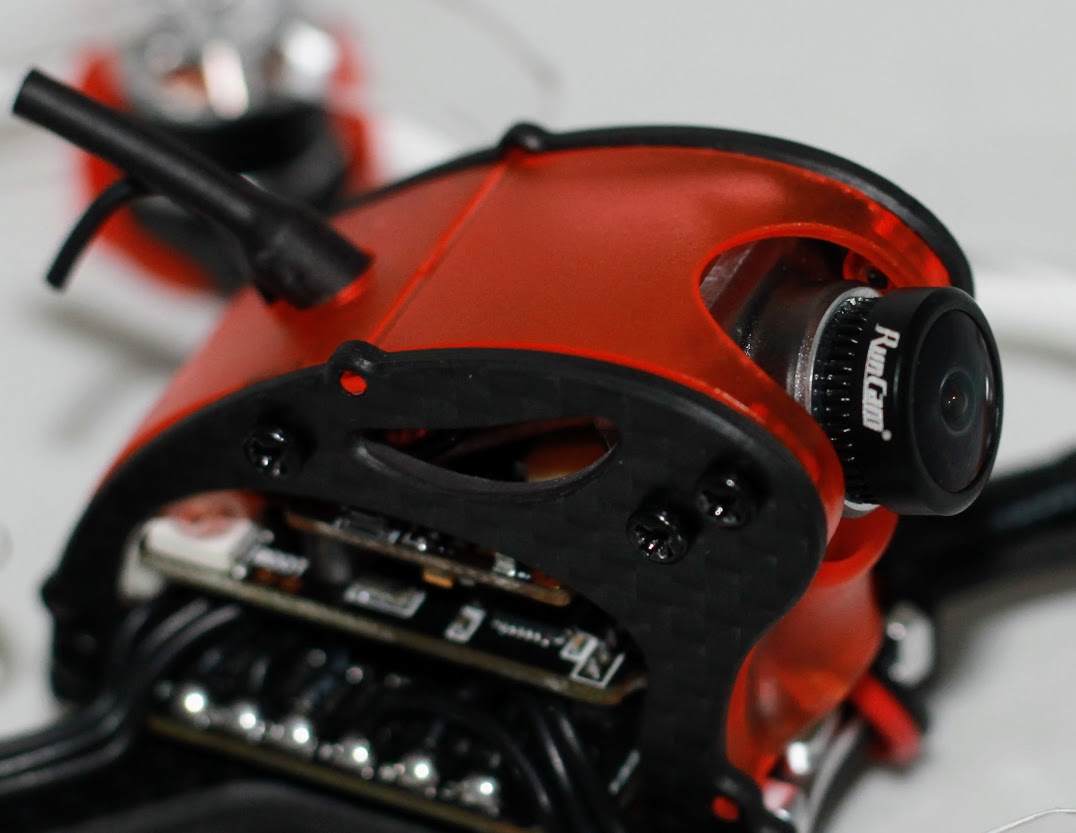
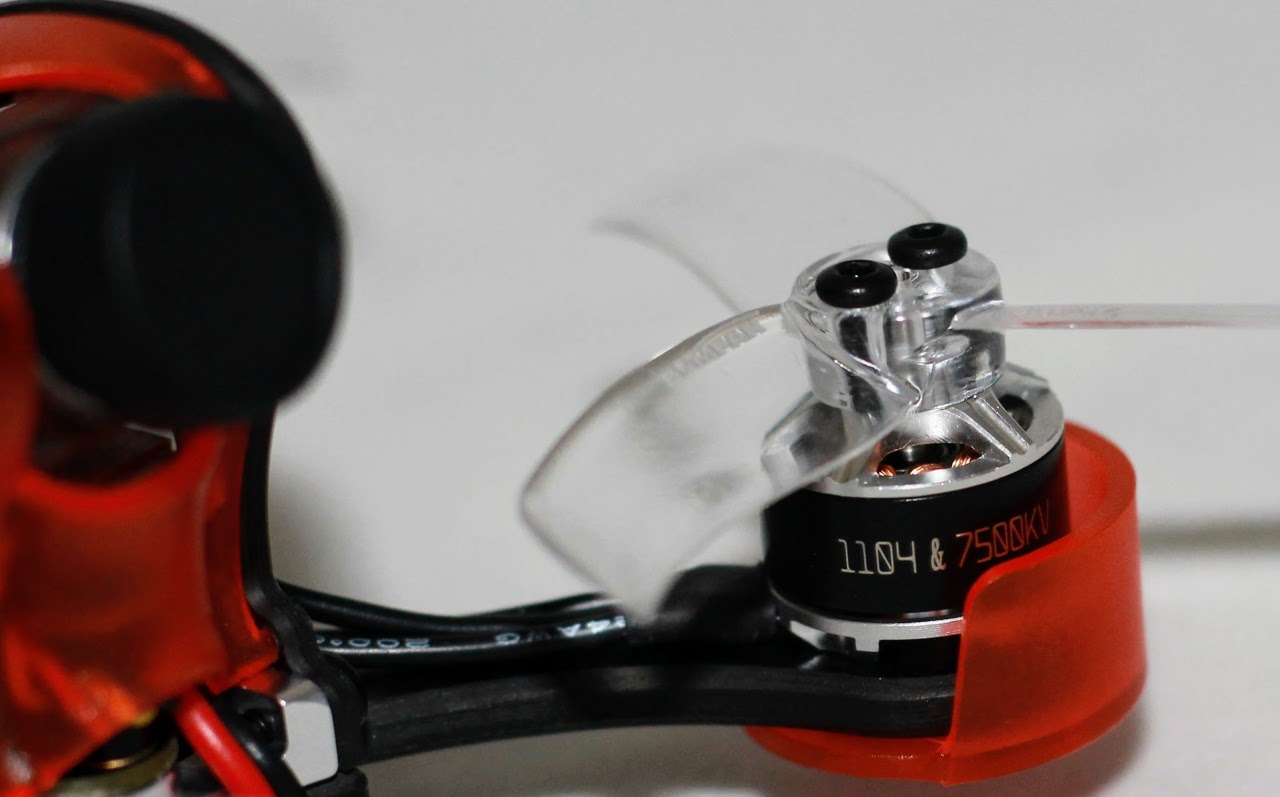
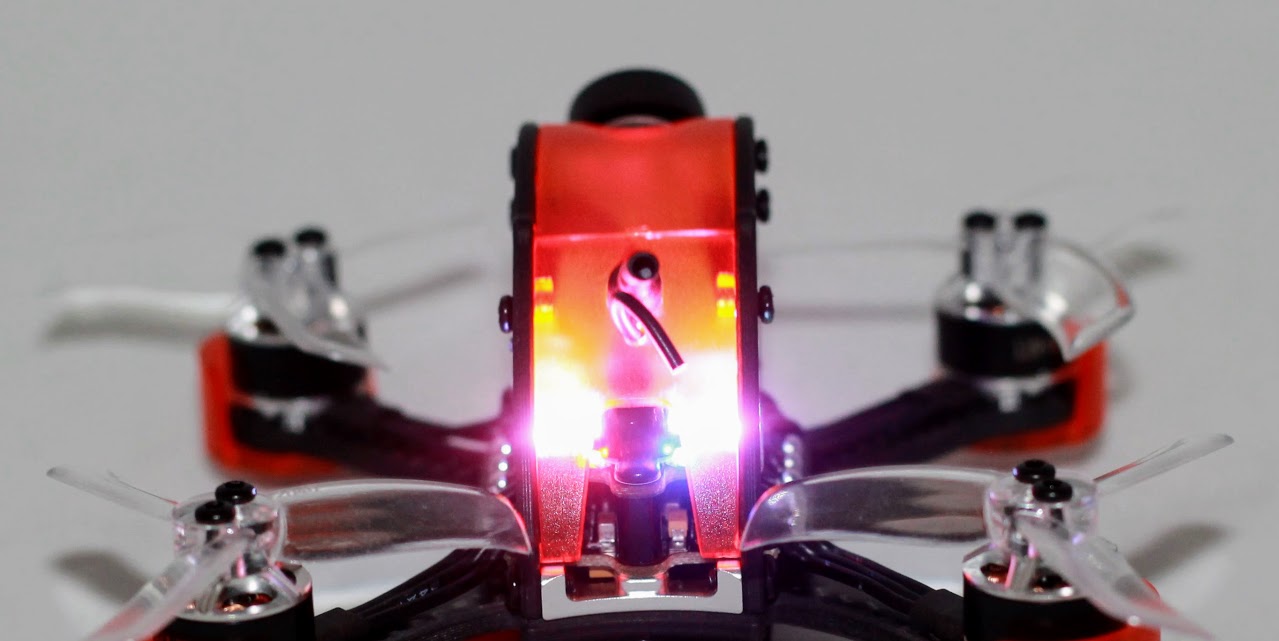
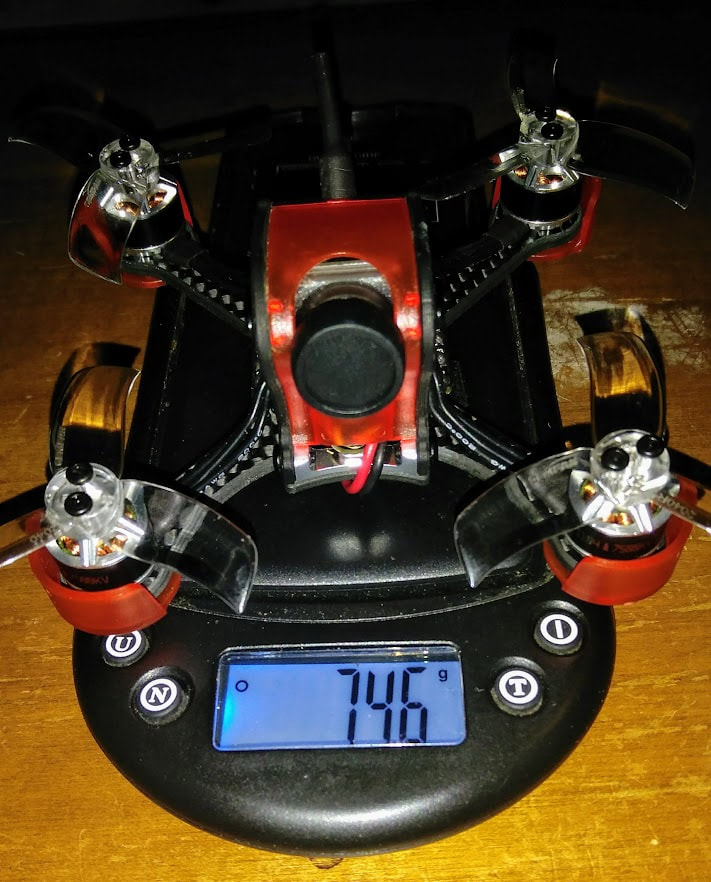
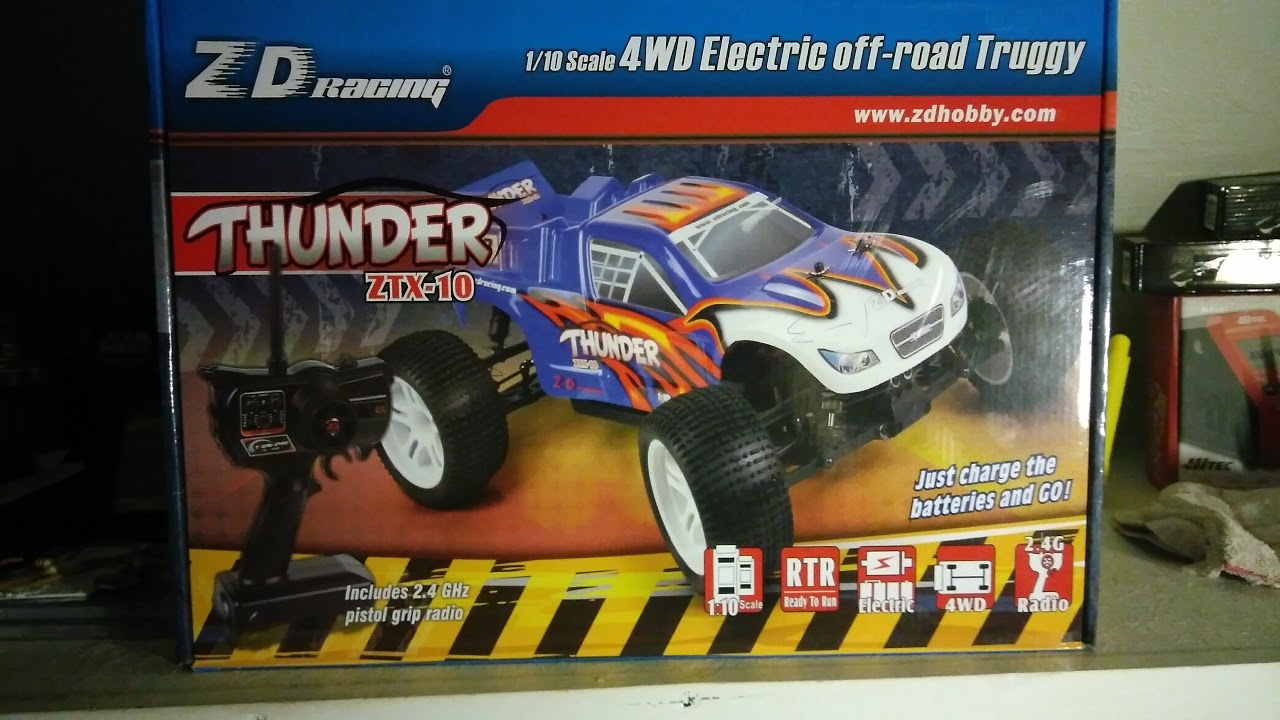
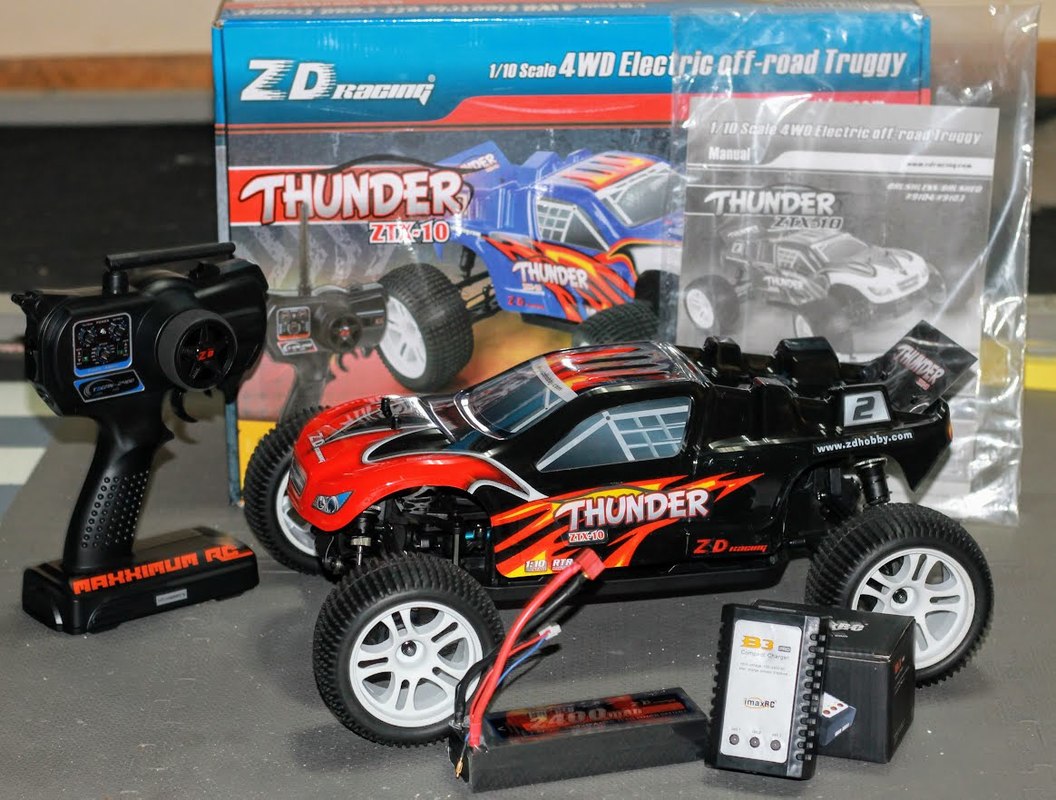
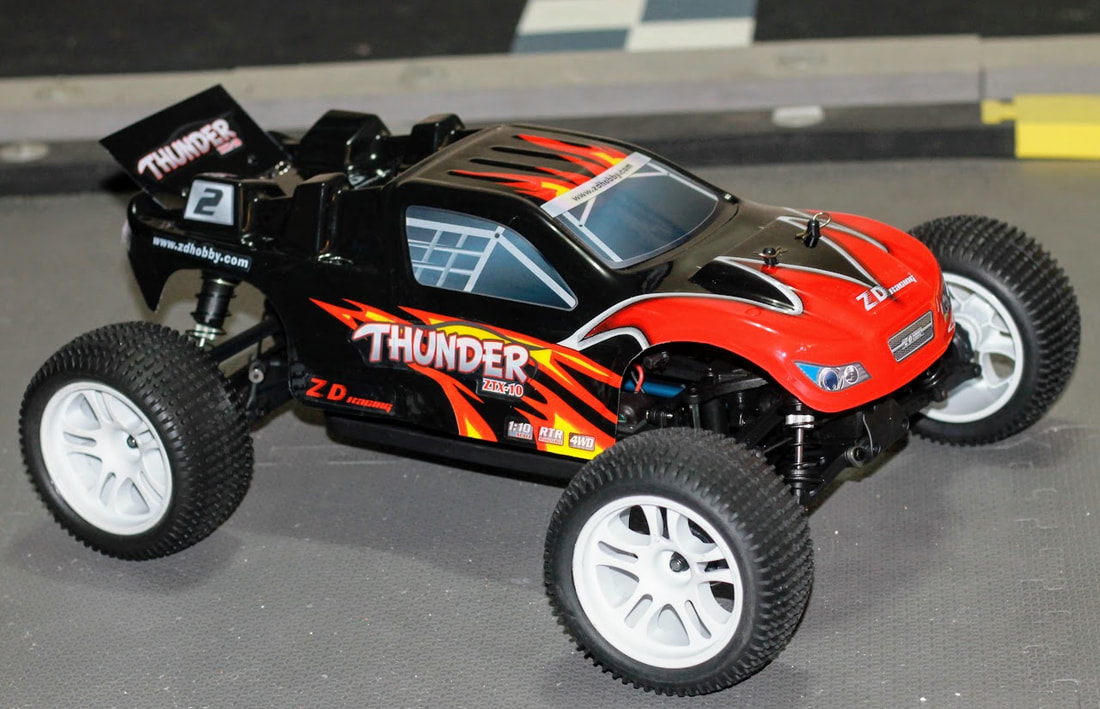
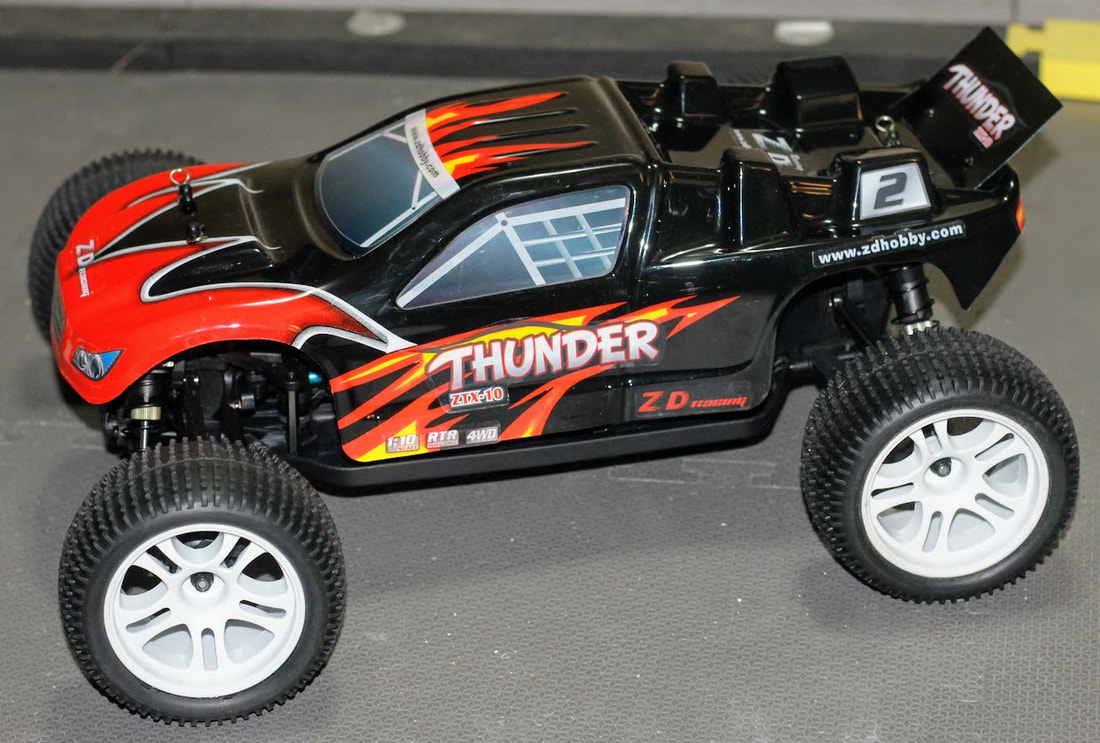
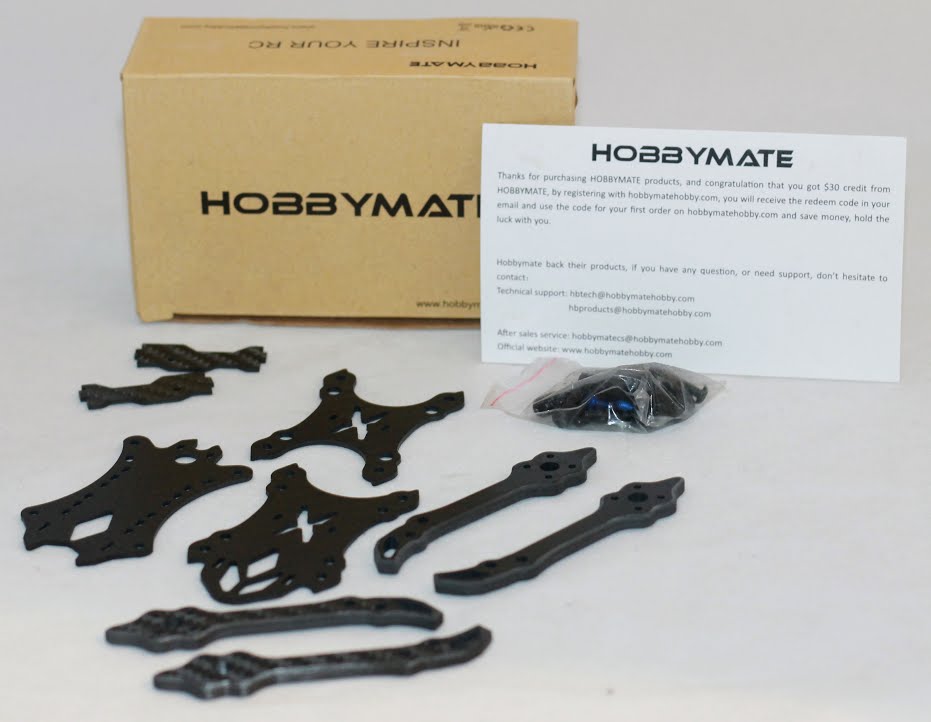
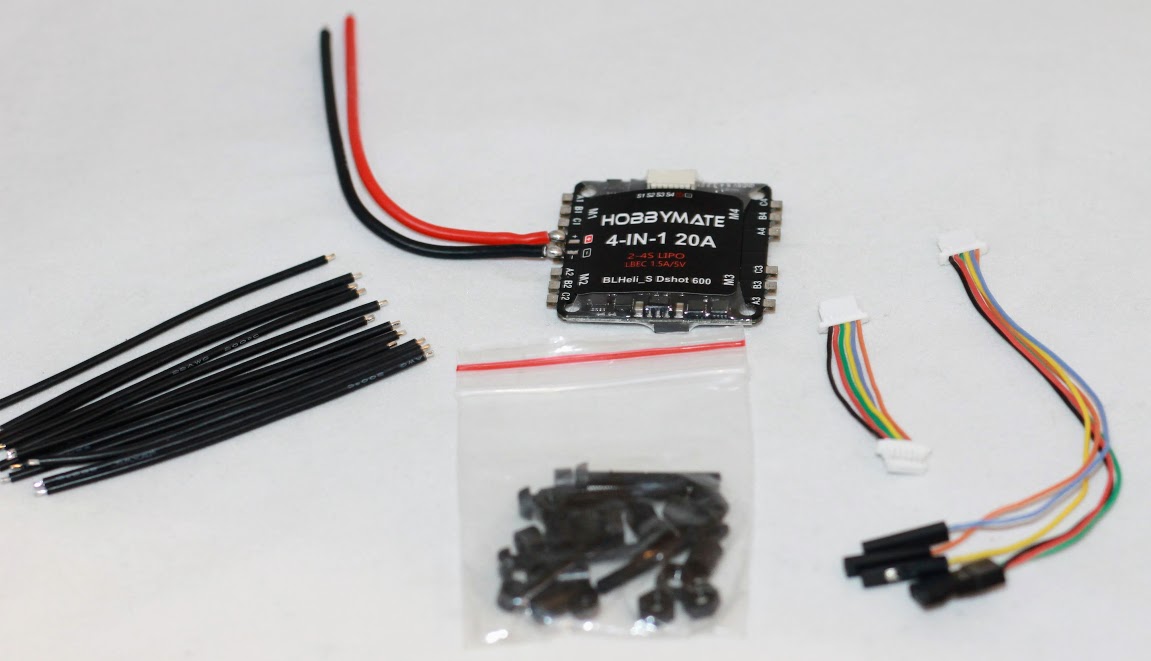
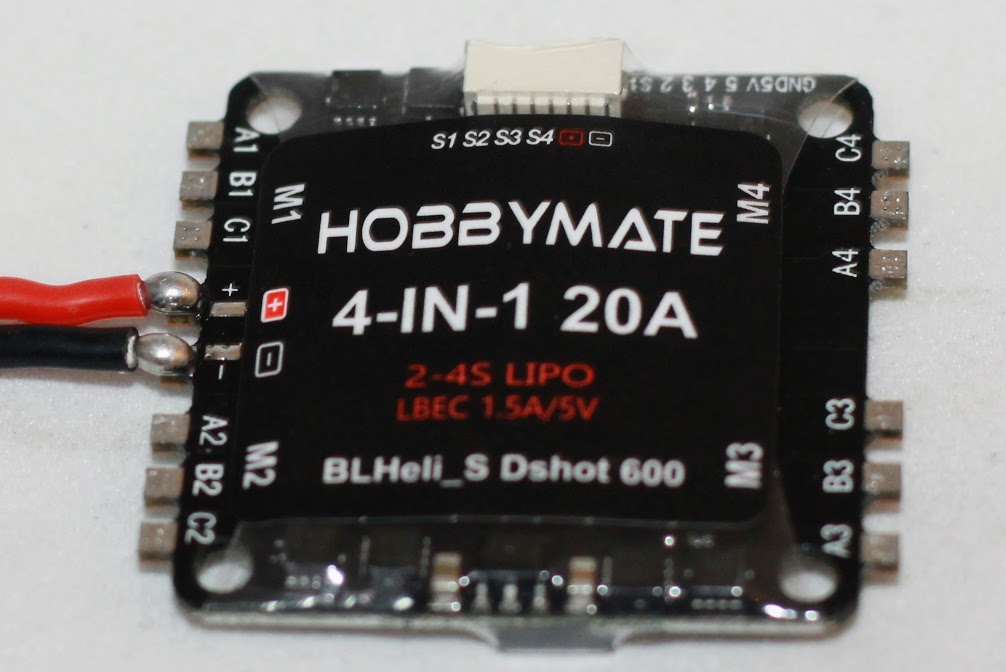
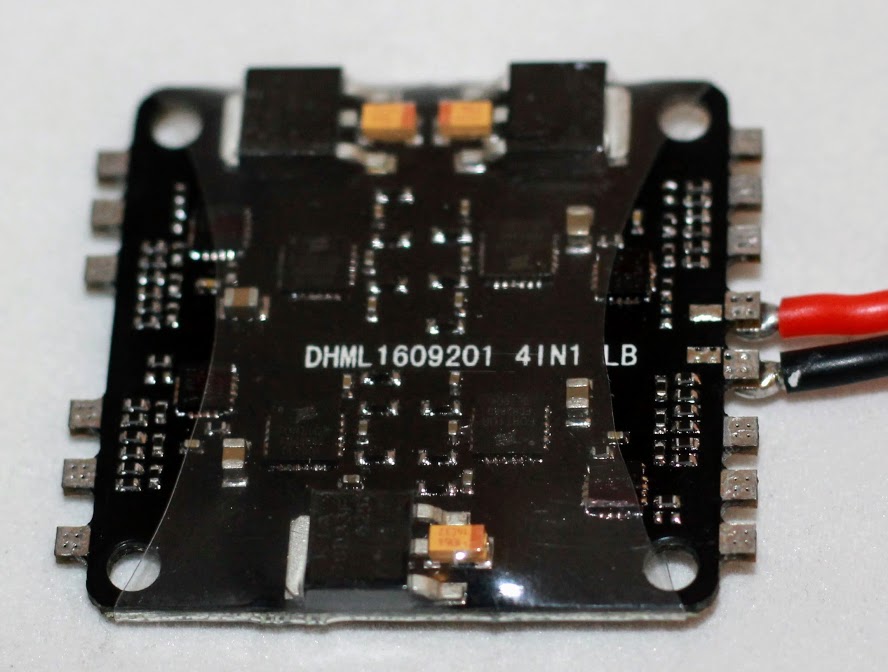
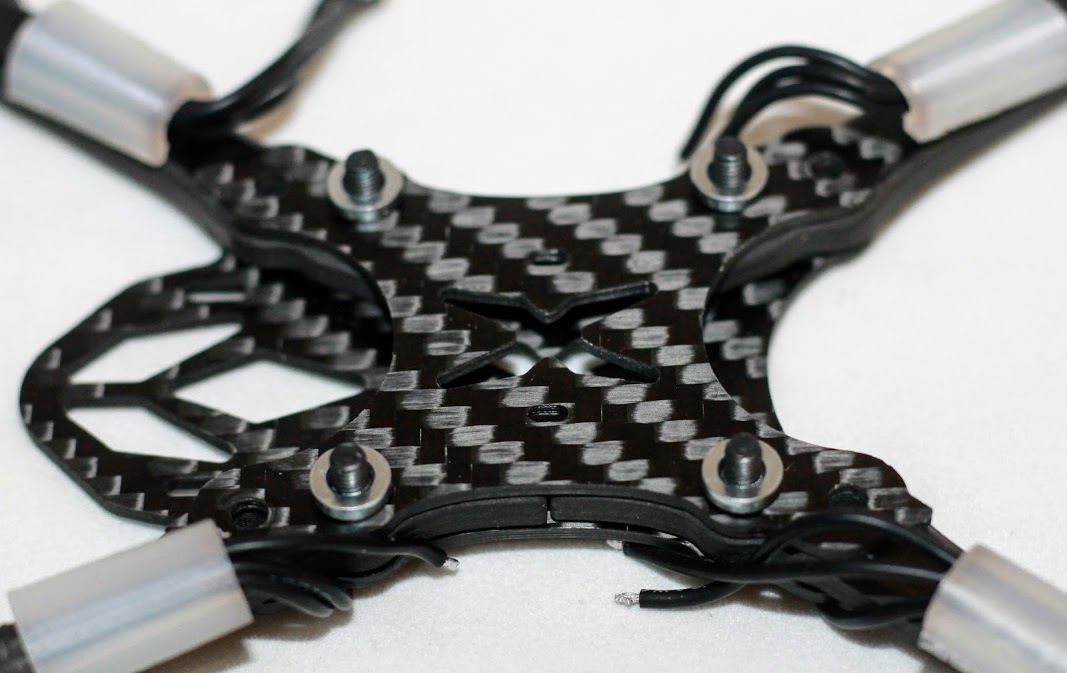
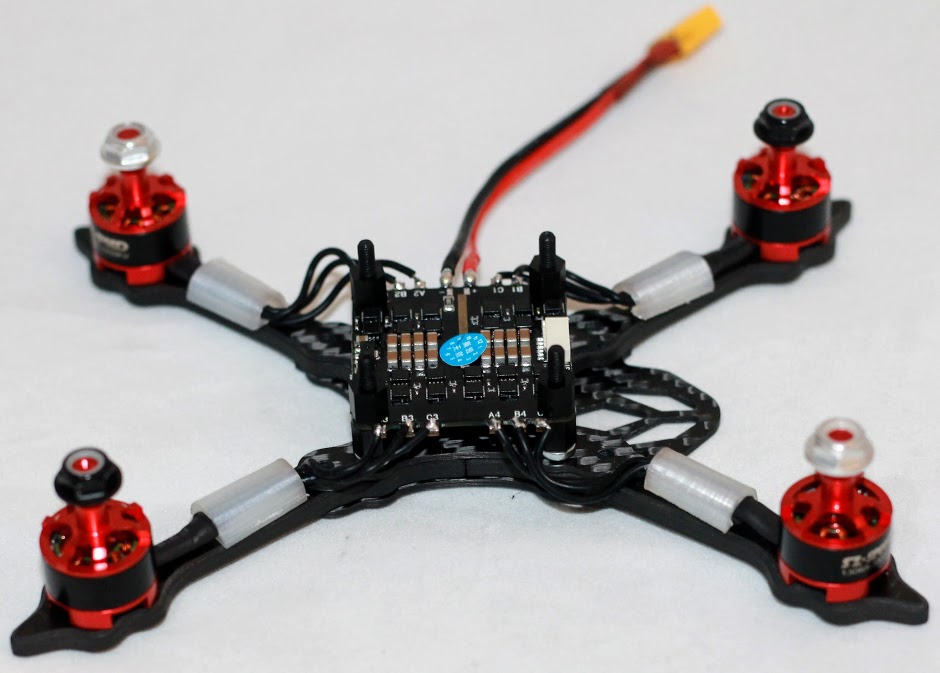
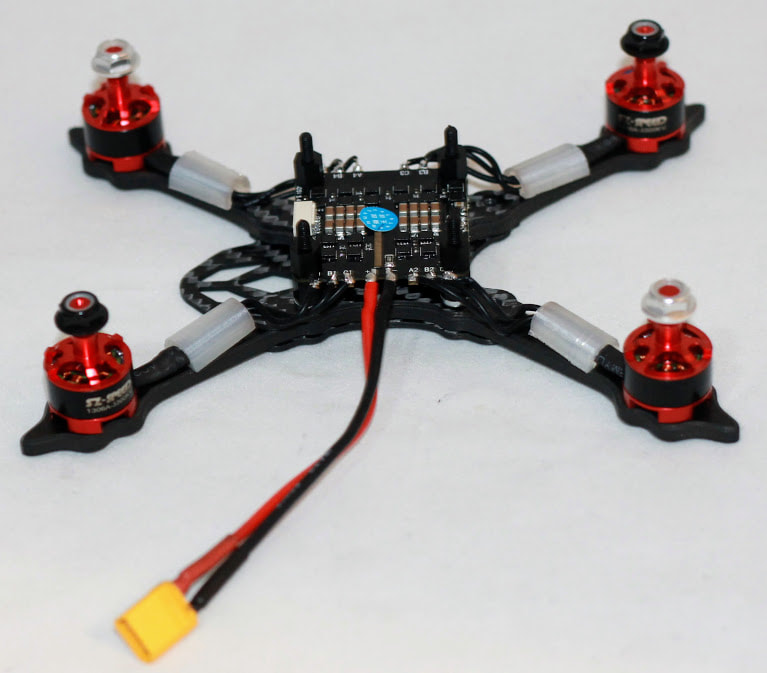
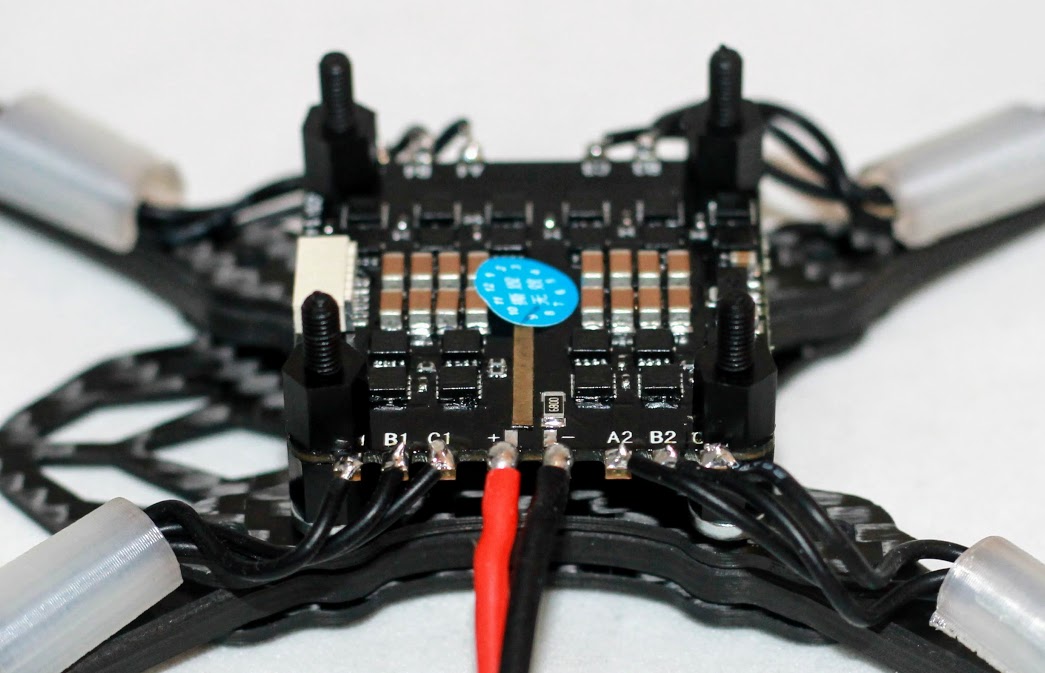
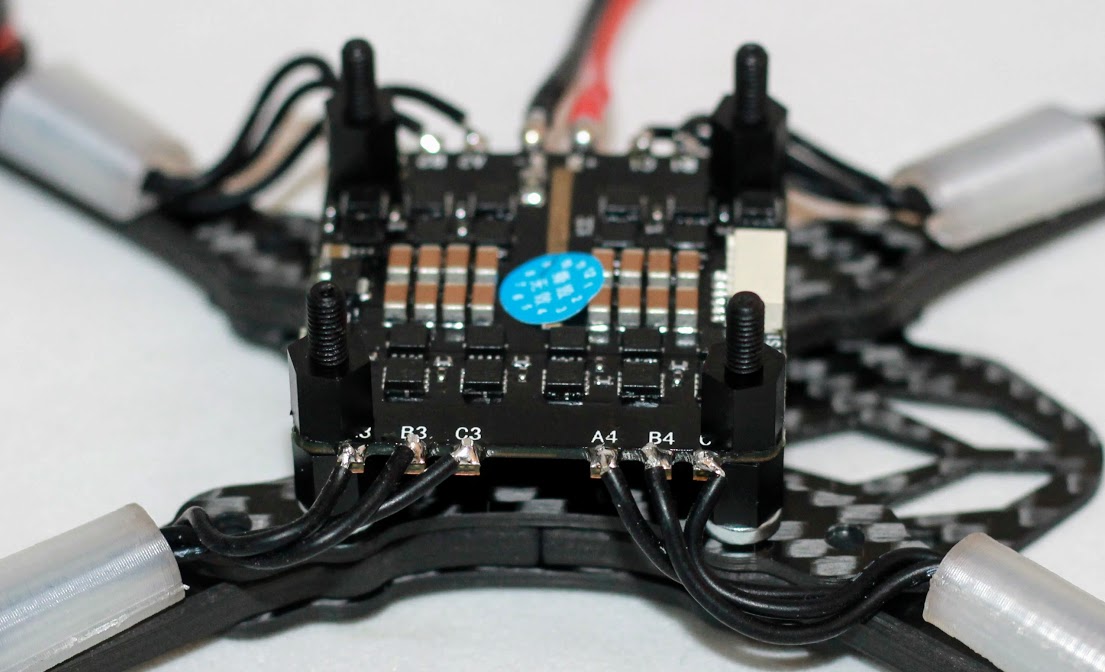
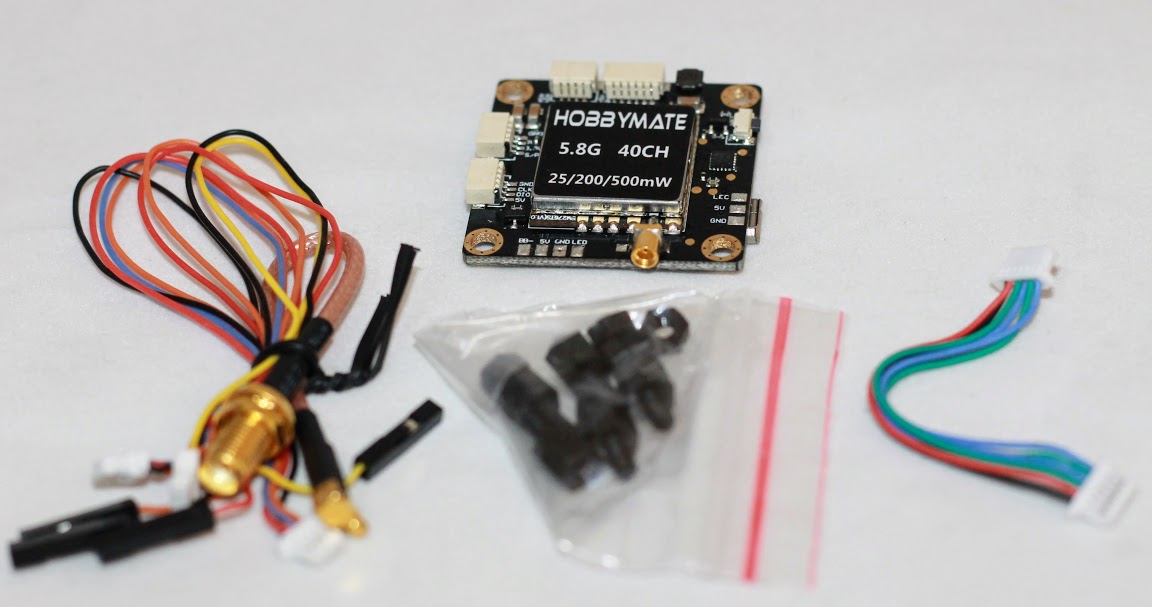
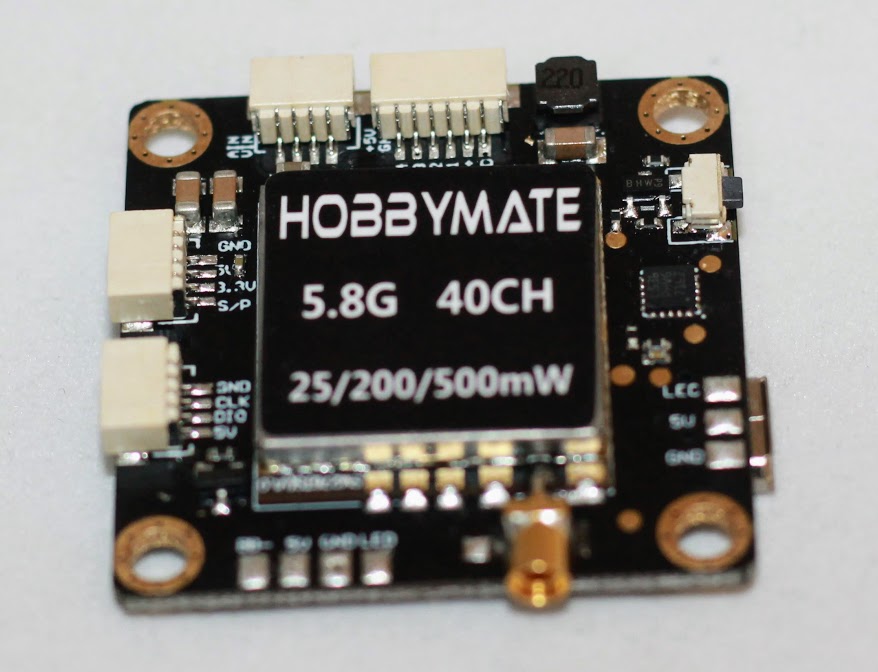
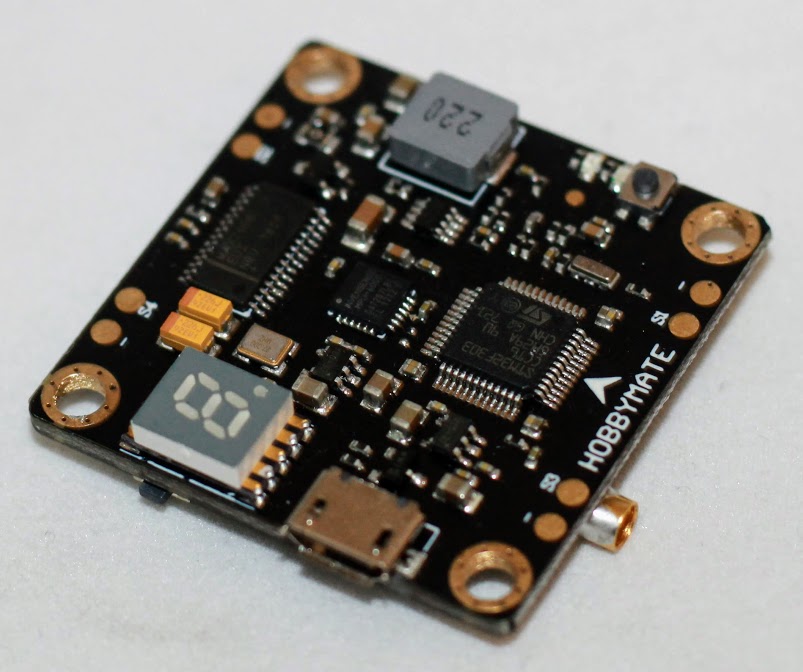
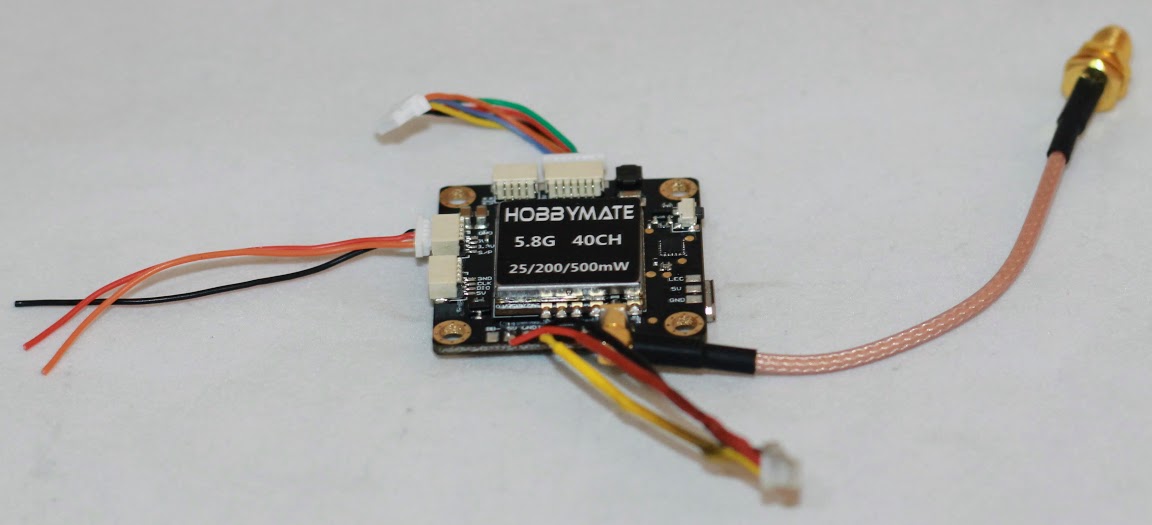
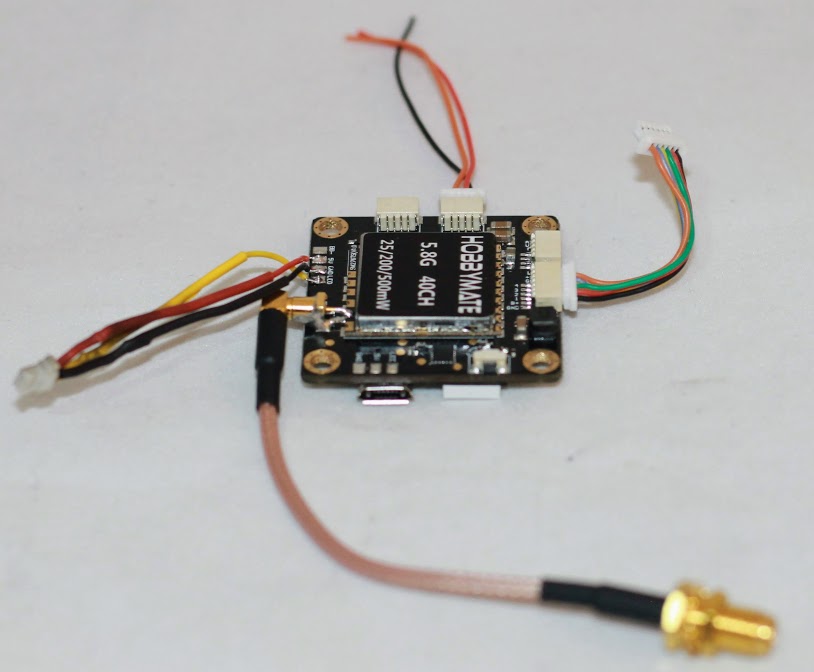
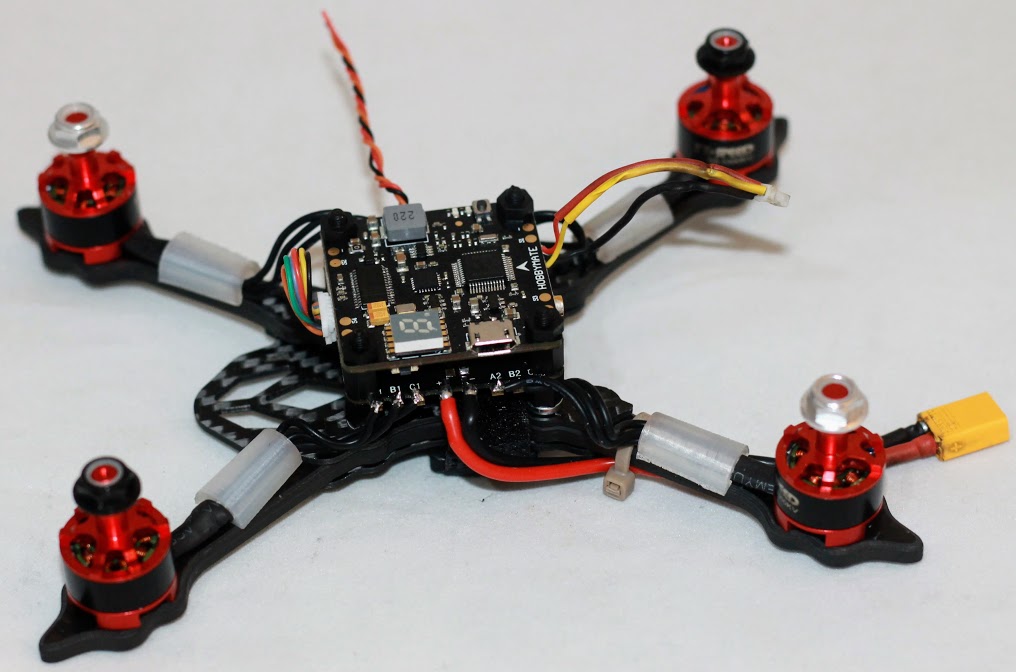
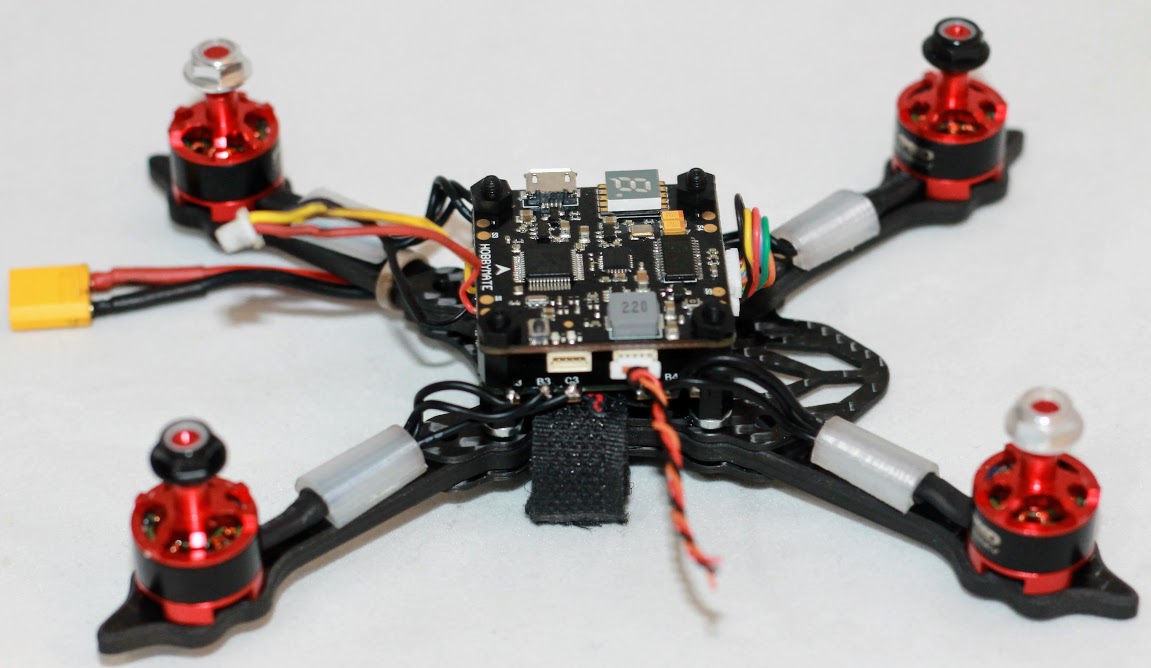
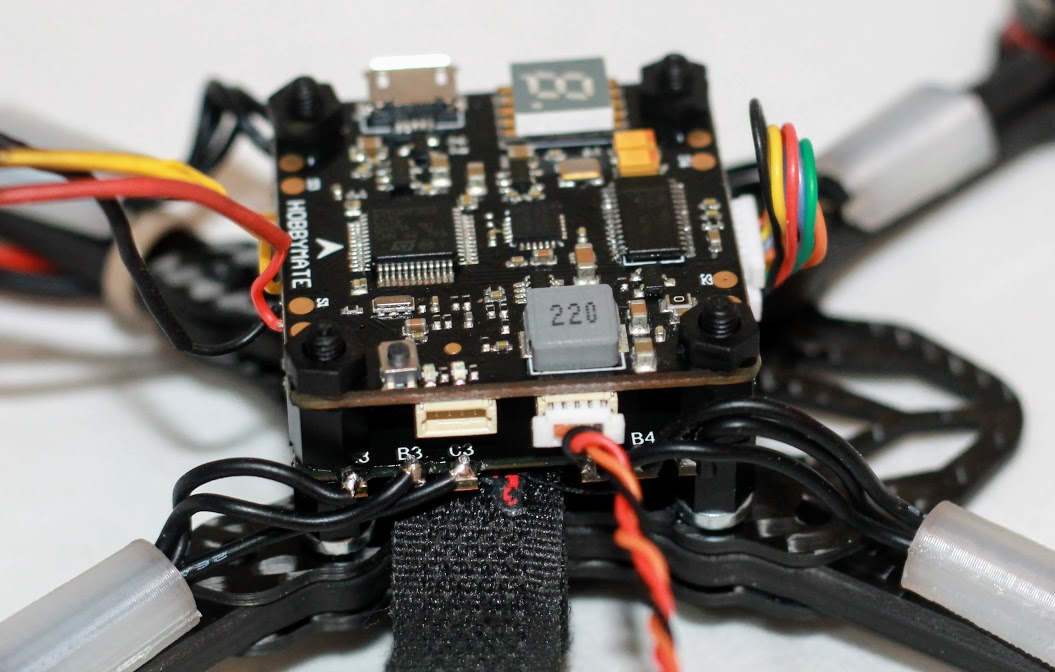
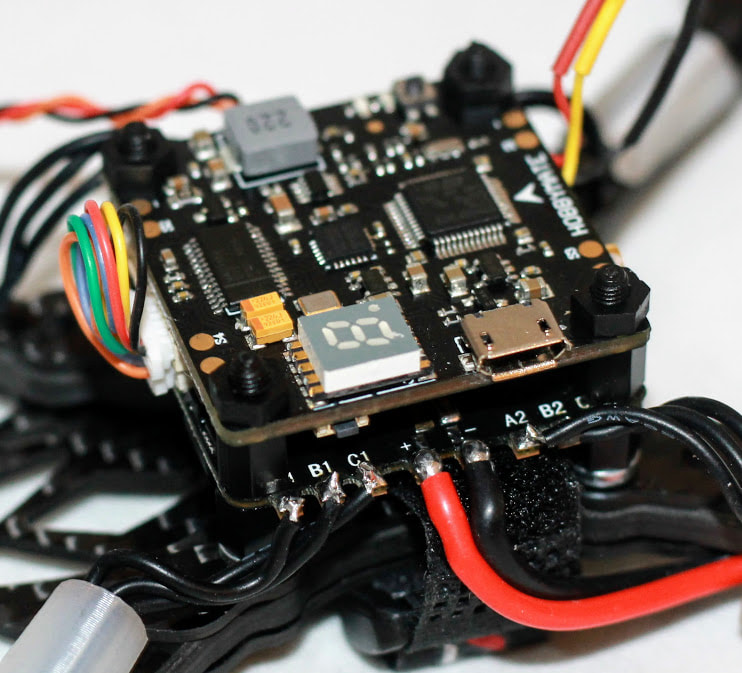
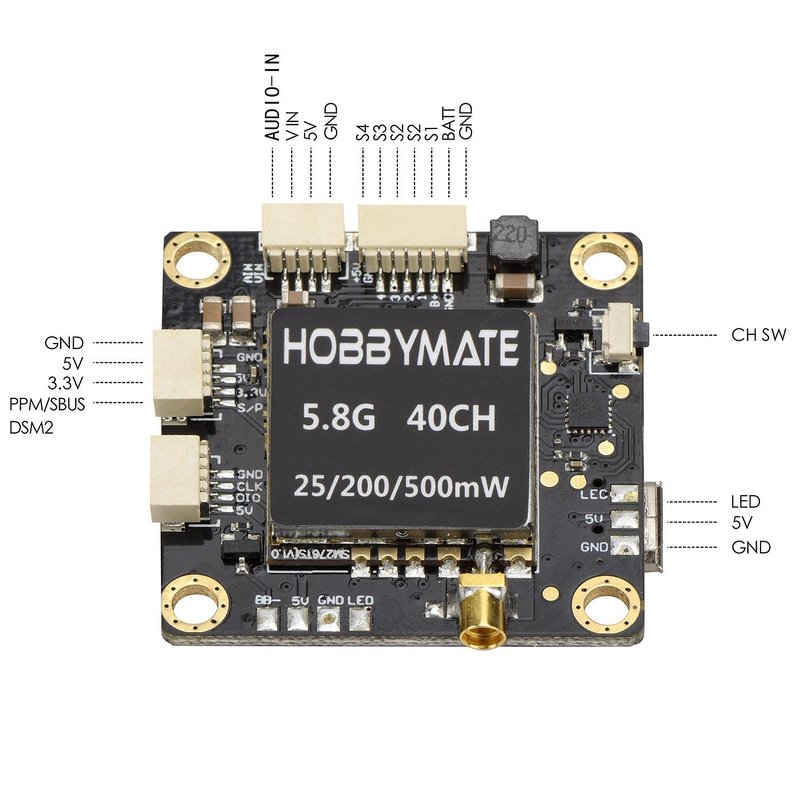
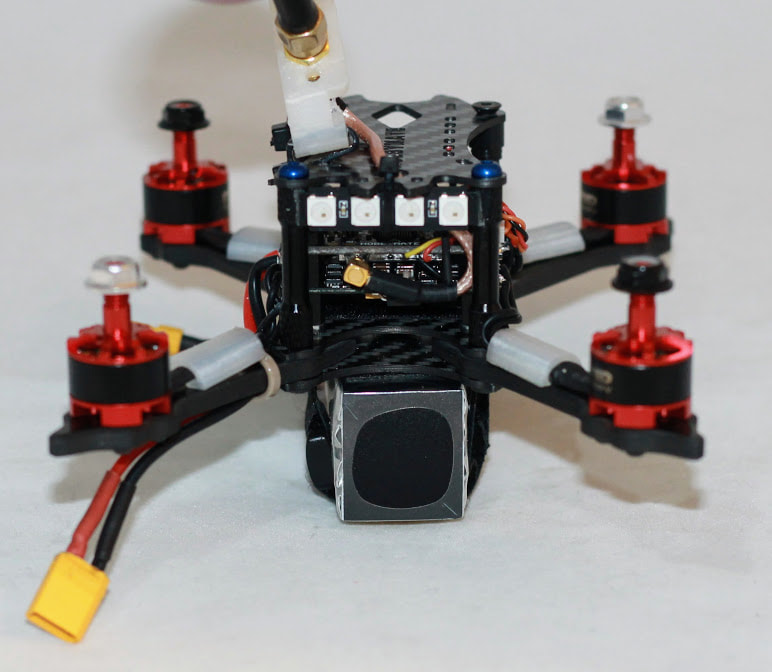
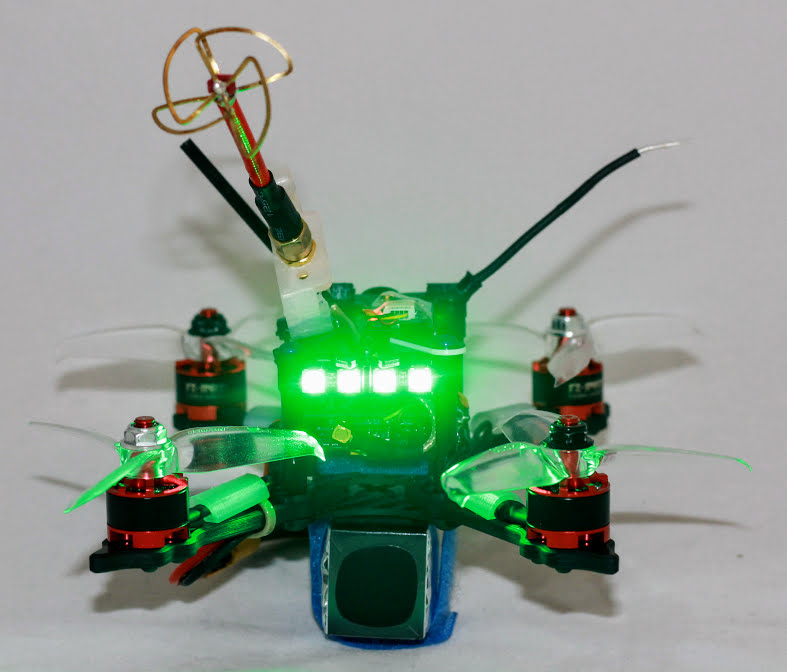
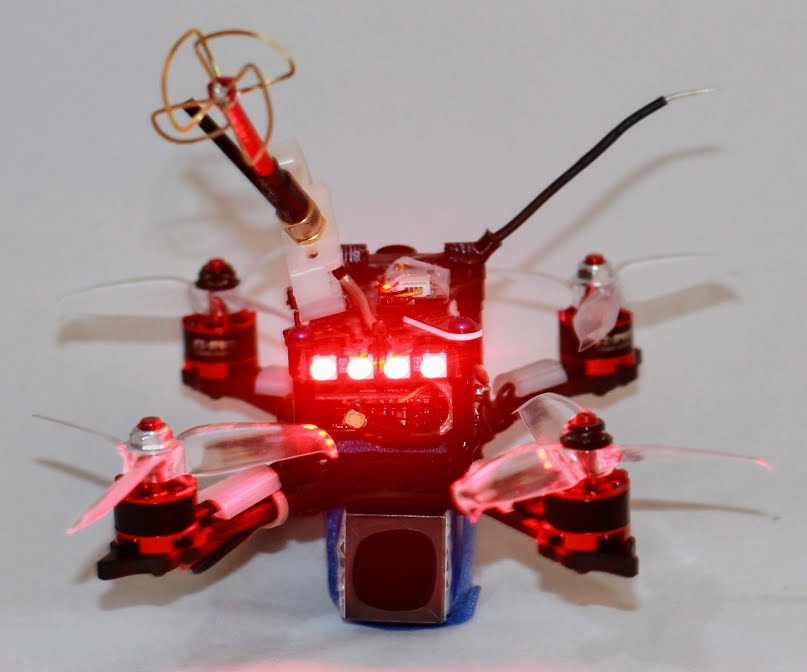
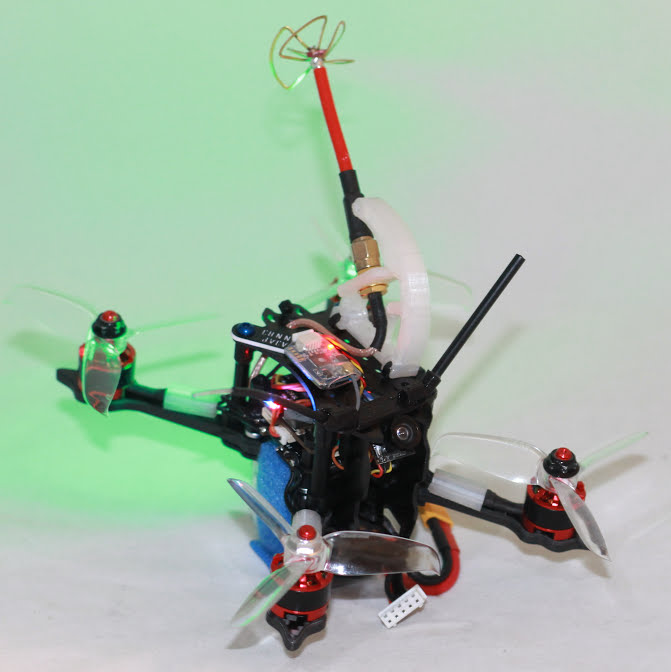
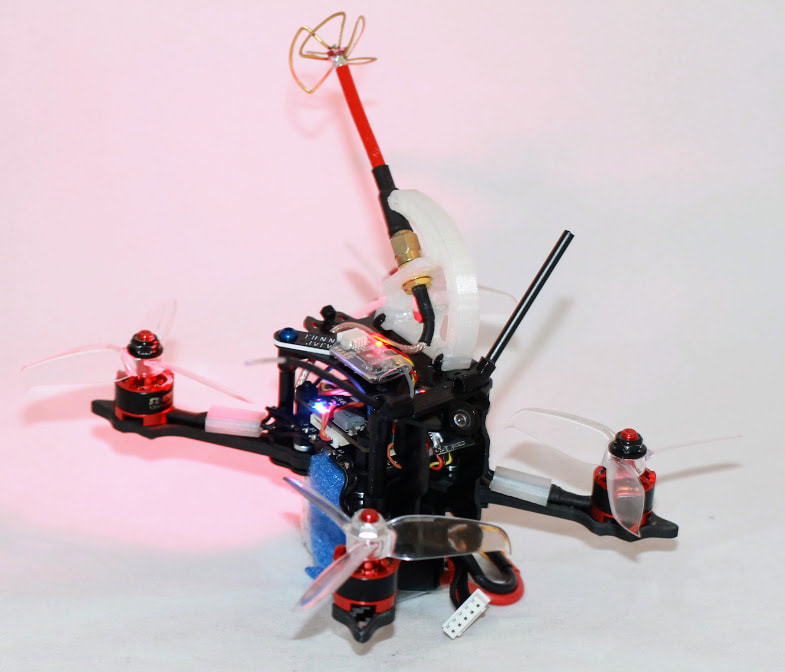
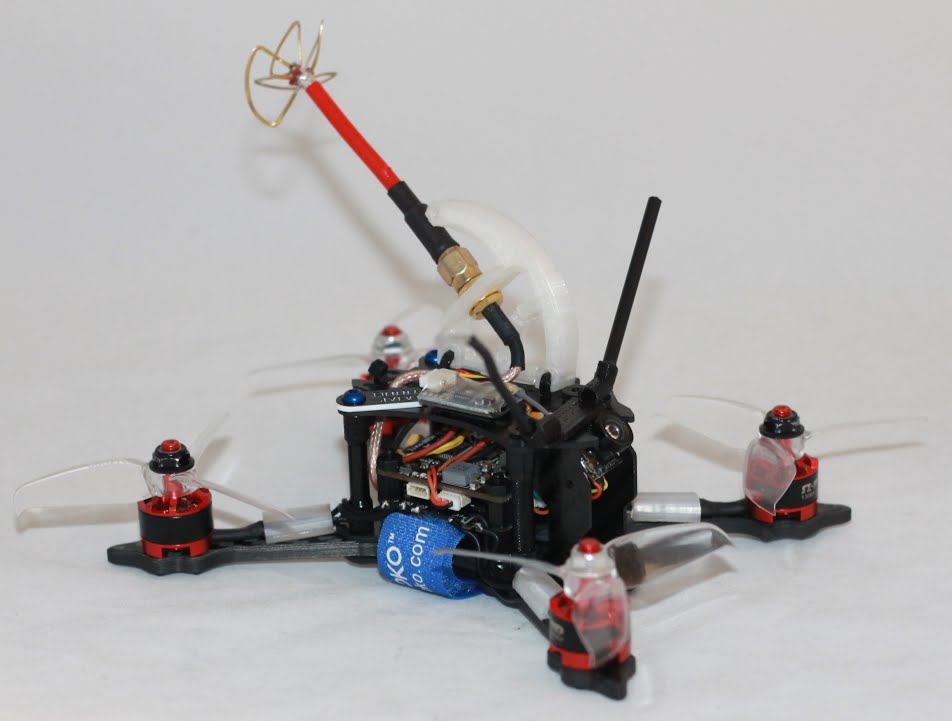
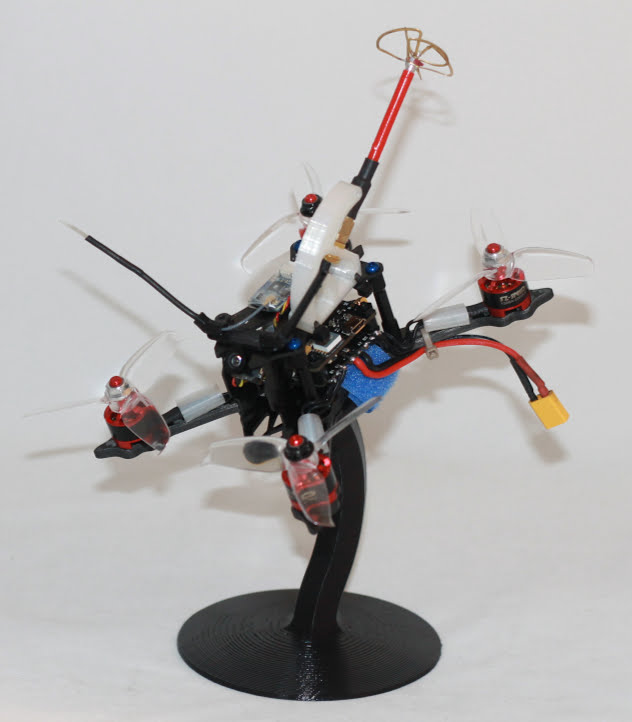
GoFly RC is relatively new at making FPV Racing Drones, but they are already changing the micro BNF game. The new Falcon CP90-Pro is an awesome little racer that is packed with features, and performs incredibly well. This little quadcopter comes pre loaded with Betaflight on its Omnibus F3 AIO flight controller with OSD. It has a 20A 4 in 1 BLHeli-S ESC running DShot 600 and powering 1104 7500kv motors. It is rated for 2s, or 3s batteries, so all of you power hungry pilots that love 3s micro speed demons, this might be just the BNF micro for you. For FPV you get the popular RunCam Nano 650TVL camera and a 25/100mw VTX. To top this little package off, you get a programmable RGB LED light bar, and a set of Gemfan Hulkie 2040 props. This great looking little racer is available as a Flysky FS-RX2A, Frsky XM, or DSMX bind and fly. Here are some detailed pics of everything you get in the box. Stay tuned for flight video coming in just a bit. Don't hesitate to ask any questions. More info, and details coming soon. Happy Flying!! Brushless RTR RC trucks are nothing new. There is no shortage of options in this ever growing category of RC vehicles. A brushless ready to run with shaft driven 4WD, that includes a 2400mah 2s LiPo and a balance charger for only $135 though? Now that's something you don't see every day. The ZD Racing ZXT-10 is exactly that. A complete ready to run package that gives you everything you need to start running your new brushless 4WD truck except four AA batteries for the remote. This little truck looks fantastic! You get a 2.4GHZ radio system, with the receiver enclosed in a sealed radio box. You get a 45A splash proof brushless ESC paired with a T3650 3300kv water proof motor. The truck is equipped with an aluminum alloy center shaft, steel front CVD shafts, steel rear dog bones, oil filled shocks with aluminum caps, all metal gears with sealed differentials, an adjustable slipper clutch, front and rear sway bars, and a 2s LiPo battery, and balance charger. All that for under $150 to your door A few years ago I would have said that this isn't even possible. Today, it is reality. Hobby grade RC models are finally becoming affordable for everyone. Let's take a close look at this incredibly affordable package, and then take it out for a run in the snow. Click me to purchase your ZD Racing Thunder ZXT-10 10423 1/10 4WD Brushless RTR RC Stadium Truck/Truggy for only $135.99 with free priority shipping to the USA. Shipping rates will vary to other countries based on your location. For ZD Racing spare and replacement parts in the USA visit EMP Hobby. They are located in Miami FL and carry virtually everything for ZD Racing cars and trucks. Have questions? Don't hesitate to ask. I am always happy to help a fellow hobbyist. EDIT- 2/27/2018 This quad is now also available as a PNP, or BNF model for those that aren't into building it themselves. It can be purchased here for $133.90 Click me. Parts are starting to roll in. Got the frame for my next build. The HobbyMate Sparrow 145 145mm frame. The 20A BLHeli-S 4 in 1 ESC and F3 AIO Flight Controller with OSD should be here Tuesday. This carbon fiber frame should be very tough. The top and bottom plates are both 1.5mm thick, and the arms are a very stiff 4mm thick, and 8mm wide. I expect that this should be able to take a very good beating, and should you break an arm the entire frame kit is affordable, and readily available, so spare parts won't be an issue. This frame is designed for 130X-140X motors. I had some SZ Speed 1306 3300kv motors here that I decided to use for this build. I plan to fly this on 4s, but it should perform pretty well on 3s batteries as well. Everything has arrived now except for the FPV camera, and the receiver, so the build begins. I have taken detailed pics of every step along the way, so that anyone wanting to do this build, even those without prior build experience, should be able to complete it relatively easily, with plenty of visual references. The first thing to do is get the base, and arms of the frame assembled. I then mounted my motors to the arms. I also took this opportunity to add some 3D printed wire protectors, but these are obviously not a must have. Next up is to mount the 4 in 1 ESC to the standoffs, paying close attention to the board orientation. You want the main socket on the ESC board at the front of the quad. Once you have the ESC on the standoffs, you have a nice stable platform for soldering up the motor wires, and you can also solder on your power plug of choice. I opted for an XT30 for my build. I soldered my motor wires in the same order they come out of the motors. We can change the direction of rotation in BLHELI Configurator quite easily later, so don't worry about that at this point. Now that we have the ESC installed on the frame, and the motors are soldered up, it's time to install the flight controller on the next set of standoffs. Again, pay close attention to board orientation. Be sure that the arrow marked on the board is pointing towards the front of the quad, and that the USB connector for programming is on top. With this done, the short cable from the ESC bag can now be used to connect the ESC to the FC. While installing the FC I took a moment to also solder a lead for a small 4 LED light bar that I will attach to the top rear of the frame. I will program this later to be green when the quad is unarmed, and red when armed. Again, this is not a necessity, but I had the light in my parts bins, so figured I would put it to use. Now is also a good time to plug in the extension cable for the VTX antenna, and feed the wire up through the hole in the rear of the top plate. This hole is where HobbyMate intend for the user to attach the included connector, and then attach your antenna of choice. I however have opted to put my 3D printer to use again, and I printed this shark fin with an SMA mount that I will be mounting my antenna to. We are coming right along now, and our new quad is starting to look like something more than a pile of parts What we have left to do now is install our receiver, and FPV camera. The camera will simply plug into the board with the appropriate cable. I have plugged a lead into the receiver socket, and will solder those wires to my receiver once it arrives. After that we can get into Betaflight and get our new model ready for flight. The pics below should adequately describe our progress so far. Stay tuned for the next few steps, coming shortly. If you are by chance doing a similar build, and have any questions, please do not hesitate to ask, and I will do my best to assist. EDIT 1/10 Ok, let's get this build finished, and get this bird in the air. So, remember that we have the cable plugged into the FC for our receiver, so all that we need to do is solder the signal, power, and ground wires from that lead to the corresponding spot on the RX. We also have an unused cable from our flight controller that we will now connect to our FPV camera. Again this is simply connecting video out, power, and ground from the camera to the corresponding video in, power, and ground from the lead that plugs into the front of the FC right next to where we have the ESC plugged in. Now with our top plate installed, and everything wired up it was time to zip tie the LED light bar to the rear of the frame, and route our antenna wire into the shark fin, and get it zip tied to the frame as well. In the images below you will see the wiring diagram for the flight controller, as well as the pics of our assembled quadcopter. Now that we have got our new bird assembled, and wired up it is time to go into Betaflight, and get it programmed and ready for its maiden. Please feel free to ask any questions, if your aren't sure about something. Betaflight screen shots coming shortly Quick first flight video added below. I had to hurry due to more foul weather moving in. Programming updates coming soon. More flight video coming as soon as weather permits |
Archives
June 2022
|


 RSS Feed
